
In this article, we will show you how to easily create a micro-job website like fiverr with WordPress without any coding knowledge.
Staring a Micro-Job Website using WordPress
There are plenty of ways to make money online using WordPress. One of them is to build a job board with WordPress.
First you need to make sure is that you are using the right platform. To build a micro-job website, you will need a self-hosted WordPress.org website (see: WordPress.com vs WordPress.org for more details).
To start a WordPress site, you will need the following things:
- A domain name (This will be your website’s address. For example, wpbeginner.com)
- A WordPress hosting account (This is where your website’s files are stored)
- SSL Certificate (You need this to accept online payments)
- A Micro-Job addon and theme
The set up will take less than 40 minutes, and we will walk you through every step.
Normally a domain name costs $14.99 / year, SSL certificate $69.99 / year, and WordPress hosting would cost you $7.99 / month.
This sounds like a lot of money if you are just starting out.
Bluehost is one of the largest web hosting companies in the world and an officially recommended WordPress hosting provider.
Once you have purchased hosting, head over to our guide on how to make a website for step by step setup instructions.
That being said, now let’s see how to create a micro-job website with WordPress.
Setting up a Micro-Job Website with WordPress
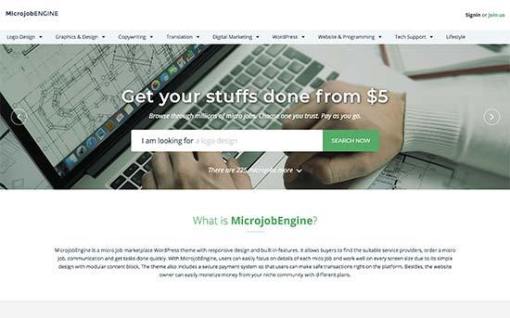
First thing you need to do is install and activate the Microjob Engine theme. For detailed instructions, see our beginner’s guide on how to install a WordPress theme.
Once you have activated the theme, you will be redirected to the theme’s welcome page. On this screen, you will need to enter your license key which you can find under your EngineThemes’ account.
Next, you need to click on the ‘Install Demo’ button to import and setup a demo website. This will allow you to quickly setup the website to look exactly like the demo. You can then replace the content with your own.
MicrojobEngine comes with two skins to choose from. Once you have imported the demo data, you can select one of the skins to use on your website.
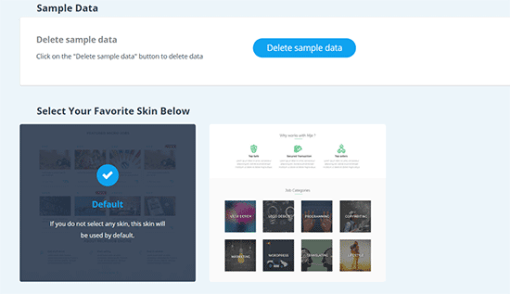
Your website is now set up just like the theme demo. You can visit your website to see it in action.
Selecting Payment Methods and Packages
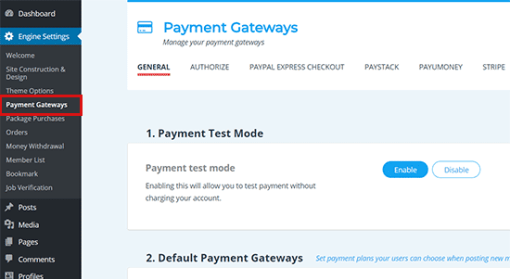
Microjob Engine works with PayPal and 2Checkout out of the box. You can purchase addons to add other payment gateways like Authorize.net, PayU, PayStack, and Stripe.
You can setup your preferred payment gateway by visiting the Engine Settings » Payment Gateways page in your WordPress admin area.
Packages Explained
Microjob engine allows you to earn money in two ways:
- You can get comission when a job is finished
- You can sell packages allowing users to submit gigs for a certain amount.
Setting a payment barrier right from the beginning may prevent some users from signing up, but it will also help keep the spam away.
On the other hand, enabling free job posting will help you attract more freelancers to your website.
You can always change the settings once your website starts getting enough attention from both freelancers and employers.
To set up these options, you need to visit the Engine Settings » Theme Options page and click on the Payment Type tab.
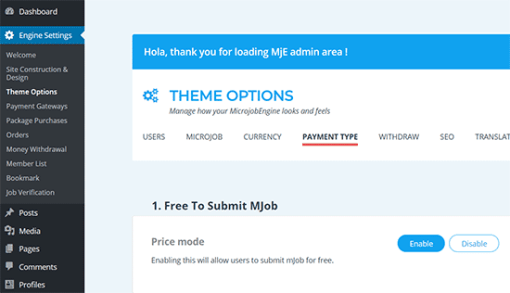
From here, you can enable or disable free posting. If you disable free posting, then you can add packages that freelancers can purchase to submit their offers.
Changing Branding and Website Content
Next, you would want to change the branding and content to make it your own. You can do this by going to Appearance » Customize page where you can change the theme settings with a live preview.
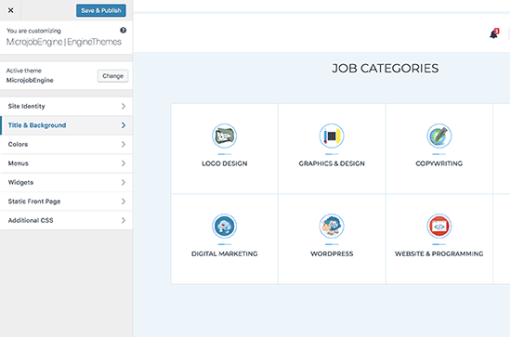
Take your time and go through the different options and adjust them to your liking. Don’t forget to click on the Publish button at the top to save your changes before exiting the customizer.
Testing Your Micro-Job Website
Once you have set up your theme, it is time to thoroughly test every corner of your website.
Open your website in a new tab and try to use it like your users. Start by posting an ad, and then as an employer by hiring a service.
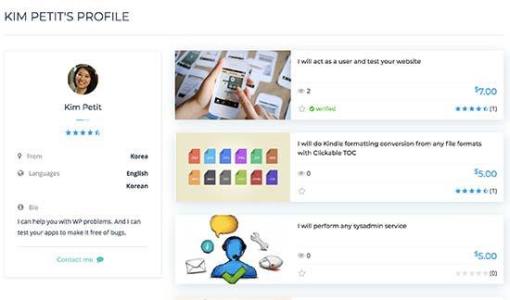
Each user on your website whether freelancer or employer will get their own profile page. Freelancer profiles will show their details, bio, recent gigs, and ratings.
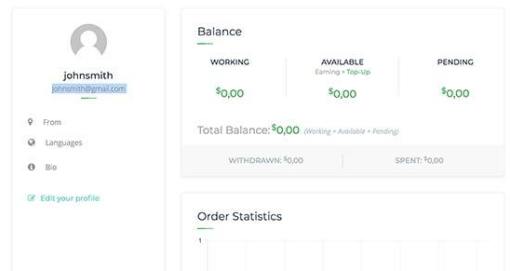
Each user will also be able to manage their account from a custom dashboard. This is where all their chats, messages, and jobs are displayed.
You may also want to make sure that you and your users can receive email notifications from your website. Sometimes WordPress sites run into an email deliverability issues. You can check out our guide on how to fix WordPress not sending email issue.
Managing Your Micro-Job Site
Even though, your users (both freelancers and employers) wouldn’t need to visit the WordPress admin area, you will still manage all aspects of your website from WordPress dashboard.
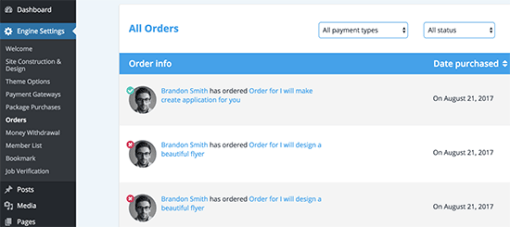
You can see all orders placed on your micro-job site by visiting Engine Settings » Orders.
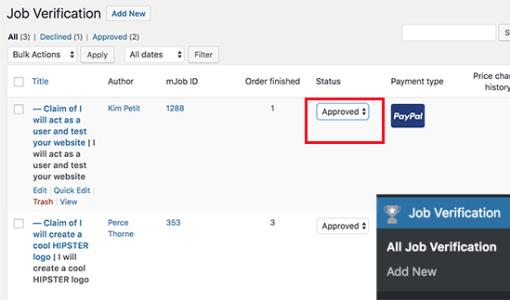
You can also see all completed jobs that need to be verified by visting Jobs Verification page. From here you can approve, keep pending, decline, or verify a job status.
Once approved, the freelancer will be able to withdraw their money.
To view all withdrawl activity, you need to visit Engine Settings » Money Withdrawl tab. On this page, you will see a list of freelancers who have withdrawn their earnings.

You can manage all site functions from the admin area of your WordPress site, and you can even peek into conversations between your users.
This helps make sure that freelancers are not insisting clients to use other unverifiable payment methods. It also helps during the dispute resolution between freelancers and employers.
More Resources
Microjob Engine is a powerful app theme with tons of cool features. However as your website grows, it can be quite heavy on your servers. To make sure your site performs well, see our guide on how to improve WordPress speed and performance.
Even then, as your site grows you will run out of shared hosting resources. In that case, you will need to upgrade to a managed WordPress hosting or VPS hosting.
We hope this article helped you learn how to easily create a micro-job site in WordPress. You may also want to see our guide on bringing more traffic to your new WordPress site.
If you liked this article, then please subscribe to our YouTube Channel for WordPress video tutorials. You can also find us on Twitter and Facebook.