
LetsEncrypt is a free open certificate authority (CA) that provides free certificates for websites and other services. The service, which is backed by the Electronic Frontier Foundation, Mozilla, Cisco Systems, and Akamai. Unfortunately, LetsEncrypt.org certificates currently have a 3 month lifetime. This means you’ll need to renew your certificate quarterly for now.
Prerequisites
This article assumes you have at least basic knowledge of linux, know how to use the shell, and most importantly, you host your site on your own VPS. The installation is quite simple and assumes you are running in the root account, if not you may need to add ‘sudo’ to the commands to get root privileges. I will show you through the step by step installation Let’s Encrypt SSL with Apache on a CentOS 7 server.
Install Let’s Encrypt SSL With Apache on CentOS 7
Step 1. First let’s start by ensuring your system is up-to-date.
yum clean all
yum -y update
Step 2. Installing Let’s Encrypt SSL using Certbot.
In CentOS 7, you can find Certbot on the EPEL repository; if you enable it, just install what you need:
yum install epel-release
yum install python-certbot-apach
Certbot has a fairly solid beta-quality Apache plugin, which is supported on many platforms, and automates both obtaining and installing certs:
certbot --apache
After that, you’ll see a guide to customize your options, just like this:
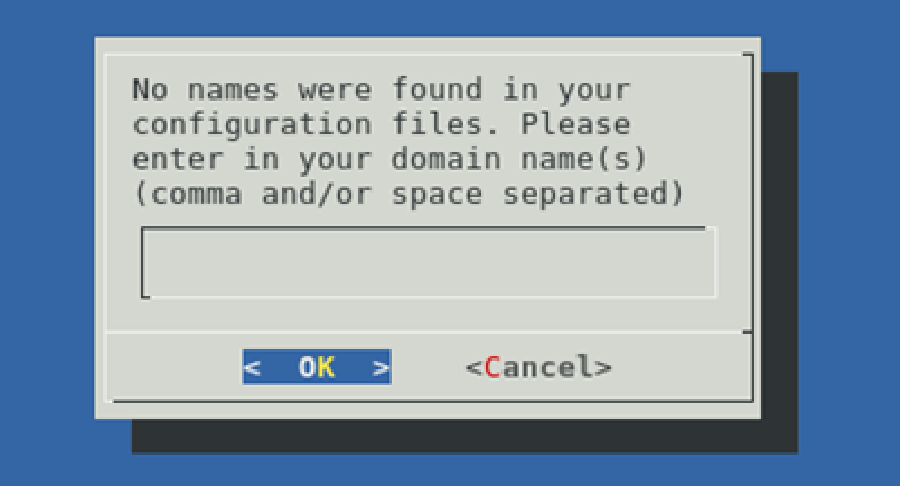
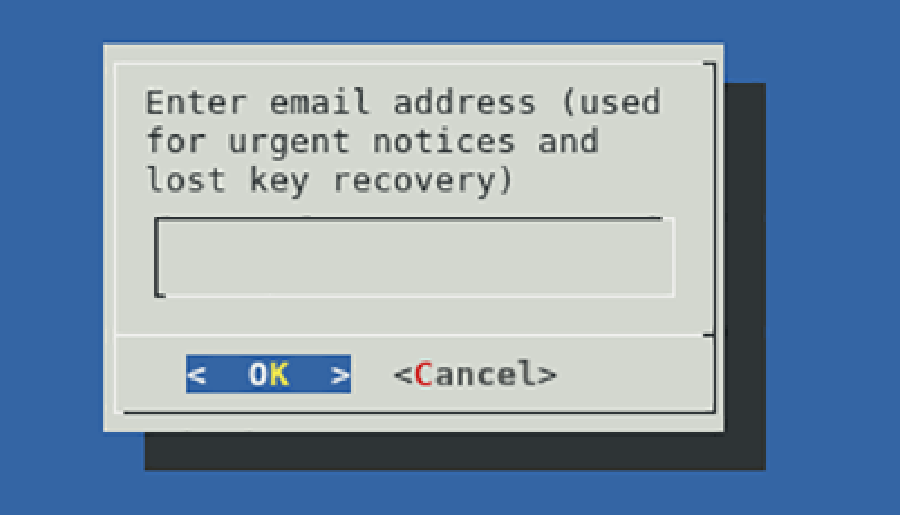
Enter the domain you want to secure; then, Certbot will prompt you to enter your email address:
Next, you will choose the Virtual Host file, being the default ssh.conf. After that, you can decide whether to enable both http and https access or redirect to https. The secure option is the second one (https). At the end of the procedure, Certbot will display a message containing configuration information.
Step 3. Configuration CentOS SSL.
First, edit the Virtual Host file you specified during configuration through Certbot. If you used the default one, the file should be /etc/httpd/conf.d/ssl.conf:
SSLCipherSuite EECDH+AESGCM:EDH+AESGCM:AES256+EECDH:AES256+EDH
SSLProtocol All -SSLv2 -SSLv3
SSLHonorCipherOrder On
Header always set Strict-Transport-Security "max-age=63072000; includeSubDomains; preload"
Header always set X-Frame-Options DENY
Header always set X-Content-Type-Options nosniff
# Requires Apache >= 2.4
SSLCompression off
SSLUseStapling on
SSLStaplingCache "shmcb:logs/stapling-cache(150000)"
# Requires Apache >= 2.4.11
SSLSessionTickets Off
Save and close the file. Restart the apache service for the changes to take effects:
systemctl restart httpd.service
Step 4. Automating renewal Let’s Encrypt.
Certbot can be configured to renew your certificates automatically before they expire. Since Let’s Encrypt certificates last for 90 days, it’s highly advisable to take advantage of this feature. You can test automatic renewal for your certificates by running this command:
certbot renew --dry-run
Congratulation’s! You have successfully installed Let’s Encrypt. Thanks for using this tutorial for installing Let’s Encrypt SSL on CentOS 7 system. For additional help or useful information, we recommend you to check the official Let’s Encrypt web site.