
For those of you who didn’t know, VMware Workstation is the most popular Virtualization software used at the desktop level on Linux like operating systems and Microsoft Windows. It allows the us to create and run multiple Virtual machines simultaneously. VMware Workstation is not an open source or free software so we need to buy its license key, though we can use its trail version for 30 days then later you can apply its license key.
Table of Contents
Step 1. First let’s start by ensuring your system is up-to-date.
Prerequisites
This article assumes you have at least basic knowledge of Linux, know how to use the shell, and most importantly, you host your site on your own VPS. The installation is quite simple and assumes you are running in the root account, if not you may need to add ‘sudo’ to the commands to get root privileges. I will show you through the step by step installation the VMware Virtualization on a CentOS 7 server.
Install VMware Workstation on CentOS 7
Step 1. First let’s start by ensuring your system is up-to-date.
Step 2. Installing VMware Workstation.
yum clean all
yum install kernel-headers kernel-devel
yum groupinstall "Development tools"
yum -y update
Step 2. Installing VMware Workstation.
First download the Vmware Workstation 14 Pro bundle package here.
Once the VMware workstation bundle file is downloaded, set the executable permissions on it with the below chmod command:
chmod a+x VMware-Workstation-Full-14.0.0-6661328.x86_64.bundle
Now let’s go ahead and start the installation of Vmware Workstation 14 pro by running the .bundle package. Refer the command below:
sudo ./VMware-Workstation-Full-14.0.0-6661328.x86_64.bundle
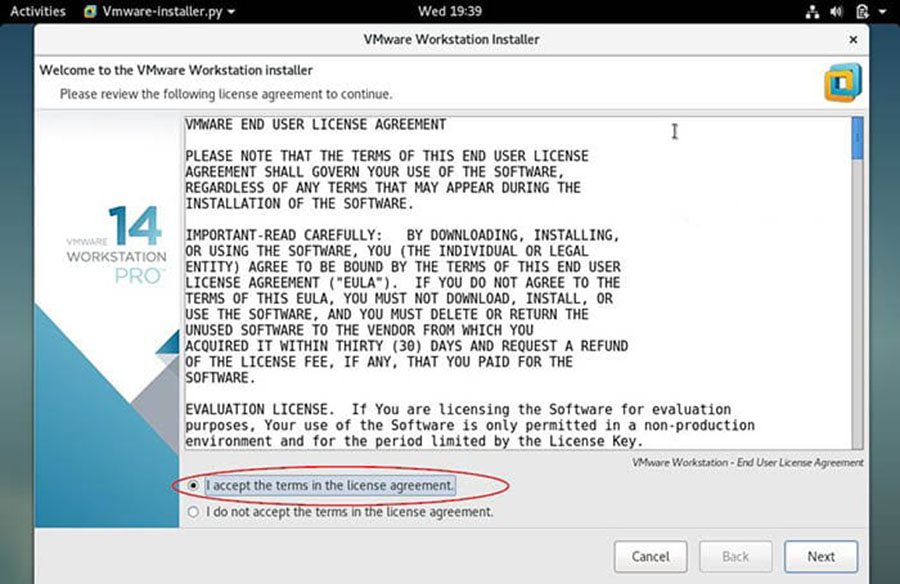
Accept the End User License Agreement:
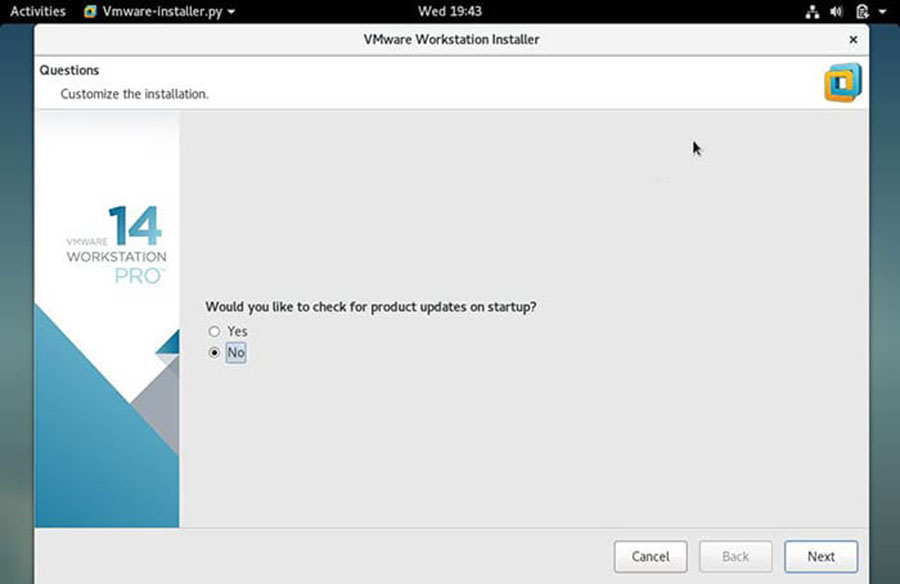
Click on Next and disable product updates on startup:
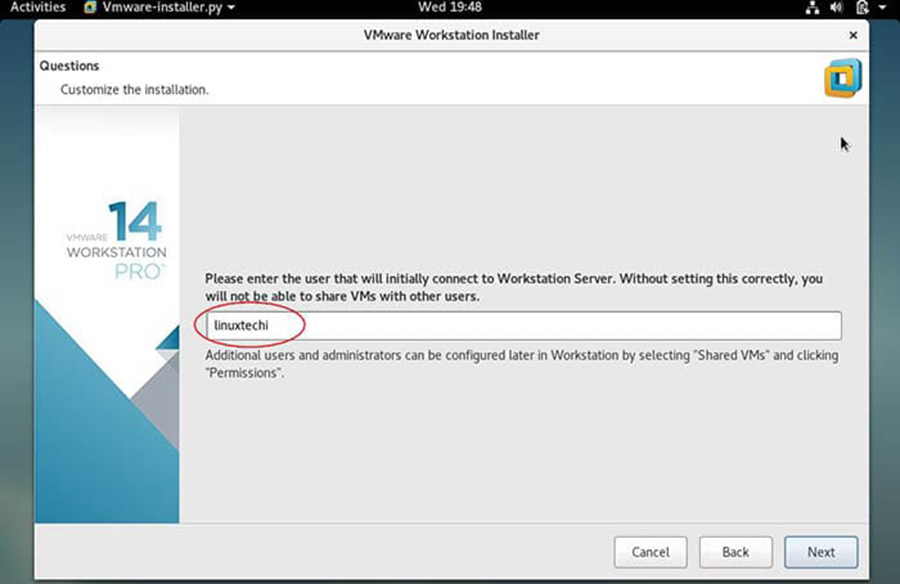
Specify the User Name which will have rights to connect to VMware workstation, in my case I using ‘idroot‘ as user name:
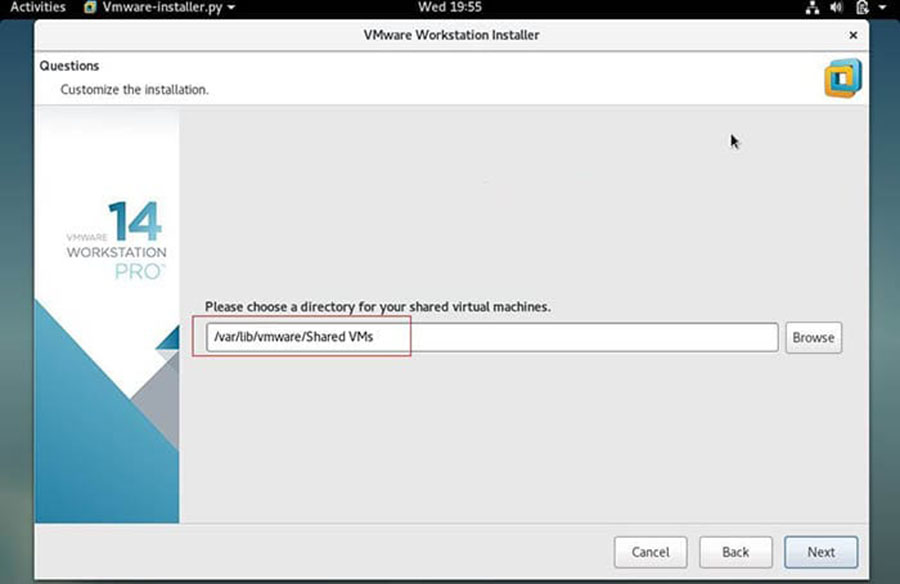
Click on next to proceed, you can also keep the default path. In my case I am also keeping the default directory:
Specify the HTTPs port or keep default one:

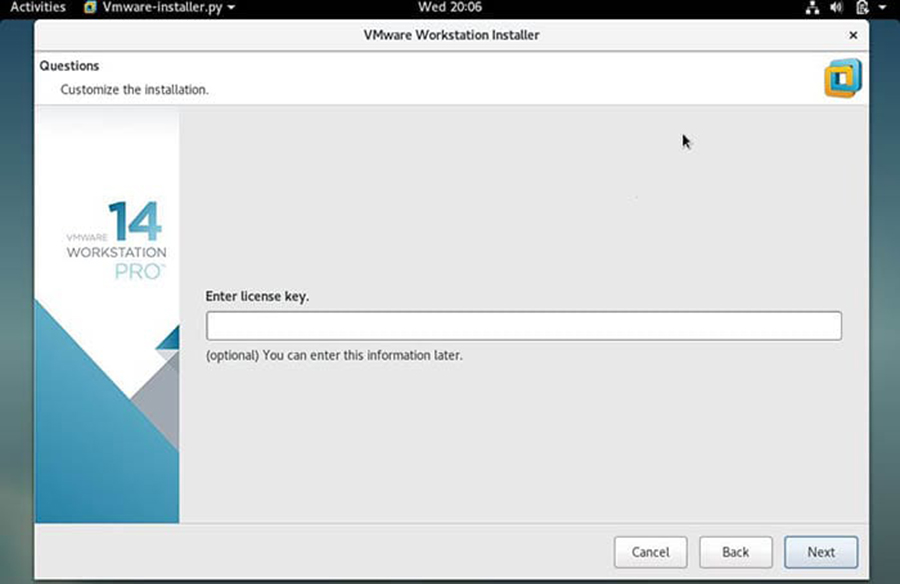
Enter the License key in case you have already buy its license, else you can leave it blank:
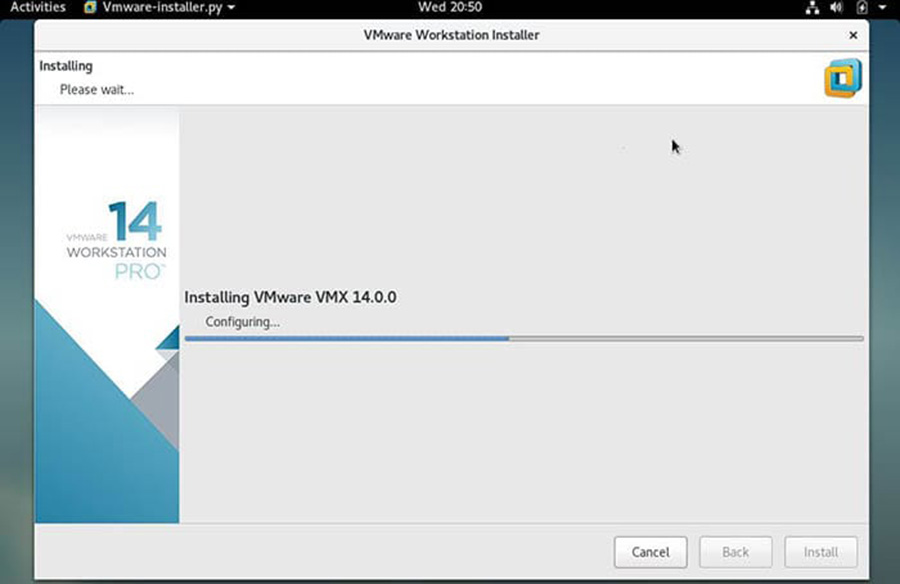
In the next window, click on ‘Install‘ option to start its installation:
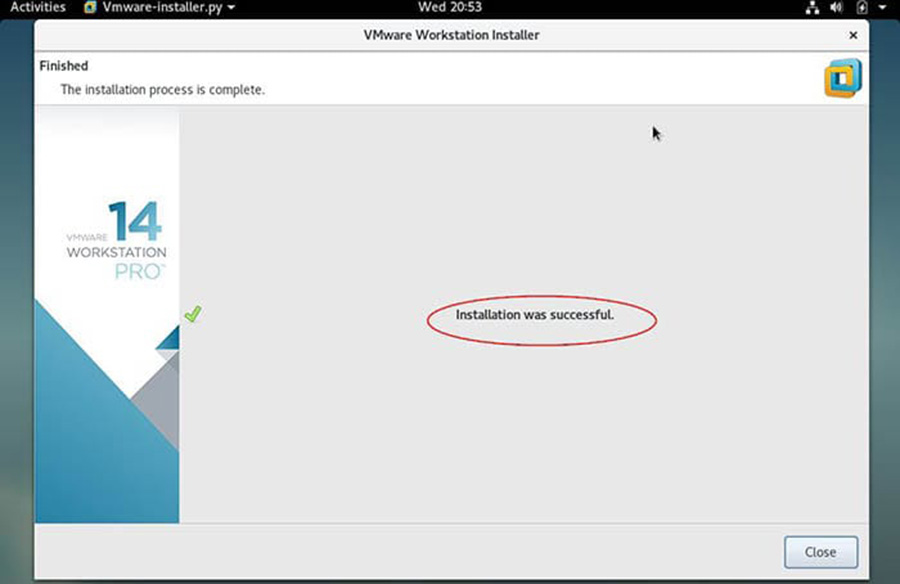
Once the Installation is successful, we will get the below window:
After the installation is finished, you can open the workstation from the CentOS 7 application menu under the System Tools sub category.
Congratulation’s! You have successfully installed VMware. Thanks for using this tutorial for installing VMware Virtualization on CentOS 7 systems. For additional help or useful information, we recommend you to check the official VMware Workstation web site.