XAMPP is an open source software that provides users with an out-of-the-box server experience. It is a complex, yet very easy-to-use AMPP (Apache, MySQL, PHP and Perl) distribution that’s compatible with the Linux, Microsoft Windows and Mac OS X operating systems. The best tool for those who want to install a fully functional web development environment.
Prerequisites
This article assumes you have at least basic knowledge of linux, know how to use the shell, and most importantly, you host your site on your own VPS. The installation is quite simple and assumes you are running in the root account, if not you may need to add ‘sudo’ to the commands to get root privileges. I will show you through the step by step installation XAMPP stack on a CentOS 7 server.
Features XAMPP
Regularly updated to the latest versions of Apache, MariaDB, PHP and Perl.
Supports other modules like OpenSSL, phpMyAdmin, MediaWiki, Joomla, WordPress etc.,
Tests the website designers and programmers work without Internet.
Secured package.
Allows creation and manipulation of databases in MariaDB and SQLite.
Install XAMPP on CentOS 7
Step 1. First let’s start by ensuring your system is up-to-date.
yum clean all
yum -y update
Step 2. Installing XAMPP on CentOS 7.
The first step is to download script from official xampp and to add the code in a new .run file on your Ubuntu machine, wherever you’d like this:
https://www.apachefriends.org/xampp-files/7.1.1/xampp-linux-x64-7.1.1-0-installer.run
Next, run the following command to make XAMPP executable:
chmod +x xampp-linux-x64-7.1.1-0-installer.run
Now is the time to run the script file to install XAMPP and wait until xampp is fully installed:
./xampp-linux-x64-7.1.1-0-installer.run
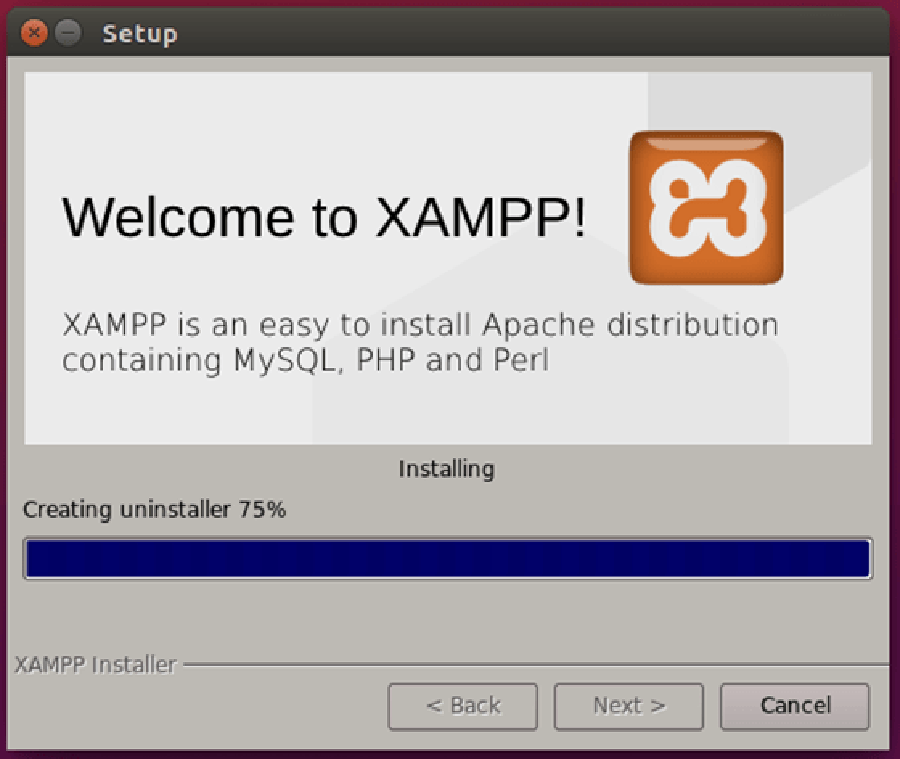
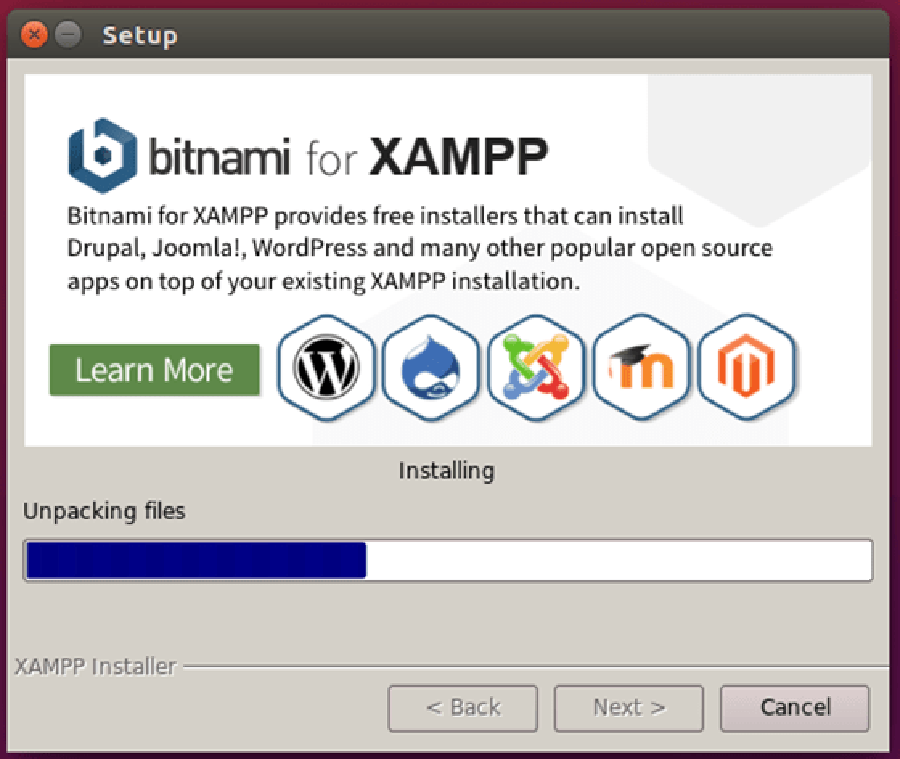
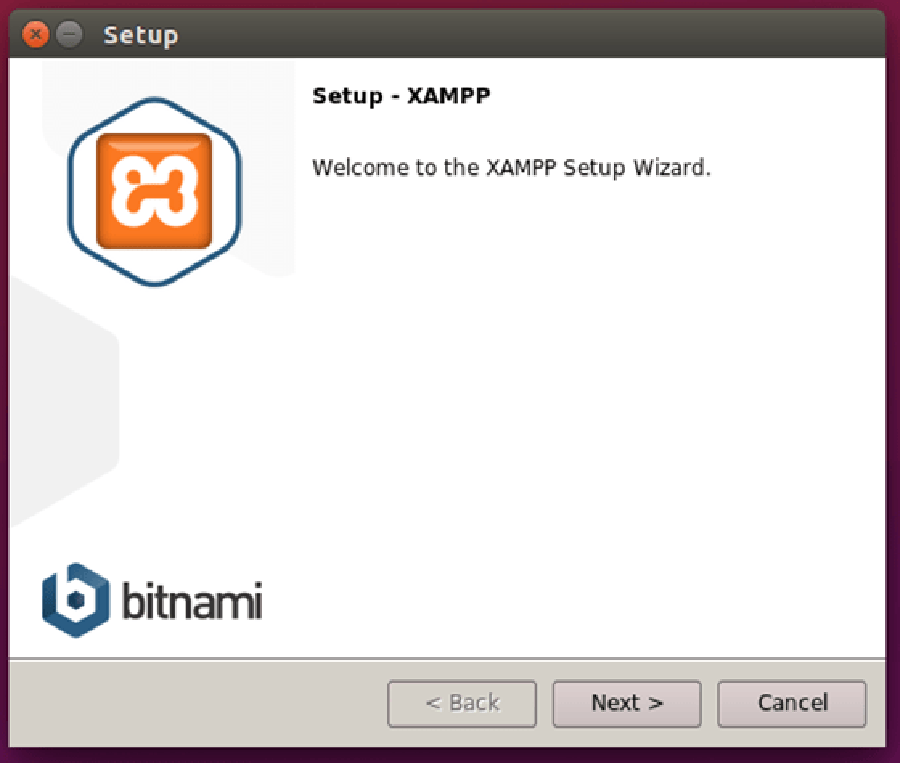
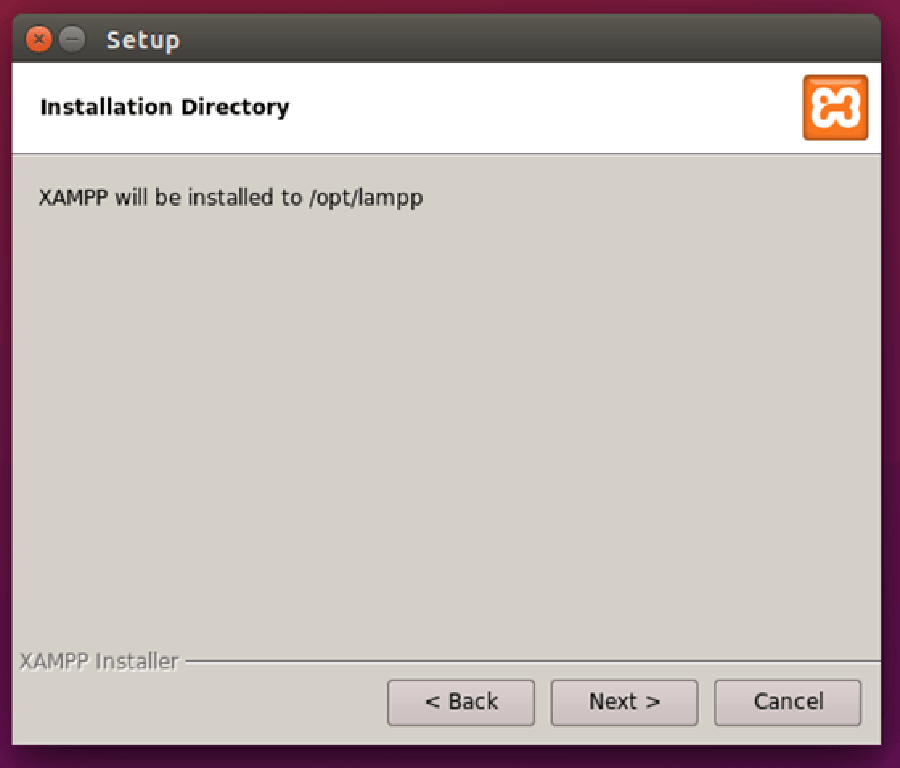
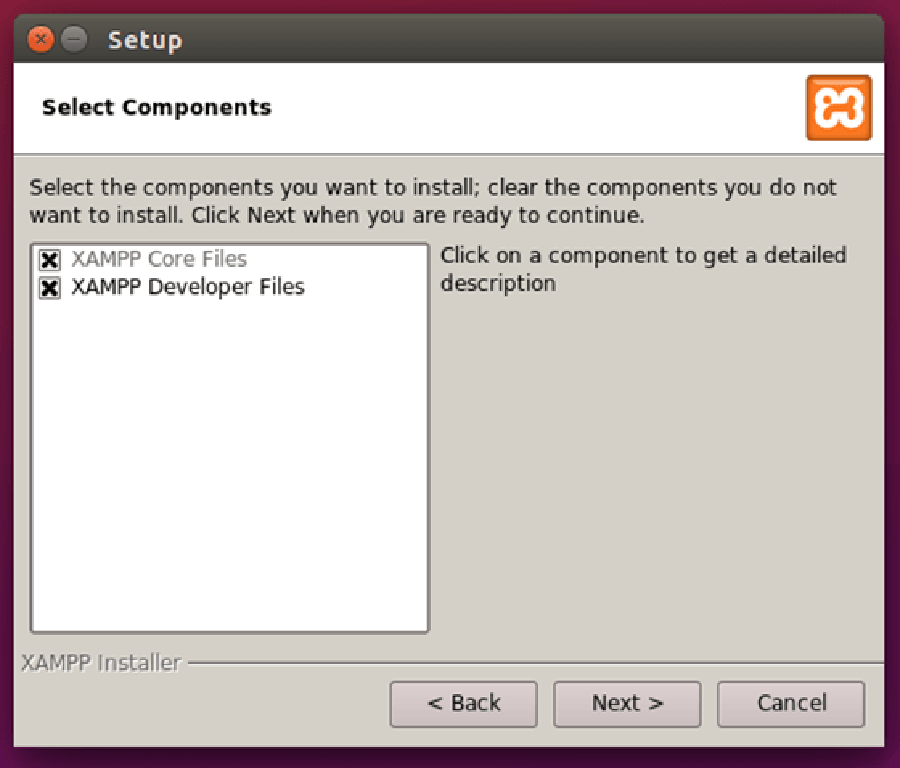
That should start the XAMPP installation setup. Continue with the installation as you usually do:


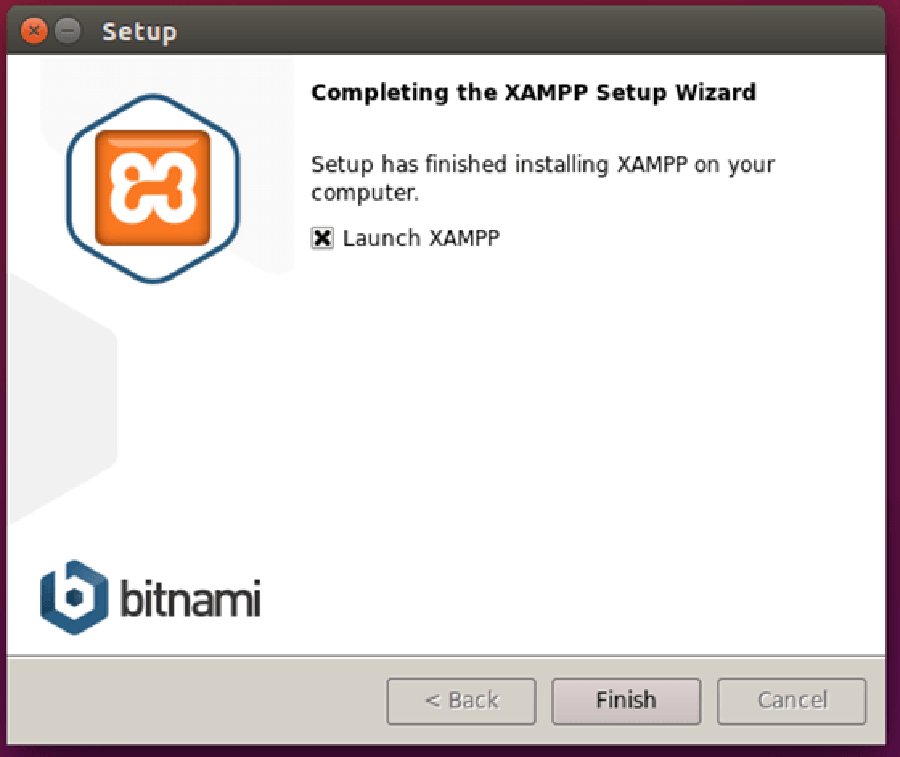
Once the setup is finished, XAMPP should be available for its usage in your Desktop or open your browser and follow this link : http://localhost/dashboard/
Congratulation’s! You have successfully installed XAMPP. Thanks for using this tutorial for installing XAMPP stack on CentOS 7 system. For additional help or useful information, we recommend you to check the official XAMPP web site.