In this tutorial, we will learn how to create a wiki knowledge base in WordPress.
WordPress Wiki & Knowledge Base Plugin
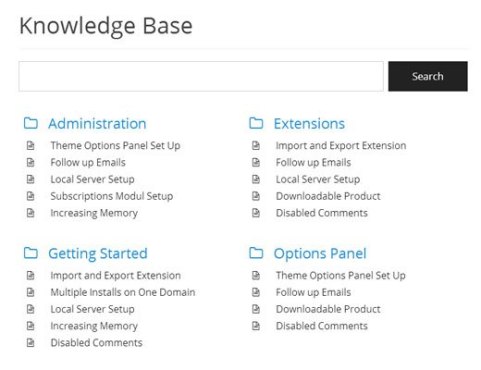
If you want to add a wiki knowledge base to your existing WordPress site, then the easiest way to do it is by using a WordPress wiki knowledge base plugin. There are several plugins available, but we recommend Knowledge Base by PressApps.
All you have to do is install and activate the plugin. Once activated, it adds a Knowledge Base tab in your WordPress admin area.
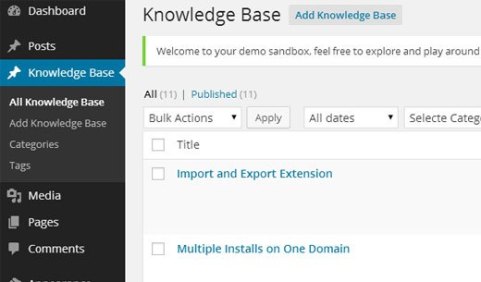
Knowledge Base is it’s own custom post type with categories and tags which allows you to organize your documentation.
The best part about this is that you can add it on your main site, and it will match your brand style / formatting for the most part. It also comes with public / member only voting system, custom widgets, drag-drop functionality, etc. The downside is that it costs $20.
In our next method, we will show you how you can accomplish all of this for free, but it does involve code.
WordPress Wiki & Knowledge Base Code Snippet
Another way to add a wiki knowledge base to your existing WordPress site or even create a dedicated wiki site is to use the code snippet method.
The downside is that you have to copy/paste a little bit of code which can be scary for beginners. The upside is that it gives you more freedom, and it’s completely free unlike the first two options.
We will do our best to give step by step instructions.
Note: Before you start, please create a complete backup of your WordPress site.
First thing you need to do is install and activate the Knowledgebase CPT plugin. This simple plugin creates a custom post type called knowledge_baseand a taxonomy called section.
This allows you to easily add your wiki articles and organize them into sections.
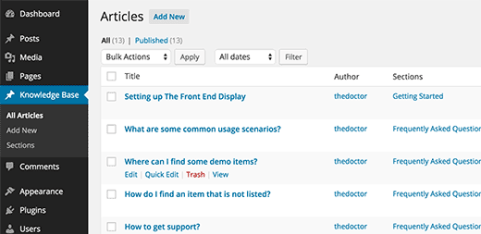
Once you have a few articles and sections, you would need to display them on your website. This is where you need to deal with a little bit of code.
Start by adding this code snippet into your theme’s functions.php file or a site-specific plugin.
function wpb_knowledgebase() {
// Get Knowledge Base Sections
$kb_sections = get_terms('section','orderby=name&hide_empty=0');
// For each knowledge base section
foreach ($kb_sections as $section) :
$return .= '
This code lists all the knowledge base articles under the section they were filed in.
Next all you need to do is create a new WordPress page and add [knowledgebase] shortcode inside it. Save your page and preview it.
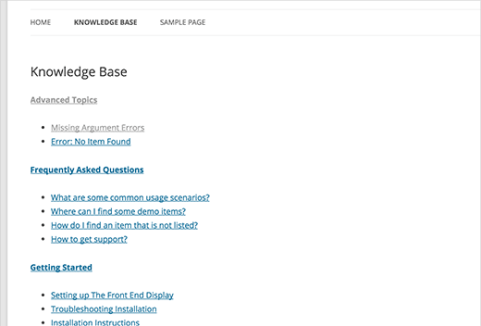
It looks very plain right now, but we can add some styling to it. You can use this CSS as starting point and then continue editing to match your own colors.
Paste the following code in your theme’s style.css file.
.kb_section {
float: left;
width: 280px;
max-width: 280px;
margin: 10px;
background-color: #f5f5f5;
border: 1px solid #eee;
}
h4.kb-section-name {
background-color: #eee;
margin: 0;
padding: 5px;
}
ul.kb-section-list {
list-style-type: none;
list-style: none;
display: inline;
}
li.kb-section-name {
list-style-type: none;
display: inline;
}
ul.kb-article-list {
list-style-type: none;
list-style: none;
}
li.kb-article-name {
list-style-type: none;
}
div.kb_section:nth-of-type(3n+1) {clear:left;}
div.kb_section:nth-of-type(3n+3) {}
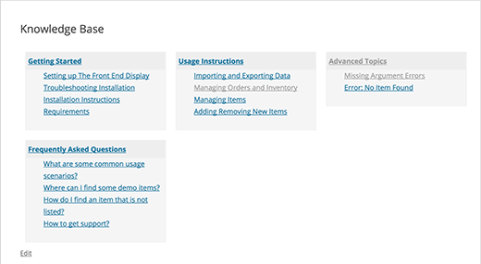
This how it looked on our demo site where we are using Twenty Twelve theme.
By default, your sections will be displayed in alphabetical order. However if you want to change the order of sections, then you can do that by installing Custom Taxonomy Order NE plugin. This will allow you to drag-drop your sections in the right order.
