In this article, we will show you how to easily convert WordPress categories into custom taxonomies.
Why and When Do You Need to Convert Categories to Custom Taxonomies
Categories and tags are the two default taxonomies in WordPress. Taxonomies are used to sort and organize content into different topics.
Apart from the default taxonomies, WordPress also allows you to create custom taxonomies which you can use with existing post types or with custom post types. For more on this topic, see our article on when do you need a custom post type or taxonomy in WordPress.
As your website grow, you might find a need to convert your categories into a custom taxonomy. For example, let’s say that you have a category called topics with a lot of sub-categories. It would be time-consuming to edit each post and file it under your new custom taxonomy.
Wouldn’t it be nice if you could bulk convert some or all of your categories to the new custom taxonomy?
Let’s take a look at how you can easily convert categories to custom taxonomies without manually editing each post.
Converting WordPress Categories to Custom Taxonomies
First thing you need to do is install and activate Taxonomy Switcher plugin. For more details, see our step by step guide on how to install a WordPress plugin.
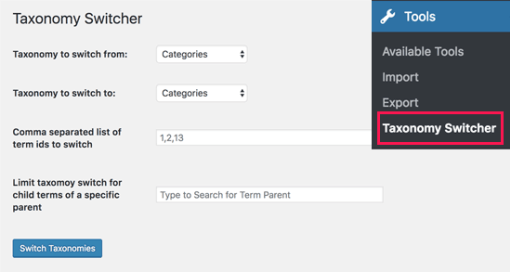
Upon activation, you need to visit Tools » Taxonomy Switcher page in your WordPress admin area to convert categories to custom taxonomies.

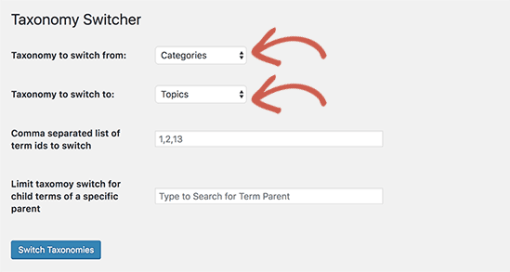
On this page, you can select the taxonomies you want to convert. For this tutorial, we will select ‘Categories’ as the taxonomy we want to switch from, and ‘Topics’ as the custom taxonomy we want to switch to.

If you want to convert all categories to a custom taxonomy, then you can go ahead and click on the ‘Switch Taxonomies’ button.
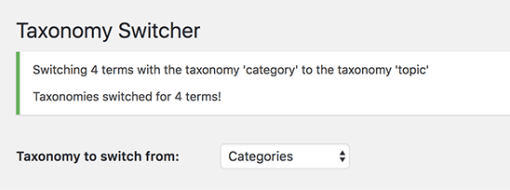
The plugin will convert all categories to your selected custom taxonomy. You will see a success message like this:

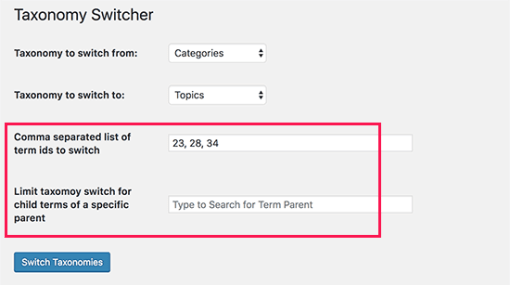
If you just want to convert specific categories, then you will need to add the IDs of those categories next to ‘Comma separated list of term ids to switch’field. See our article on how to find category IDs in WordPress for more details.

Additionally, if you want to skip child categories of a specific category, then you can add the IDs of the parent category next to ‘Limit taxonomy switch for child terms of a specific parent’ option.
Don’t forget to click on the ‘Switch Taxonomy’ button to save your changes.
Setting Up Redirects from Category to Custom Taxonomy
After you switch categories to a custom taxonomy, the category archive page will now show a 404 error page. This is nothing to be worried about if your website is not live yet.
However if your website is live, then search engines may have already crawled your category pages and indexed them. This means that those pages can appear in search results and users coming from search engines will see a 404 error page.
To fix this, you need to redirect users to the new taxonomy page for each category.
Luckily, there is an easy fix for that.
First, you will need to install and activate the Redirection plugin. For more details, see our step by step guide on how to install a WordPress plugin.
Upon activation, you need to visit Tools » Redirection page. In the Source URL field, you need to enter /category/.* and in the Target URL field you need to enter your custom taxonomy slug, e.g. /topic/$1

Next, you need check the box next to ‘Regex’ option, and then click on ‘Add Redirect’ button.
This redirect will now send all category archive traffic to your custom taxonomy. Only use this, if you don’t want to use categories at all.
If you want to redirect individual categories to a custom taxonomy page, then see our beginner’s guide on setting up redirects in WordPress with detailed step by step instructions.
We hope this article helped you learn how to convert WordPress categories to custom taxonomies.
