Mailinabox is a free and open source software that deploys a complete full stack email solution with a well managed server control panel in few simple minutes. Deploying our own well managed email server is pretty easy with Mailinabox now. It is designed to handle SMTP, IMAP/POP, spam filtering, webmail, and since the server itself is handling our DNS, we’ll get an off-the-shelf DNS solution optimized for mail. Mailinabox has the ability to host multiple domains email and provides webmail, contacts, calendar synchronization and IMAP/SMTP server setting so that we can access our emails with mobile devices and desktop mailing clients.
Install Mail-in-a-Box on Ubuntu 16.04 LTS
This article assumes you have at least basic knowledge of linux, know how to use the shell, and most importantly, you host your site on your own VPS. The installation is quite simple and assumes you are running in the root account, if not you may need to add ‘sudo’ to the commands to get root privileges. I will show you through the step by step installation Mail-in-a-Box on a Ubuntu 16.04 (Xenial Xerus) server.
Step 1. First make sure that all your system packages are up-to-date by running these following apt-get commands in the terminal.
sudo apt-get update
sudo apt-get upgrade
sudo apt-get install git nano curl
Step 2. Setting Hostname.
First of all, we’ll need to setup a hostname for our machine running Ubuntu 16.04 LTS. Officially, hostname of our machine should be set to box.example.com so that our installation goes easy:
nano /etc/hostname
Then, we’ll need to append the file to the following line:
box.https://wpcademy.com
Step 3. Adding Hosts.
Now, we’ll edit /etc/hosts file so that we can associate our hostname with the server’s ip address where we are going to setup mailinabox. To do so, we’ll need to execute the following command:
nano /etc/hosts
Then, we’ll need to append the file with the following lines:
127.0.0.1 localhost.localdomain localhost
server_ip_address box.wpcademy.com box
Step 4. Installing Mail-in-a-Box.
Run the following command to install Mail-in-a-Box:
curl -s https://mailinabox.email/bootstrap.sh | sudo bash
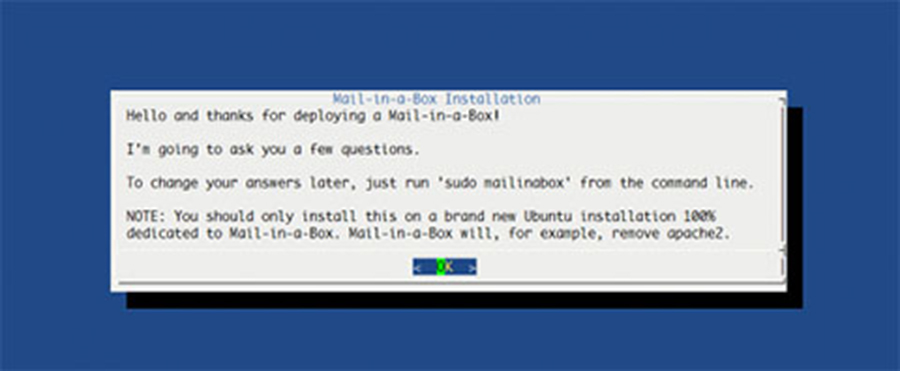
The script will prompt you with the introductory message in the following image. Press the Enter button on the keyboard:

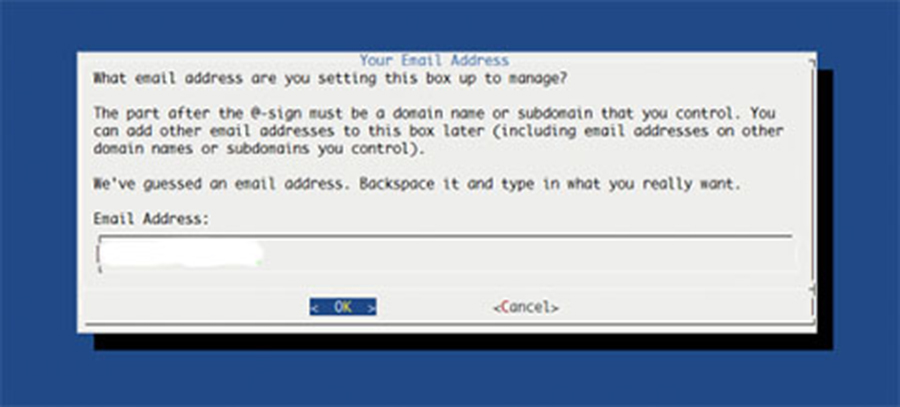
First question, we will be asked to enter our email address that we’ll use to login to our Mail-in-a-box control panel and use as the default email address for our server. We can add other email addresses later. Once it is done, we will continue by selecting OK in the menu.

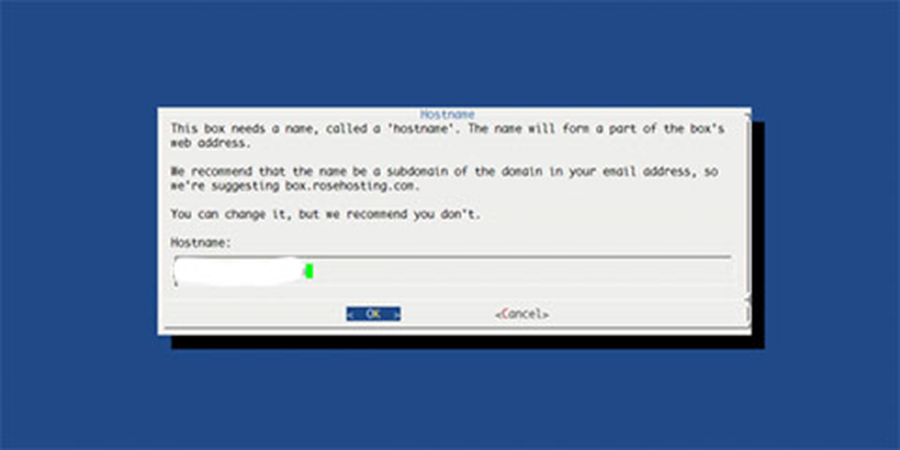
Next, we will be asked to enter the hostname for our mail server. As we have already set in the above step, we should be prompted with box.rosehosting.com as the default hostname. So, we will simply leave it as is and continue further.

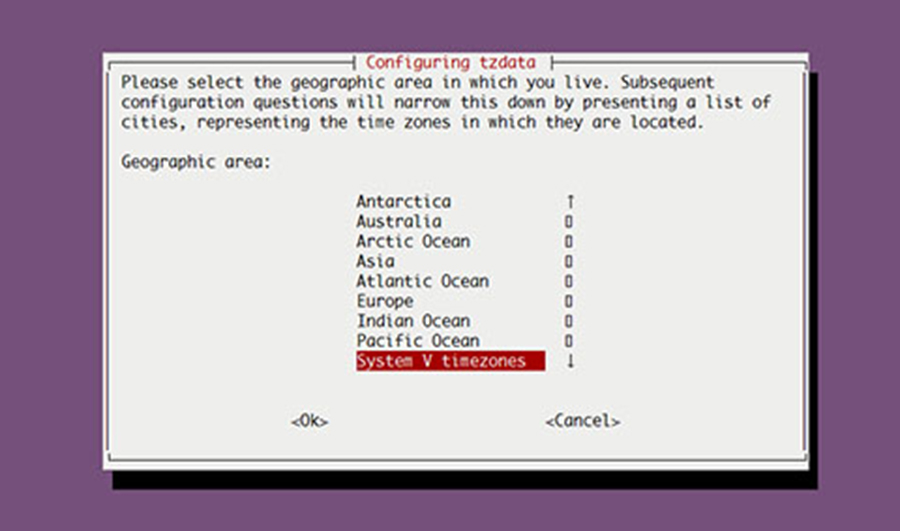
Once it is done, we will be asked to select our country where we live. After we have selected our country, we will need to hit enter to proceed ahead. This will prompt another box asking us to enter the city or region corresponding with our timezone. Doing this will exit the box and continue the installation process.

At some point, you will get this prompt:
Okay. I'm about to set up [email protected] for you. This account will also have access to the box's control panel.
password:
That’s it. You are pretty much done. All that is left is to point your domains’ DNS to Mail-in-a-Box and you will have a fully functional Mail server, webmail, calendar, web server and contacts.
Step 5. Accessing Mail-in-a-Box Panel.
Mail-in-a-Box will be available on HTTP port 80 by default. Open your favorite browser and navigate to http://yourdomain.com/admin or http://server-ip/admin. If you are using a firewall, please open port 80 to enable access to the control panel.
[youtube https://www.youtube.com/watch?v=9WOmkoEYMIg]
Congratulation’s! You have successfully installed Mail-in-a-Box. Thanks for using this tutorial for installing Mail-in-a-Box on Ubuntu 16.04 LTS (Xenial Xerus) system. For additional help or useful information, we recommend you to check the official Mail-in-a-Box web site.
