Ncdu (NCurses Disk Usage) is a command line tool to view and analyse disk space usage on linux. It can drill down into directories and report space used by individual directories. This way it is very easy to track down space consuming files/directories. This article walks you through the process of installing and using NCDU on a Linux server.
This article assumes you have at least basic knowledge of Linux, know how to use the shell, and most importantly, you host your site on your own VPS. The installation is quite simple and assumes you are running in the root account, if not you may need to add ‘sudo’ to the commands to get root privileges. I will show you through the step by step installation NCDU on a Ubuntu 17.04 Zesty Zapus server.
Install NCDU on Ubuntu 17.04
Step 1. First make sure that all your system packages are up-to-date by running these following apt-get commands in the terminal.
sudo apt-get update
sudo apt-get upgrade
Step 2. Installing NCDU.
First, add the PPA (personal package archive) repo by executing the following command:
add-apt-repository ppa:eugenesan/ppa
Install NCDU itself with this command:
apt-get update
apt-get install ncdu
Step 3. Ncdu sample usage
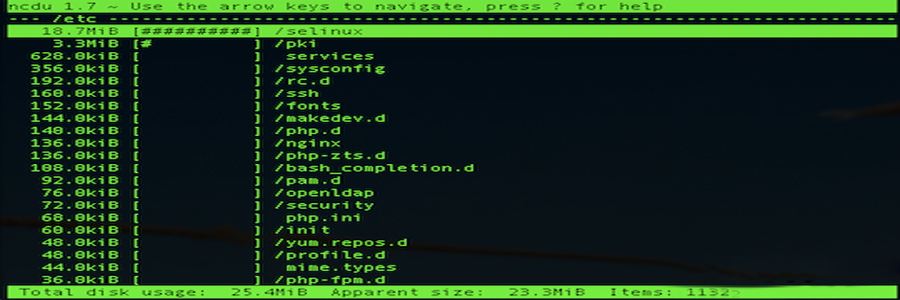
To start ncdu type following command on your terminal:
ncdu

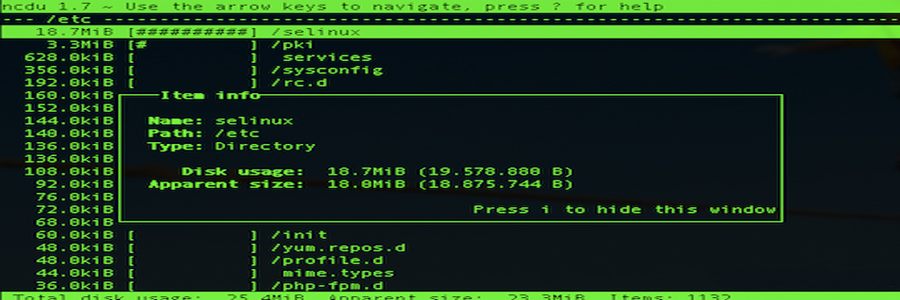
To get more information on selected directory press “i” button:

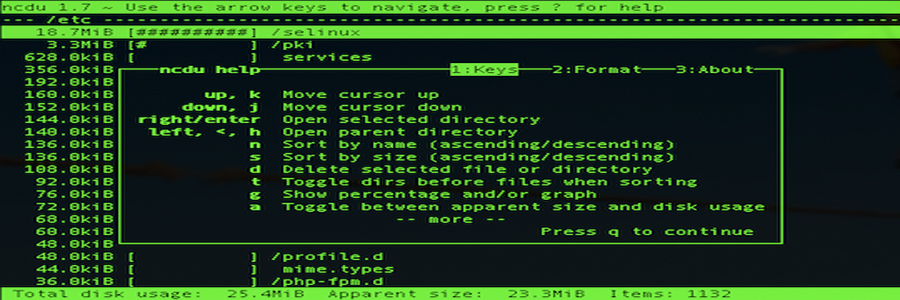
To see help window with ncdu available options press “Shift+?” key combination. You can use arrow keys to move up and down for more options.

For command line options and other information, go through the man page of ncdu command.
Congratulation’s! You have successfully installed Ncdu. Thanks for using this tutorial for installing NCurses Disk Usage in Ubuntu 17.04 Zesty Zapus system. For additional help or useful information, we recommend you to check the official NCDU web site.
