How To Install ClamAV (0.101.2.tar.gz.sig)on Ubuntu 18.04 LTS

Install ClamAV on Ubuntu 18

ClamAV is an open source (GPL) antivirus engine designed for detecting viruses, malware and other malicious threats on Linux. It’s easy to use and best for Linux based Web and Mail server.

This article assumes you have at least basic knowledge of Linux, know how to use the shell, and most importantly, you host your site on your own VPS. The installation is quite simple and assumes you are running in the root account, if not you may need to add ‘sudo’ to the commands to get root privileges. I will show you through the step by step installation ClamAV on a Ubuntu 18.04 LTS (Bionic Beaver) server.

Install ClamAV on Ubuntu 18.04 LTS

Step 1. First make sure that all your system packages are up-to-date

sudo apt-get update
sudo apt-get upgrade

Step 2. Installing ClamAV on Ubuntu 18.04 LTS.

ClamAV is available in the Ubuntu repositories, you can install using following command:

sudo apt install clamav

Update virus database with Freshclam:

sudo freshclam

It’ll take a few minutes to complete. When it’s done, restart the service:

sudo systemctl start clamav-freshclam

Try to scan:

clamscan --infected --remove --recursive /home

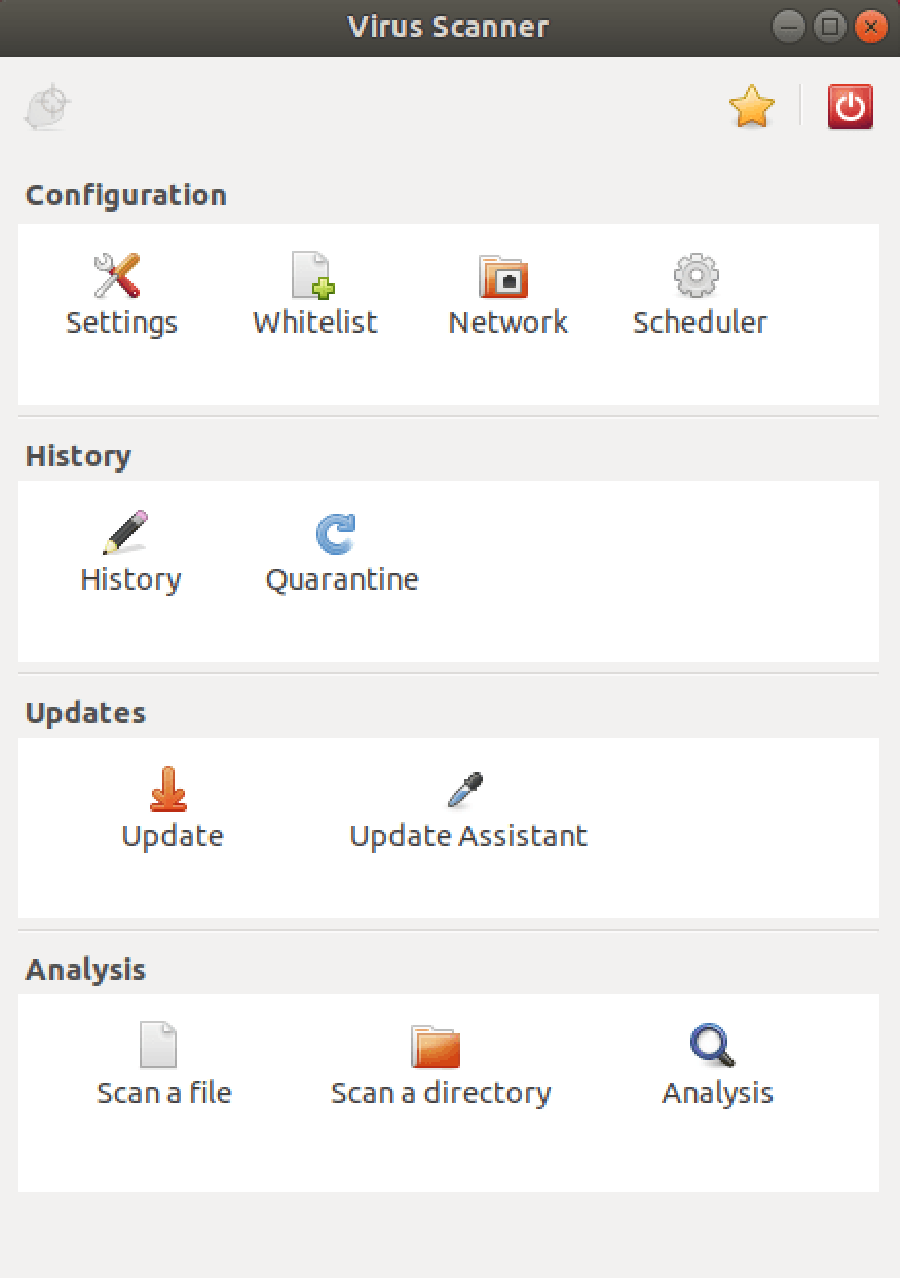
Step 3. Installing ClamTK.

ClamTK package provides GUI window, This is useful for desktop user:

sudo apt install clamtk

ClamTk-GUI

Congratulation’s! You have successfully installed ClamAV. Thanks for using this tutorial for installing ClamAV open source antivirus engine in Ubuntu 18.04 LTS Bionic Beaver system. For additional help or useful information, we recommend you to check the official ClamAV web site.

How To Install ClamAV on CentOS 6

Install ClamAV on CentOS 6

ClamAV is an open source (GPL) antivirus engine designed for detecting viruses, malware and other malicious threats on Linux.  It’s easy to use and best for Linux based Web & Mail server. In this article, I will show you through the step by step installation of ClamAV on CentOS 6.x from source.

In this tutorial we will show you how to install and configuration of ClamAV on your CentOS 6 server.

Install ClamAV on CentOS 6

Step 1. First add yum repository your system.

The EPEL repo is enabled by simply installing an RPM. Please use the command below to install the EPEL repository on your CentOS server.

#CentOS 6 – 32-bit
rpm -Uvh http://mirror.overthewire.com.au/pub/epel/6/i386/epel-release-6-8.noarch.rpm

#CentOS 6 – 64-bit
rpm -Uvh http://download.fedoraproject.org/pub/epel/6/x86_64/epel-release-6-8.noarch.rpm


Step 2.
Install required ClamAV packages.

 yum install clamav clamd

Step 3. Start the clamd service on system boot.

chkconfig clamd on
service clamd start

Update ClamAV’s signatures:

 freshclam

Step 4. Configuring daily scan.

In this example, I will configure a cronjob to scan the /home/ directory every day:

 nano /etc/cron.daily/clamav_scan

Add following piece of code into clamav_scan file.

#!/bin/bash
SCAN_DIR="/home"
LOG_FILE="/var/log/clamav/manual_clamscan.log"
/usr/bin/clamscan -i -r $SCAN_DIR >> $LOG_FILE

Give our cron script executable permissions:

 chmod +x /etc/cron.daily/clamav_scan

Congratulation’s! You have successfully installed ClamAV. Thanks for using this tutorial for installing ClamAV in CentOS 6 system. For additional help or useful information, we recommend you to check the official ClamAV web site.

You Might Also Like: How To Install Rar/Unrar on CentOS