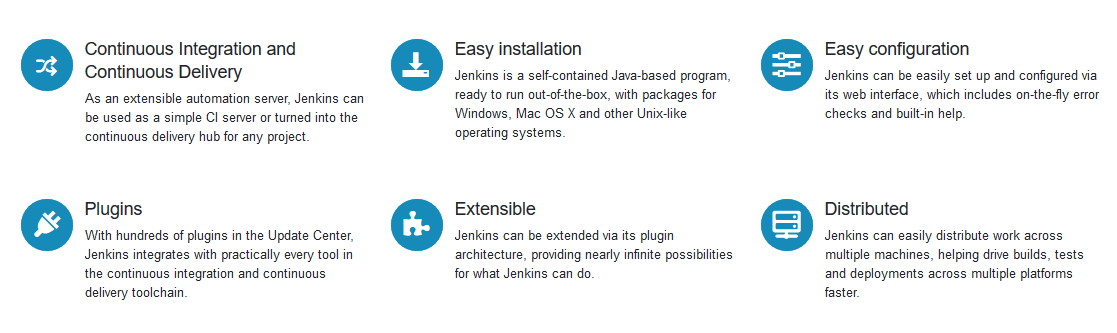
Jenkins is an open source continuous integration tool written in Java. Jenkins provides continuous integration services for software development. It is a server-based system running in a servlet container such as Apache Tomcat. It supports SCM tools including AccuRev, CVS, Subversion, Git, Mercurial, Perforce, Clearcase and RTC, and can execute Apache Ant and Apache Maven based projects as well as arbitrary shell scripts and Windows batch commands.
This article assumes you have at least basic knowledge of Linux, know how to use the shell, and most importantly, you host your site on your own VPS. The installation is quite simple and assumes you are running in the root account, if not you may need to add ‘sudo’ to the commands to get root privileges. I will show you through the step by step installation Apache Kafka on a 18.04 LTS (Bionic Beaver) server.
Install Jenkins on Ubuntu 18.04 LTS
Step 1. First make sure that all your system packages are up-to-date
sudo apt-get update
sudo apt-get upgrade
Step 2. Installing Java.
Jenkins requires Java to be installed on your server. By default, Java is not available in Ubuntu’s repository. Add the Oracle Java PPA to Apt with the following command:
sudo add-apt-repository ppa:webupd8team/java
sudo apt install oracle-java8-installer
sudo apt install oracle-java8-set-default
Verify the Java version by running the following command:
java -version
Step 3. Installing Jenkins on Ubuntu 18.04 LTS.
Add the key and source list to apt:
wget -q -O - https://pkg.jenkins.io/debian-stable/jenkins.io.key | sudo apt-key add -
sudo apt-add-repository "deb https://pkg.jenkins.io/debian-stable binary/"
Now, start proceed installation Jenkins:
sudo apt-get update
sudo apt-get install jenkins
Start Jenkins service:
systemctl start jenkins
Jenkins will write log files to /var/log/jenkins/jenkins.log. You can also fine-tune the configuration.
Step 4. Installing and Configure Apache web server for Jenkins.
Install Apache web server on your system:
apt-get install apache2
Create a new virtual host directive in Apache. For example, create a new Apache configuration file named ‘jenkins.conf’ on your virtual server:
a2enmod proxy
a2enmod proxy_http
a2ensite jenkins
touch /etc/apache2/sites-available/jenkins.conf
ln -s /etc/apache2/sites-available/jenkins.conf /etc/apache2/sites-enabled/jenkins.conf
nano /etc/apache2/sites-available/jenkins.conf
Add the following lines:
<Virtualhost *:80>
    ServerName        my.jenkins.id
    ProxyRequests     Off
    ProxyPreserveHost On
    AllowEncodedSlashes NoDecode

    <Proxy http://localhost:8080/*>
      Order deny,allow
      Allow from all
    </Proxy>

    ProxyPass         /  http://localhost:8080/ nocanon
    ProxyPassReverse  /  http://localhost:8080/
    ProxyPassReverse  /  http://my.jenkins.id/
</Virtualhost>
Save and close the file. Restart the apache and jenkins service for the changes to take effects:
systemctl restart apache2
systemctl restart jenkins
Step 5. Accessing Jenkins.
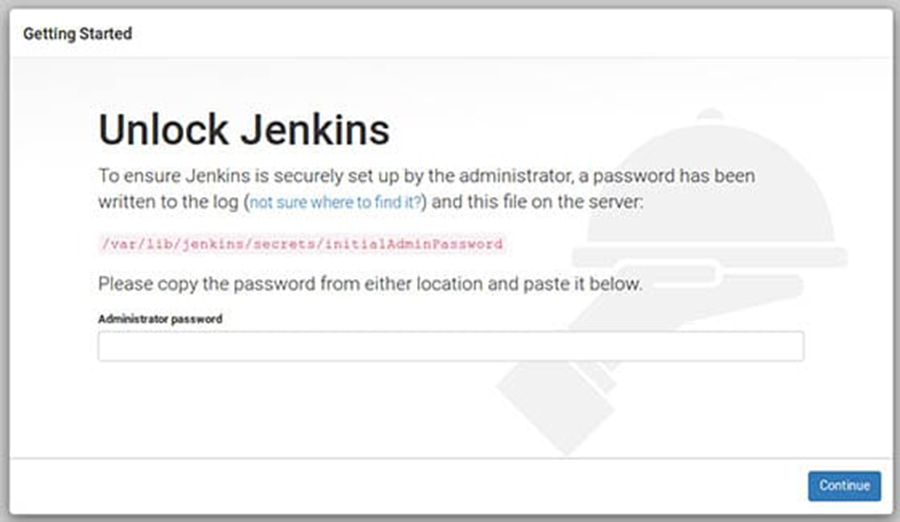
Jenkins will be available on HTTP port 8080 by default. Open your favorite browser and navigate to http://yourdomain.com:8080 or http://server-ip:8080 and complete the required the steps to finish the installation. If you are using a firewall, please open port 8080 to enable access to the control panel. Default installation password can be found at /var/lib/jenkins/secrets/initialAdminPassword as showing in below image.