MyWebSQL is a powerful web interface designed to help handle all aspects of your MySQL server through a web browser. Made to be fast, easy-to-use, and readily accessible from anywhere, MyWebSQL allows you to keep track of your databases from any location, through any device. And with support for various MySQL servers, you also don’t need to worry about it supporting the one you are currently using. If you’re looking for a web management tool, but you need something other than phpMyAdmin, then this is a solid choice to go with. In this tutorial we will learn how to Install MyWebSQL on CentOS 7 Step by Step.
Prerequisites
This tutorial assumes you have at least basic knowledge of Linux, know how to use the shell, and most importantly, you host your site on your own VPS. The installation is quite simple and assumes you are running in the root account, if not you may need to add ‘sudo’ to the commands to get root privileges. I will show you through the step by step installation MyWebSQL on a CentOS 7 server.
Install MyWebSQL on CentOS 7
Step 1. First, let’s start by ensuring your system is up-to-date.
yum clean all
yum install -y epel-release
yum -y update
Step 2. Install LAMP server.
An CentOS 7 LAMP stack server is required. you need to install LAMP server with the following link. Also install required PHP modules:
yum -y install php-gd php-imap php-ldap php-odbc php-pear php-xml php-xmlrpc php-mbstring php-mcrypt php-mssql php-snmp php-soap php-tidy curl curl-devel
Step 3. Installing MyWebSQL on CentOS 7.
First, download a MyWebSQL package from the terminal using the wget command:
wget https://downloads.sourceforge.net/project/mywebsql/stable/mywebsql-3.7.zip
Once this is done, we will need to unzip the file into our httpd folder. You can unzip the file by entering this command:
unzip mywebsql-3.7.zip -d /var/www/html
Change ownership and permission of the as MyWebSQL follows:
chown -R www-data:www-data /var/www/html/mywebsql/
chmod -R 775 /var/www/html/mywebsql/
Restart the Apache web server to take effect:
systemctl restart httpd
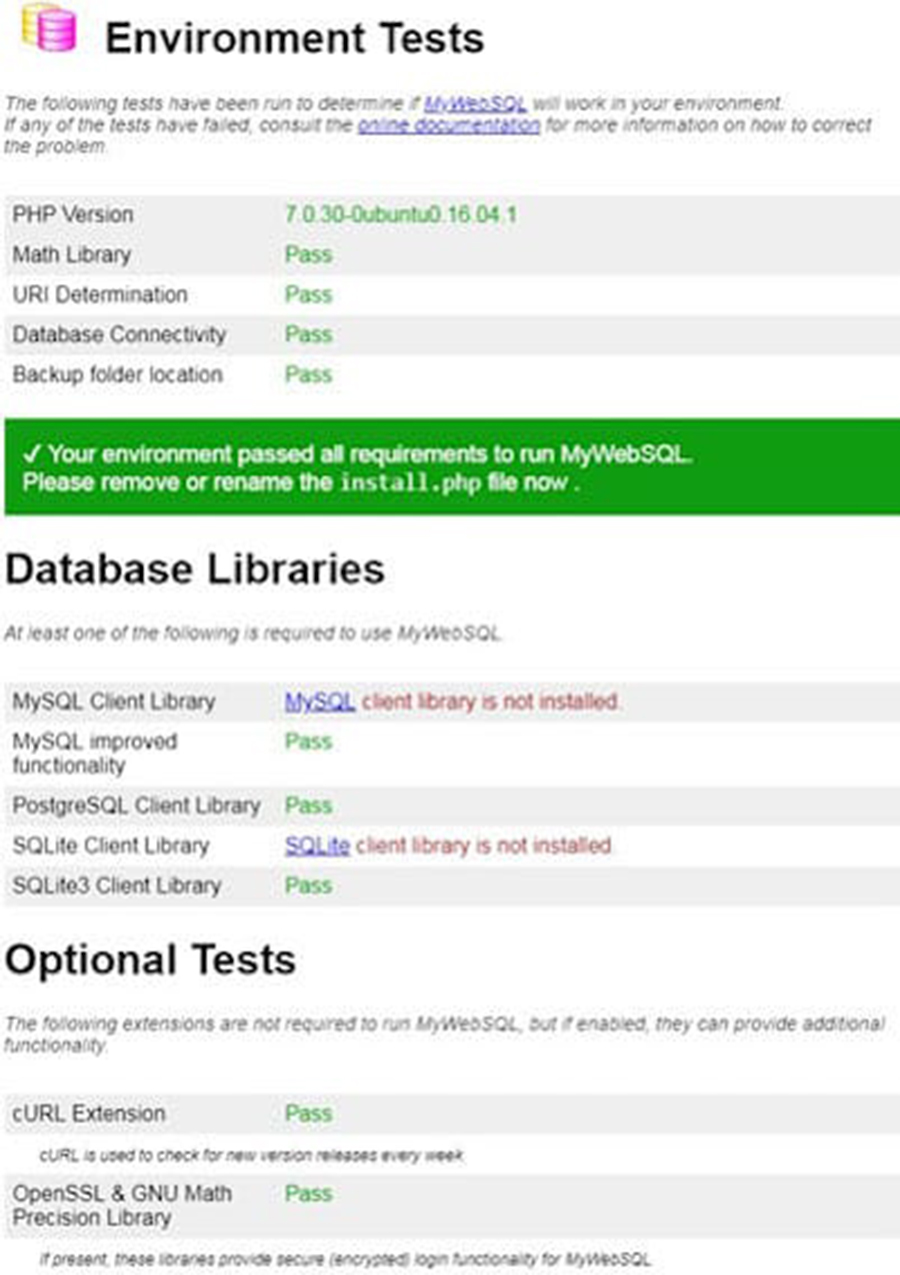
Then, You can now test and verify the installation by the typing the following in your browser (using your own server IP address): http://your-IP-address/mywebsql/install.php.

Congratulation’s! You have successfully installed MyWebSQL. Thanks for using this tutorial for installing MyWebSQL in CentOS 7 system. For additional help or useful information, we recommend you to check the official MyWebSQL web site.