WordPress is software designed for everyone, emphasizing accessibility, performance, security, and ease of use. WP believe great software should work with minimum set up, so you can focus on sharing your story, product, or services freely. The basic WordPress software is simple and predictable so you can easily get started. It also offers powerful features for growth and success.
But in non-geek speak, it’s probably the easiest and most powerful blogging and website content management system (or CMS) in existence today.
This article assumes you have at least basic knowledge of Linux, know how to use the shell, and most importantly, you host your site on your own VPS. The installation is quite simple and assumes you are running in the root account, if not you may need to add ‘sudo’ to the commands to get root privileges. I will show you through the step by step installation WordPress content management systems on a Ubuntu 16.04 server.
Speed Up WordPress Using Redis Caching
Step 1. First make sure that all your system packages are up-to-date
sudo apt-get update
sudo apt-get upgrade
Step 2. Installing WordPress
If you do not have WordPress installed, you can follow WP Installation guide here.
Step 3. Installing Redis.
In order to use Redis with WordPress, two packages need to be installed: redis-server and php-redis. The redis-server package provides Redis itself, while the php-redis package provides a PHP extension for PHP applications like WordPress to communicate with Redis:
apt-get install redis-server
apt-get install php-redis
Start and enable Redis on system boot:
systemctl start redis.service
systemctl enable redis.service
Step 4. Install Redis Caching Plugin in WordPress.
After installing Redis and the PHP Redis client extension, log in to your WordPress Dashboard and select Add New from the Plugins menu.
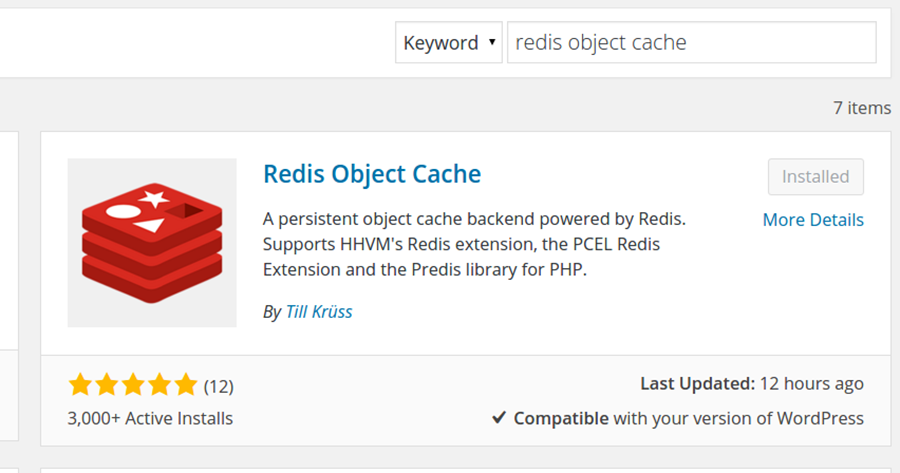
Then, search for “Redis Object Cache” and click Install Now on the matching result.

Next, navigate to Settins > Redis and click on Enable Object Cache to enable the object caching in WordPress. The default configuration should work out of the box sonce the default Redis listening address is 127.0.0.1 and the default listening port is 6379.
Step 5. Verify WordPress caching.
To check whether the WordPress caching works OK with Redis you can connect to your server via SSH and run the following command:
redis-cli monitor
When you run this command, you will see the real-time output of Redis serving cached queries. If you don’t see anything, visit your website and reload a page.
Congratulation’s! You have successfully installed WordPress with Redis Caching.
