How To Install VirtualBox on CentOS 7

VirtualBox on CentOS 7

VirtualBox is a free and open-source hypervisor software, allows you to create and run a guest operating systems (“virtual machines”) such as Linux and Windows on top of the host operating system.VirtualBox supports both software-based and Hardware-assisted virtualization.

Table of Contents

Step 1. First let’s start by ensuring your system is up-to-date.

Step 2. Installing required package and development tools:

Step 3. Installing VirtualBox on CentOS 7.

Step 4. Accessing VirtualBox.

Prerequisites

This article assumes you have at least basic knowledge of Linux, know how to use the shell, and most importantly, you host your site on your own VPS. The installation is quite simple and assumes you are running in the root account, if not you may need to add ‘sudo’ to the commands to get root privileges. I will show you through the step by step installation VirtualBox on a CentOS 7 server.
Install VirtualBox on CentOS 7

Step 1. First let’s start by ensuring your system is up-to-date.

yum clean all
rpm -Uvh https://epel.mirror.angkasa.id/pub/epel/7/x86_64/e/epel-release-7-10.noarch.rpm
yum -y update

Step 2. Installing required package and development tools:

Before installing VirtualBox make sure to install all required packages to run VirtualBox:

yum install kernel-devel kernel-headers dkms
yum groupinstall "Development Tools"
yum update

Download and import Oracle public key:

rpm --import oracle_vbox.asc

Download VirtualBox repo file for CentOS 7 and move it into /etc/yum.repos.d directory:

wget http://download.virtualbox.org/virtualbox/rpm/el/virtualbox.repo -O /etc/yum.repos.d/virtualbox.repo

Step 3. Installing VirtualBox on CentOS 7.

Use the following command to install VirtualBox using yum command:

yum install VirtualBox-4.3

Rebuild kernel modules with following command:

service vboxdrv setup

Add your user name in to vboxuser group:

usermod -a -G vboxusers user_name

Step 4. Accessing VirtualBox.

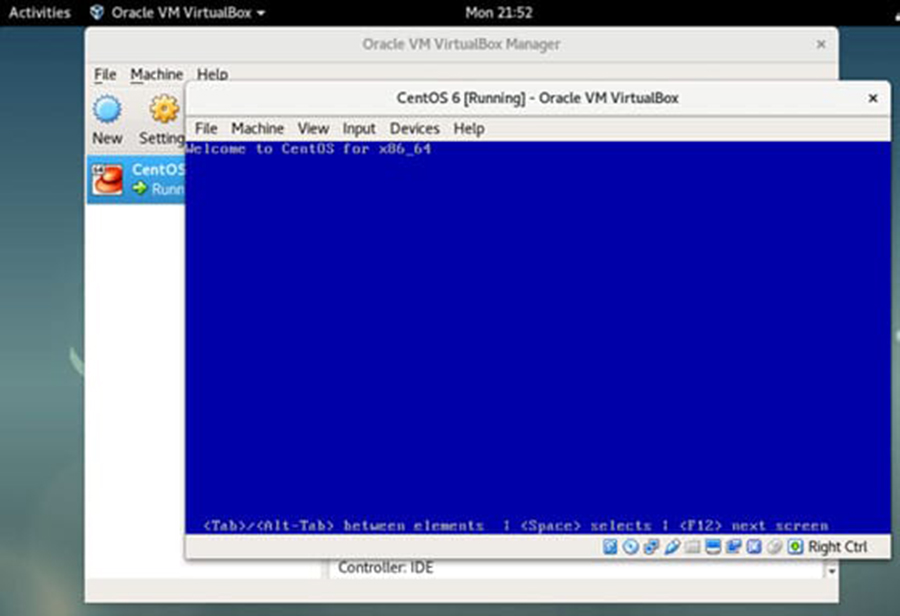
Once it’s installed, start it from your application menu, or run the command below to start VirtualBox from terminal or find the application on your ubuntu dash and launch it.:

virtualbox
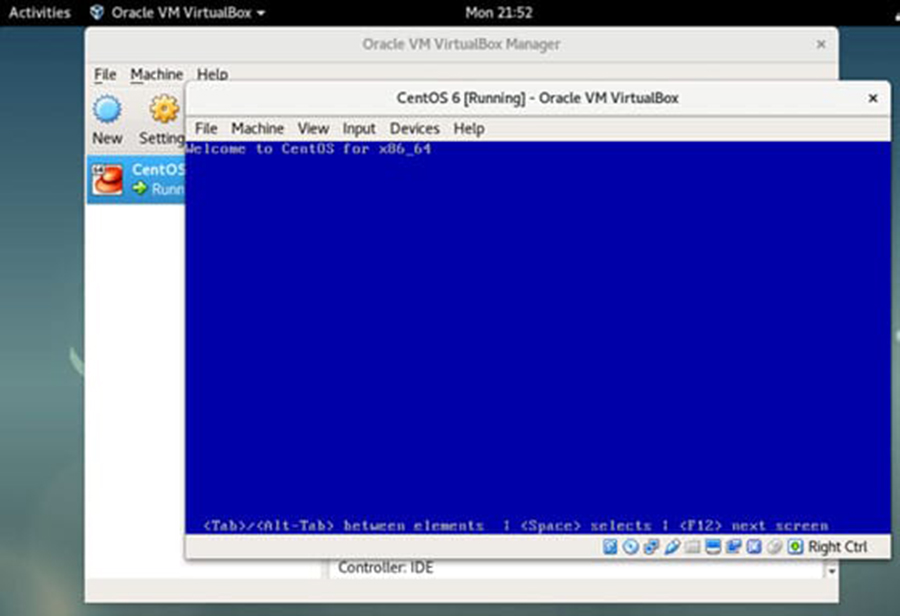
Install-VirtualBox
Congratulation’s! You have successfully installed VirtualBox. Thanks for using this tutorial for installing VirtualBox on CentOS 7 server. For additional help or useful information, we recommend you to check the official VirtualBox web site.

How To Install VirtualBox on Ubuntu 18.04 LTS

Install VirtualBox on Ubuntu 18

VirtualBox is a free and open-source hypervisor software, allows you to create and run a guest operating systems (“virtual machines”) such as Linux and Windows on top of the host operating system. VirtualBox supports both software-based and Hardware-assisted virtualization. In this tutorial we will learn How To Install VirtualBox on Ubuntu 18.04 LTS.

This article assumes you have at least basic knowledge of Linux, know how to use the shell, and most importantly, you host your site on your own VPS. The installation is quite simple and assumes you are running in the root account, if not you may need to add ‘sudo’ to the commands to get root privileges. I will show you through the step by step installation VirtualBox on a Ubuntu 18.04 (Bionic Beaver) server.

Install VirtualBox on Ubuntu 18.04 LTS

Step 1. First, make sure that all your system packages are up-to-date

sudo apt-get update
sudo apt-get upgrade
sudo apt-get install gcc make linux-headers-$(uname -r) dkms

Step 2. Installing VirtualBox on Ubuntu 18.04 LTS.

First, run the commands below to add VirtualBox repository key:

sudo sh -c 'echo "deb http://download.virtualbox.org/virtualbox/debian $(lsb_release -sc) contrib" >> /etc/apt/sources.list.d/virtualbox.list'

Next, we need to download and import the Oracle GPG public key to Ubuntu system with the following command:

wget -q https://www.virtualbox.org/download/oracle_vbox_2016.asc -O- | sudo apt-key add -
wget -q https://www.virtualbox.org/download/oracle_vbox.asc -O- | sudo apt-key add -

Install the VirtualBox 5, command as follows:

apt-get update
apt-get install virtualbox-5.2

Step 4. Accessing VirtualBox.

Once it’s installed, start it from your application menu, or run the command below to start VirtualBox from terminal or find the application on your ubuntu dash and launch it.:

virtualbox

Install-VirtualBox

Congratulation’s! You have successfully installed VirtualBox. Thanks for using this tutorial for installing VirtualBox on Ubuntu 18.04 LTS (Bionic Beaver) server. For additional help or useful information, we recommend you to check the official VirtualBox web site.

You Might Also Like: How To Install Vagrant on Ubuntu 18.04 LTS

How To Install VirtualBox on Ubuntu 17.04

VirtualBox is a free and open-source hypervisor software, allows you to create and run a guest operating systems (“virtual machines”) such as Linux and Windows on top of the host operating system.VirtualBox supports both software-based and Hardware-assisted virtualization.

This article assumes you have at least basic knowledge of Linux, know how to use the shell, and most importantly, you host your site on your own VPS. The installation is quite simple and assumes you are running in the root account, if not you may need to add ‘sudo’ to the commands to get root privileges. I will show you through the step by step installation VirtualBox on a Ubuntu 17.04 (Zesty Zapus) server.

Install VirtualBox on Ubuntu 17.04 Zesty Zapus

Step 1. First, make sure that all your system packages are up-to-date by running these following apt-get commands in the terminal.

sudo apt-get update
sudo apt-get upgrade

Step 2. Installing VirtualBox on Ubuntu 17.04.

First, run the commands below to add VirtualBox repository key:

nano /etc/apt/sources.list

Add the following line to it:

deb http://download.virtualbox.org/virtualbox/debian zesty contrib

Next, we need to download and import the Oracle GPG public key to Ubuntu system with the following command:

wget -q https://www.virtualbox.org/download/oracle_vbox_2016.asc -O- | sudo apt-key add -
wget -q https://www.virtualbox.org/download/oracle_vbox.asc -O- | sudo apt-key add -

Install the VirtualBox 5, command as follows:

apt-get update
apt-get install virtualbox-5.1

Step 4. Accessing VirtualBox.

Once it’s installed, start it from your application menu, or run the command below to start VirtualBox from terminal or find the application on your ubuntu dash and launch it.:

virtualbox

Install-VirtualBox
Congratulation’s! You have successfully installed VirtualBox. Thanks for using this tutorial for installing VirtualBox on Ubuntu 17.04 (Zesty Zapus) server. For additional help or useful information, we recommend you to check the official VirtualBox web site.