Hiawatha is a web server built with the focus on security. It has built-in rules that can prevent cross-site scripting and forgery, SQL injections, and resource expenditure. Although its focus is on security, it also excels in performance due to its lightweight design. When combining the Hiawatha web server with PHP-FPM and MySQL, you can have a powerful web server that is both light-weight and secure.
This article assumes you have at least basic knowledge of linux, know how to use the shell, and most importantly, you host your site on your own VPS. The installation is quite simple and assumes you are running in the root account, if not you may need to add ‘sudo’ to the commands to get root privileges. I will show you through the step by step installation Hiawatha on a Ubuntu 16.04 (Xenial Xerus) server.
Hiawatha Features
CGI and load balancing FastCGI support
Large file support
Reverse proxy functionality
Chroot support
URL toolkit which supports URL rewriting
SSL and TLS support
Basic and digest HTTP authentication
Upload speed control by traffic shaping
Internal file caching
IPv6 support
HTTP compression using gzip
Virtual hosting
Support for WebDAV applications
Support for Server Name Indication included in v8.6
Install Hiawatha Web Server on Ubuntu 16.04
Step 1. First make sure that all your system packages are up-to-date by running these following apt-get commands in the terminal.
sudo apt-get update
sudo apt-get upgrade
Step 2. Installing Hiawatha Web Server.
First, get and install the repository’s public key:
apt-key adv --recv-keys --keyserver keys.gnupg.net 79AF54A9
nano /etc/apt/sources.list
Add the following to sources.list:
deb http://mirror.tuxhelp.org/debian/ squeeze main
Install Hiawatha with the following command:
apt-get update
apt-get install hiawatha
Start Hiawatha and add it to automatically start on your system start-up using:
systemctl enable hiawatha.service
systemctl start hiawatha.service
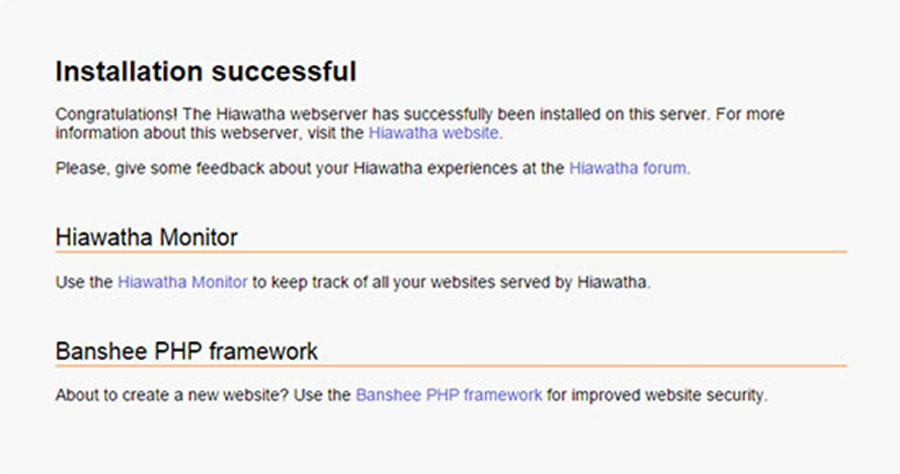
You can verify that Hiawatha web server is really running by opening your favorite web browser and entering the URL http://your-server’s-address, if it is installed, then you will see this:

Using the default settings, you can put your web content in the following directory:
/var/www/hiawatha
For any configuration changes that you may want to make, you can go to the following directory:
/etc/hiawatha
Congratulation’s! You have successfully installed Hiawatha. Thanks for using this tutorial for installing Hiawatha web server in Ubuntu 16.04 (Xenial Xerus) LTS systems. For additional help or useful information, we recommend you to check the official Hiawatha web site.
