
In this tutorial, we will learn how to add content locking in WordPress without annoying users.
What is Content Locking & When You Need It?
Content Locking is a technique used by site owners. It forces users to perform an action before getting access to your content.

If it is not used properly, then it could annoy your users. But when it is done right, it could be very effective in generating leads and achieving your marketing goals.
The best time to use content locking is when you are offering highly valuable content such as a free course, an ebook download, or something similar.
It uses the same psychological trick as content upgrades. Users wouldn’t mind performing a little task in exchange of valuable content.
Now that you know the use case, let’s see how you can easily add content locking in WordPress like a pro.
What Do You Need for Content Locking in WordPress?
For this tutorial, we will be using OptinMonster. It is the best lead generation solution in the market. You will need a plus or pro plan of OptinMonster for content locking.
WPCademy users can get a 10% discount by using this OptinMonster coupon.
Adding Content Locking in WordPress
First thing you need to do is install and activate the OptinMonster plugin. For more details, see our step by step guide on how to install a WordPress plugin.
This plugin is just a connector between your WordPress site and your OptinMonster account.
Upon activation, click on the OptinMonster menu item in your WordPress admin bar. You will be asked to provide your OptinMonster API username and key.
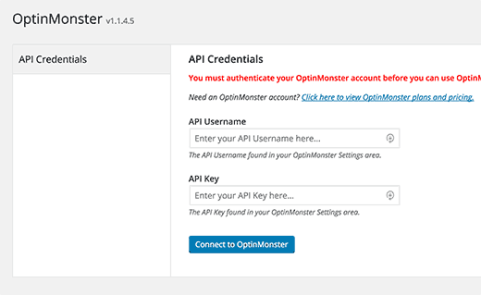
You can find the API information under your account on the OptinMonster website. Simply login and then click on the API link.

Next, copy and paste the API username and key into the OptinMonster plugin page and then click on connect to OptinMonster button.
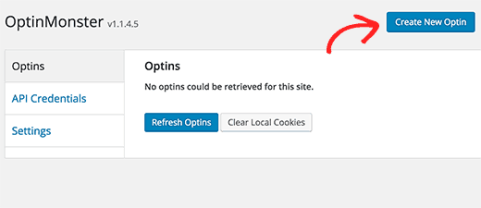
Once you are successfully connected, you need to click on the create new optin button.
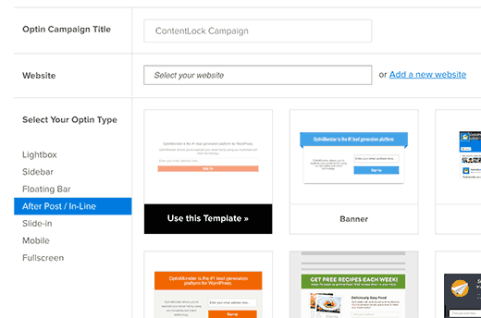
This will take you to the OptinMonster website. You need to provide a title for your optin campaign and select your website from the drop down menu.
You also need to select ‘After post / Inline’ as your optin type. This will load some ready to use templates in the right column. Click on a template to use it as a starting point.
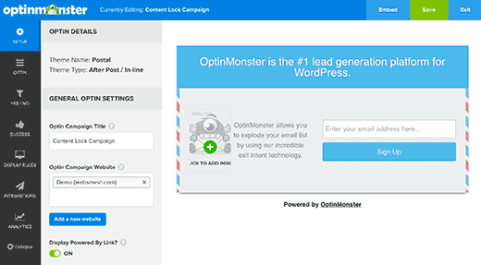
It will open OptinMonster’s form builder where you can customize the appearance of your optin and configure its settings.
Feel free to edit fonts, add text or images, change colors, etc.
Next you need to click on the ‘Optin’ Menu and scroll down to content blocking section. Turn on content blocking for this optin by clicking on the on/off switch.
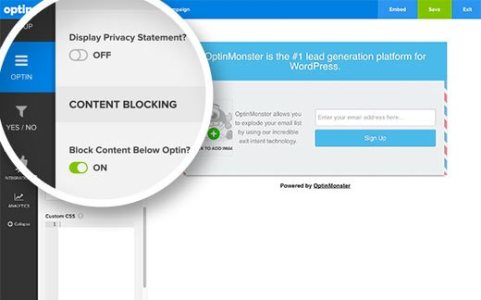
Turning it on will show you the options to determine how you want content blocking to work. First you need to choose a content blocking method.
You can use obfuscation which blurs content, or removal which totally removes the content below optin.
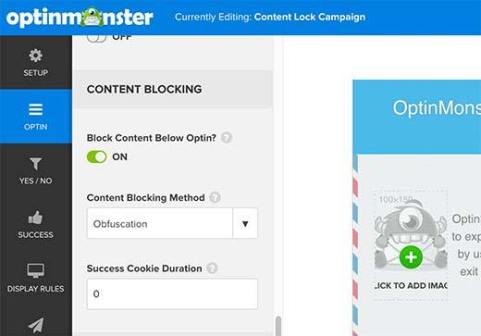
You also need to change success cookie duration to 0. This will prevent cookie from being set until users submits the optin.
After that go through the Integration setting to connect your email marketing service and also configure the analytics setting.
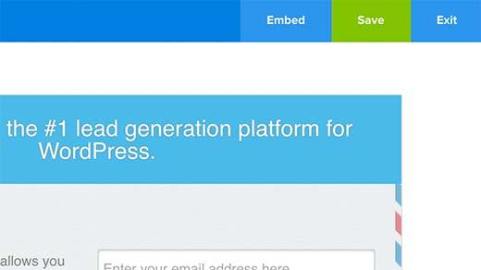
Once you are done, click on the Save button on the top right corner of the builder to save your settings.
Now you need to visit your WordPress site and click on the OptinMonster menu.
You will see your content lock optin under the list of optins. If you don’t see it, then click on refresh optins button.
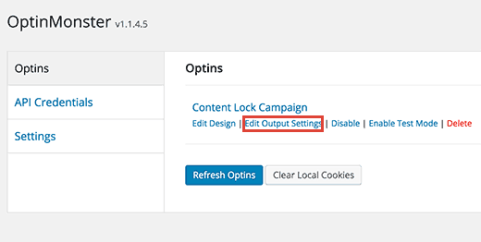
Take your mouse to the optin title and then click on ‘Edit optin output settings’ link.
On the next page, click on the checkbox below ‘Enable optin on site’ option.
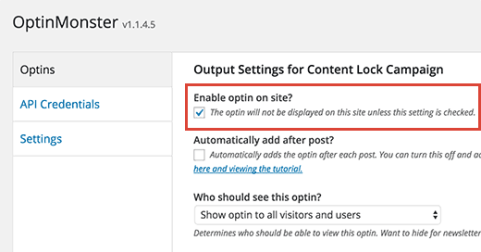
Don’t forget to click on the save settings button at the bottom of the page.
Next, you need to click on the OptinMonster menu again to go back to Optins overview page. This time you need to copy the optin slug.
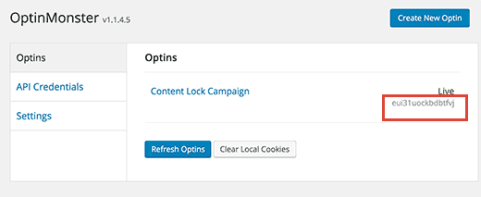
Now you need to edit the post or page where you want to enable content locking and add this shortcode before any other content in your post (or after the first paragraph).
Replace your-optin-slug with the optin slug you copied earlier.
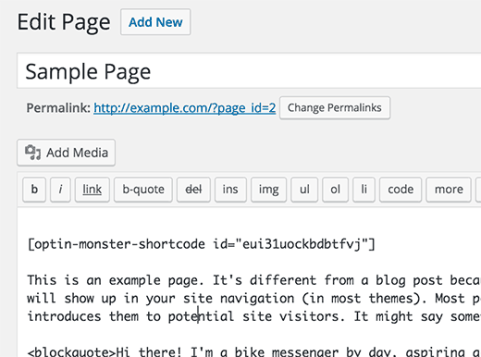
Now you can save and publish your post or page. Visit the post or page in a new browser window to see content locking in action.
How to Add Content Lock to All WordPress Posts
If you want to automatically add content locking to all your WordPress posts, then there is an easier way to do this.
Simply install and activate the Insert Post Ads plugin.
Upon activation, you need to visit Post Adverts » Settings to configure the plugin settings.
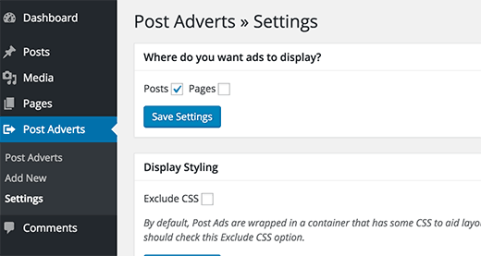
Select where you want to enable post ads plugin posts or pages and then click on save settings button.
Now you need to visit Post Adverts » Add New page. Provide a title for this content locking script and then add your content lock optin shortcode in the advert code section.
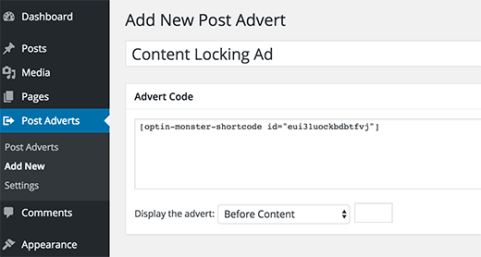
Under ‘Display the advert’ dropdown menu, you can select before the content or choose to add this after the first paragraph and click on the publish button.
That’s all, the plugin will now enable content locking for all your WordPress posts.
Pro Tip: The reason why you may want to add it after the first paragraph is because you can use the first paragraph as a teaser to tell users why they really need to read the rest.
We hope this tutorial helped you add content locking in WordPress.