
Cherokee is an free and open source high-performance web server. It is very fast, flexible and easy to configure. It offers support for the widespread technologies nowadays: FastCGI, SCGI, PHP, CGI, SSI, TLS and SSL encrypted connections, Virtual hosts, Authentication, on the fly encoding, Load Balancing, Apache compatible log files, Data Base Balancer, downtime-free updates and upgrades, Reverse HTTP Proxy, and much more.
This article assumes you have at least basic knowledge of linux, know how to use the shell, and most importantly, you host your site on your own VPS. The installation is quite simple and assumes you are running in the root account, if not you may need to add ‘sudo’ to the commands to get root privileges. I will show you through the step by step installation Cherokee Web Server on a Ubuntu 16.04 (Xenial Xerus) server.
Install Cherokee Web Server on Ubuntu 16.04 LTS
Step 1. First make sure that all your system packages are up-to-date by running these following apt-get commands in the terminal.
sudo apt-get update
sudo apt-get upgrade
Step 2. Enable Cherokee PPA (Personal Package Archive) repository.
add-apt-repository ppa:cherokee-webserver
apt-get update
Step 3.Installing Cherokee Web Server.
Install Cherokee Web Server using apt-get, Enter the following command to install the Cherokee web server including Module SSL:
sudo apt-get install cherokee cherokee-doc libcherokee-mod-libssl libcherokee-mod-streaming libcherokee-mod-rrd
Start Cherokee service daemon.
systemctl start cherokee
systemctl enable cherokee
Step 4. Configuring Cherokee.
The best part about using Cherokee Web Server is being able to manage all of its configurations through a simple to use web interface. It can be started through the cherokee-admin command.
sudo cherokee-admin
By default, cherokee-admin can only accessed from localhost. If you need to access the admin for other network address using the parameter ‘-b’. If you doesn’t mention any ip address, it will automatically listen to all network interfaces. Then you can connect to cherokee-admin from other network address.
sudo cherokee-admin -b
Access cherokee admin from specific network address:
sudo cherokee-admin -b 192.169.1.2
#sudo cherokee-admin -b

Cherokee Web Server 1.2.103 (Dec 059 2014): Listening on port 127.0.0.1:9090,
TLS disabled, IPv6 enabled, using epoll, 4096 fds system limit, max. 2041
connections, caching I/O, 2 threads, 1020 connections per thread, standard
scheduling policy

Login:
 User: admin
 One-time Password: wpcademyEMfQRznWWa6h

Web Interface:
 URL: http://127.0.0.1:9090/
Important: The password is for one time use only. If you need to login again, you should use the same command for generating it.
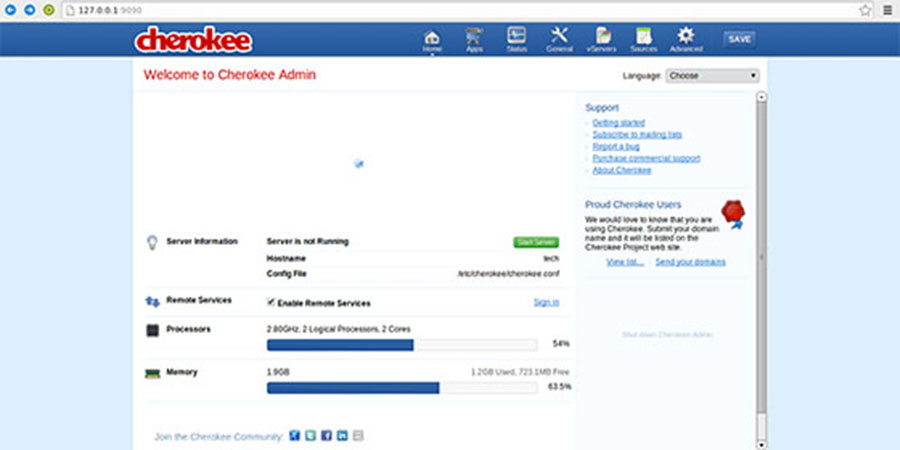
Step 5. Now access Cherokee-Admin by navigating your browser to http://127.0.0.1:9090. Type user name and password for accessing it.
Congratulation’s! You have successfully installed Cherokee Web Server. Thanks for using this tutorial for installing Cherokee Web Server on Ubuntu 16.04 LTS (Xenial Xerus) system. For additional help or useful information, we recommend you to check the official Cheroke web site.