
Gitlab is graphical implementation of git, it is an open source repository management and version control system. GitLab is developed on Ruby on Rails. Using GitLab you can host your source code on your own server. This ensures security of the code, and gives you total freedom on the number of users as well as number of repositories and number of files. GitLab provides you with a platform to collaborate on projects and to keep track of changes in code. GitLab is widely used for software development and version control related tasks. In many ways it is similar to GitHub, except you can install it in your own server.
This article assumes you have at least basic knowledge of linux, know how to use the shell, and most importantly, you host your site on your own VPS. The installation is quite simple and assumes you are running in the root account, if not you may need to add ‘sudo’ to the commands to get root privileges. I will show you through the step by step installation Gitlab on a Ubuntu 18.04 LTS (Bionic Beaver) server.
GitLab Features
GitLab provides you web interface to edit files, directories and create merge requests.
It is self hosted, hence you have full control over your server and the source code hosted inside.
It provides LDAP user authentication and has two factor authentication system which makes the application very secure.
You can insert your own branding in the login page and it also supports project import from GitHub and other sources to GitLab.
It has lots of features like code reviews, issue tracking, activity feeds and inbuilt wiki.
It provides a fine work flow management which gives you ability to create groups for a project, ability to fork a repository as well as it provides ability to manage large binaries with git LFS.
GitLab comes with GitLab CI for continuous integration. You can also Docker with GitLab CI.
It’s free and open source hence you won’t have to deal with any licensing issues.
Install Gitlab on Ubuntu 18.04 LTS Bionic Beaver
Step 1. First make sure that all your system packages are up-to-date
sudo apt-get update
sudo apt-get upgrade
Step 2. Install and Configure the necessary dependencies.
Before we going to install Git-lab, we have to install some prerequisites like ssh and mail services:
sudo apt install curl openssh-server ca-certificates postfix
Step 3. Installing GitLab on Ubuntu 18.04 LTS.
Use following command to install GitLab packages on server:
curl -sS https://packages.gitlab.com/install/repositories/gitlab/gitlab-ce/script.deb.sh | sudo bash
The script will set up your server to use the GitLab maintained repositories. This lets you manage GitLab with the same package management tools you use for your other system packages. Once this is complete, you can install the actual GitLab application with apt:
sudo apt install gitlab-ce
If you are not comfortable installing the repository through a piped script, you can find the entire script here.
Step 4. Configure GitLab on Server.
Now start the configuration by using the gitlab-ctl command:
sudo gitlab-ctl reconfigure
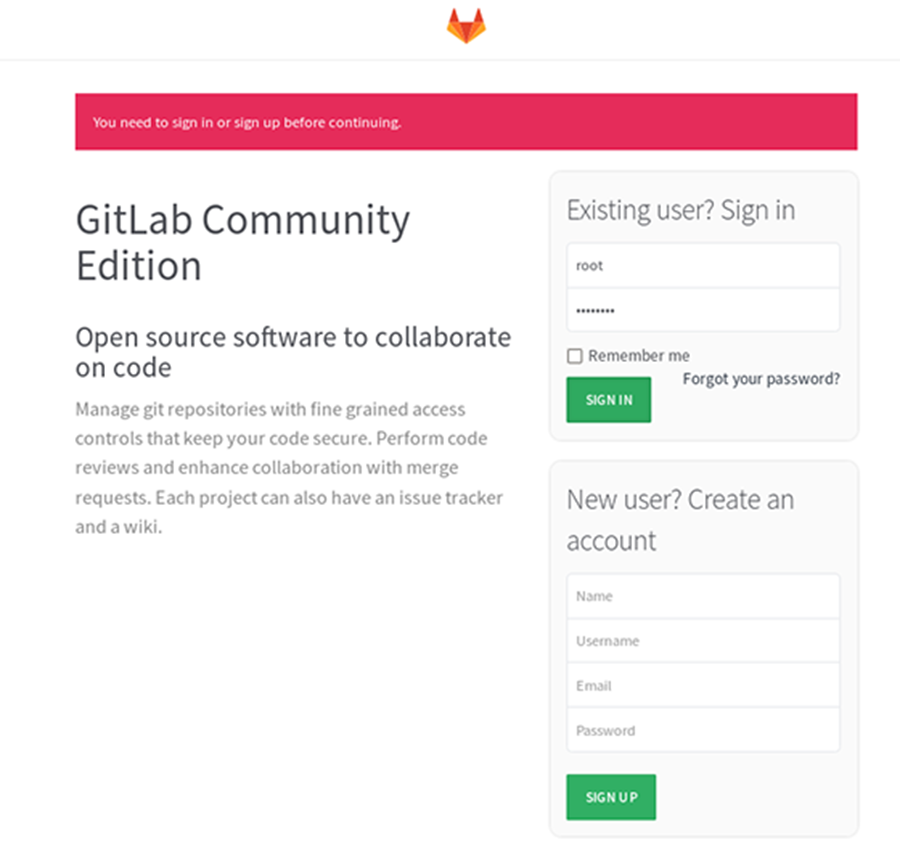
Step 5. Accessing Gitlab.
Gitlab will be available on HTTP port 80 by default. Open your favorite browser and navigate to http://yourdomain.com/ or http://server-ip. Since this is the first time we are accessing the web interface we will be prompted to set the password for the administrative account, so specify the password and the click on “Change your password”. If you are using a firewall, please open port 80 to enable access to the control panel.
Congratulation’s! You have successfully installed Gitlab. Thanks for using this tutorial for installing Gitlab on Ubuntu 18.04 LTS (Bionic Beaver) system. For additional help or useful information, we recommend you to check the official Gitlab web site.