
Katello is an open source content management software. It also performs provisioning and configuration task using foreman. In other words, we can say Katello is the open source Satellite SeServer, whichan push updates to its register Linux Servers or clients. In fact, it is a lifecycle management plugin to Foreman which handles subscription, and repository management.
Table of Contents
Step 1. First, let’s start by ensuring your system is up-to-date.
Step 2. Set Hostname and Firewall Rules.
Step 3. Installing Katello.
Step 4. Accessing the Katello.
Prerequisites
This article assumes you have at least basic knowledge of Linux, know how to use the shell, and most importantly, you host your site on your own VPS. The installation is quite simple and assumes you are running in the root account, if not you may need to add ‘sudo’ to the commands to get root privileges. I will show you through the step by step installation Katello content management software on a CentOS 7 server.
Install Katello on CentOS 7
Step 1. First, let’s start by ensuring your system is up-to-date.
yum clean all
yum -y update
Step 2. Set Hostname and Firewall Rules.
Use the following command to set the hostname:
hostnamectl set-hostname "katello.wpcademy.com
Also update the hostname file too inside /etc/hostname:
echo "192.168.77.1 katello.idroot.net" >> /etc/hosts
Once done with hostname now you’ll need to change firewall rules to open the ports for Katello:
firewall-cmd --permanent --zone=public --add-port=80/tcp --add-port=443/tcp --add-port=5647/tcp --add-port=9090/tcpfirewall-cmd --permanent --zone=public --add-port=8140/tcp --add-port=8443/tcp --add-port=8000/tcp --add-port=67/udp --add-port=68/udp --add-port=69/udpfirewall-cmd --reload
Step 3. Installing Katello.
Katello requires some repositories to be set up before the installation process so there are some repositories that here we are setting up for Katello:
yum -y install http://fedorapeople.org/groups/katello/releases/yum/3.2/katello/el7/x86_64/katello-repos-latest.rpm
yum -y install http://yum.theforeman.org/releases/1.13/el7/x86_64/foreman-release.rpm
yum -y install http://yum.puppetlabs.com/puppetlabs-release-el-7.noarch.rpm
yum -y install http://dl.fedoraproject.org/pub/epel/epel-release-latest-7.noarch.rpm
yum -y install foreman-release-scl
Run the following command to install Katello packages:
yum update
yum install katello
Next, configure your server with NTP for time syncing. Set the time zone with respect to your location:
rm -f /etc/localtime
ln -s /usr/share/zoneinfo/Asia/Calcutta /etc/localtime
yum install ntp -y
ntpdate in.pool.ntp.org
Next start katello installation using foreman-installer command like shown below:
foreman-installer --scenario katello --foreman-admin-username admin --foreman-admin-password
*In above command replace Specify_Passwd with a strong password and this password will be used to login to foreman dashboard in web access of katello.
When the installation will be completed, you’ll get an output stating that Installing Success. If in case your server is running behind the proxy server then you’ll have to run below given command:
foreman-installer --scenario katello --katello-proxy-url http:// --katello-proxy-port --foreman-admin-username admin --foreman-admin-password
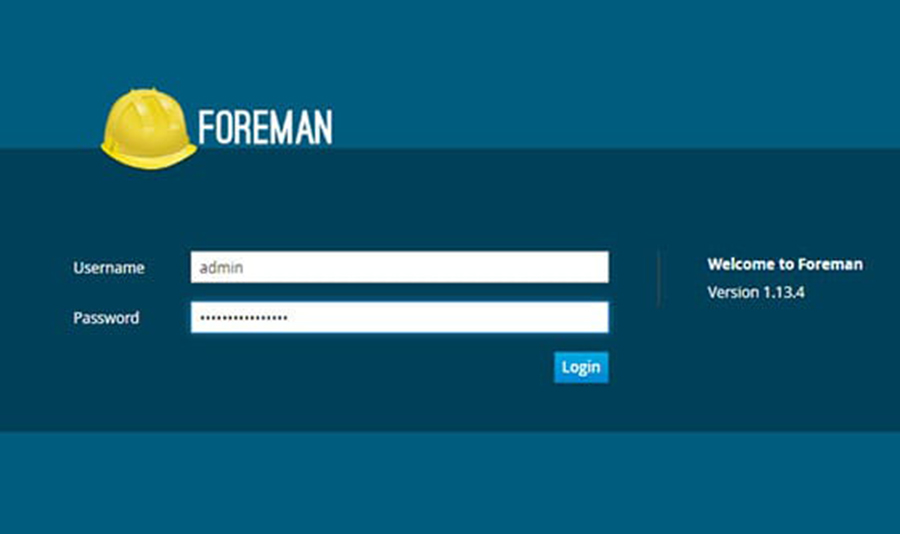
Step 4. Accessing the Katello.
Katello will be available on HTTP port 80 by default. Open your favorite browser and navigate to http://katello.wpcademy.com or http://server-ip and complete the required the steps to finish the installation. Use the username as admin and password that we specify in the above step.
Install Katello on CentOS 7
Congratulation’s! You have successfully installed Katello. Thanks for using this tutorial for installing Katello content management software on a CentOS 7 server. For additional help or useful information, we recommend you to check the official Katello website.