Munin is a free and open-source networked resource monitoring tool. It offers monitoring and alerting services for servers, switches, applications, and services. Munin uses the RRDtool to create graphs which are accessible over a web browser. Also, Munin can be configured to send alerts when some service/application etc. is not working and Munin will automatically send an additional email alert once the problem has been resolved.
This article assumes you have at least basic knowledge of Linux, know how to use the shell, and most importantly, you host your site on your own VPS. The installation is quite simple and assumes you are running in the root account, if not you may need to add ‘sudo’ to the commands to get root privileges. I will show you through the step by step installation Munin monitoring tool on Ubuntu 17.04 Zesty Zapus.
Install Munin on Ubuntu 17.04 Zesty Zapus
Step 1. First make sure that all your system packages are up-to-date by running these following apt-get commands in the terminal.
sudo apt-get update
sudo apt-get upgrade
Step 2. Installing Apache web server.
Munin will generate graphs that are viewed via a web application. So the first thing we need is an Apache web server:
apt-get install apache2 apache2-utils libcgi-fast-perl libapache2-mod-fcgid
Once the installation process is complete, we must ensure that the fcgid module is enabled. Check using the following command:
a2enmod fcgid
Step 3. Installing Munin.
Install Munin and extra plugins using the following command:
apt-get install munin munin-node munin-plugins-extra
Step 4. Configure Munin Master.
Munin puts all its configuration files in /etc/munin. We can start with editing the Munin configuration file /etc/munin/munin.conf:
nano /etc/munin/munin.conf
Edit the Munin configuration file and add/modify the following lines:
dbdir /var/lib/munin
htmldir /var/cache/munin/www
logdir /var/log/munin
rundir /var/run/munin
tmpldir /etc/munin/templates

[localhost]
    address 127.0.0.1
    use_node_name yes
Step 5. Configuring Apache web server.
Next, you will be editing Munin’s apache configuration file to point apache in the right direction when you request the monitoring information:
mv /etc/munin/apache.conf /etc/munin/apache.conf.bak
Edit the ‘/etc/munin/apache.conf’ configuration file and add the following lines:
#nano /etc/munin/apache.conf
<VirtualHost *:80>
   ServerName munin.your-domain.com
   ServerAlias www.munin.your-domain.com
   ServerAdmin [email protected]
      DocumentRoot "/var/cache/munin/www"
      DirectoryIndex index.html

   <Directory "/var/cache/munin/www">
      Options Indexes Includes FollowSymLinks MultiViews
      AllowOverride AuthConfig
      AuthUserFile /etc/munin/htpasswd
      AuthName "munin"
      AuthType Basic
      Require valid-user
      Order allow,deny
      Allow from all
   </Directory>

   CustomLog /var/log/apache2/munin.your-domain.com-access.log combined
   ErrorLog /var/log/apache2/munin.your-domain.com-error.log

   <Directory "/etc/munin/static">
      Require all granted
   </Directory>

   <Directory "/usr/lib/munin/cgi">
      Options +ExecCGI
      Require all granted
   <IfModule mod_fcgid.c>
      SetHandler fcgid-script
   </IfModule>
   <IfModule !mod_fcgid.c>
      SetHandler cgi-script
   </IfModule>
   </Directory>
</VirtualHost>
Restart Apache and Munin:
systemctl restart apache2
systemctl restart munin-node
Step 6. Accessing Munin.
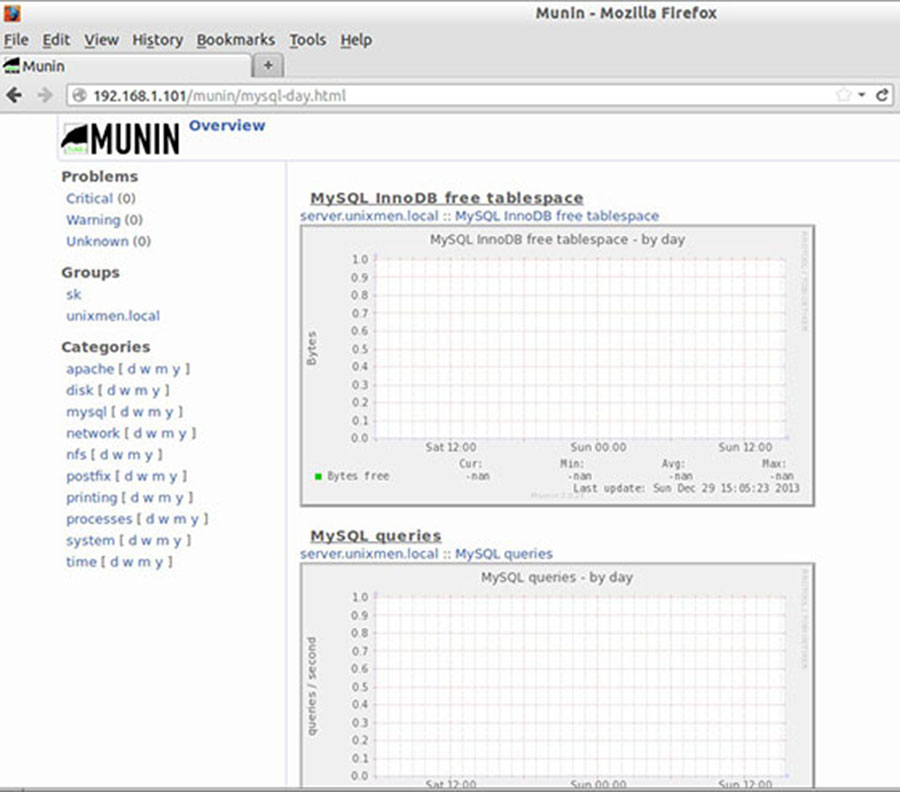
Munin will be available on HTTP port 80 by default. Open your favorite browser and navigate to http://yourdomain.com/munin or http://server-ip/munin. Using ‘admin’ as username and the previously generated munin password as password and you will be able to access Munin graphs and data.
Congratulation’s! You have successfully installed Munin. Thanks for using this tutorial for installing Munin monitoring tool on Ubuntu 17.04 Zesty system. For additional help or useful information, we recommend you to check the official Munin web site.