
MySQL is a relational database management system (RDBMS) that runs as a server providing multi-user access to a number of databases. The MySQL source code is freely available because it was originally developed as freeware. MySQL is written in C and C++ and is compatible with all major operating systems. MySQL can be used for a variety of applications, but is most commonly found on web servers.
This article assumes you have at least basic knowledge of Linux, know how to use the shell, and most importantly, you host your site on your own VPS. The installation is quite simple and assumes you are running in the root account, if not you may need to add ‘sudo’ to the commands to get root privileges. I will show you through the step by step installation MySQL 8.0 on a Ubuntu 18.04 (Bionic Beaver) server.
Install MySQL on Ubuntu 18.04 LTS Bionic Beaver
Step 1. First make sure that all your system packages are up-to-date
sudo apt-get update
sudo apt-get upgrade
Step 2. Installing MySQL on Ubuntu 18.04 LTS.
First step, we will now set up the MySQL official repository on the system:
wget https://dev.mysql.com/get/mysql-apt-config_0.8.10-1_all.deb
Then run the commands below to install:
sudo dpkg -i mysql-apt-config_0.8.10-1_all.deb
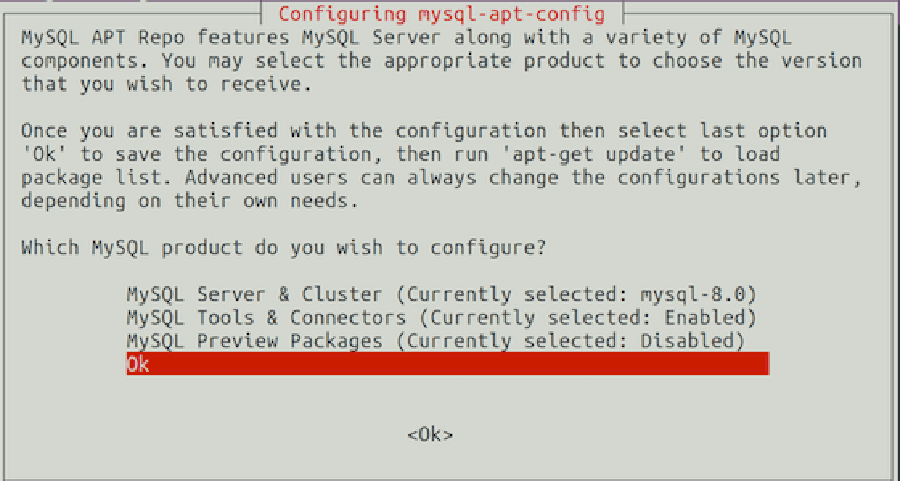
The MYSQL installer will prompt you to select the MySQL repository. Based on your selection, the installer will configure repositories on the system to receive the appropriate version of MySQL.
Now that the repository is installed, run the commands below to install:
apt install mysql-server mysql-client
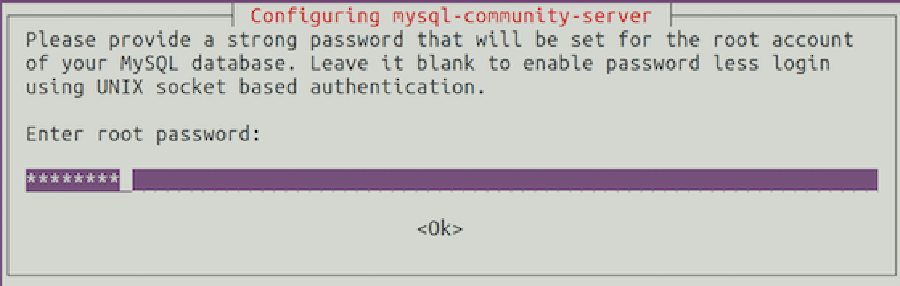
During the installation, you should be prompted to create and confirm a MySQL root password.
Once complete, you can verify MySQL 8.0 is installed by running the below command:
systemctl status mysql
systemctl start mysql
systemctl enable mysql
After the installation of MySQL is complete, you may need to secure your new MySQL. By default, MySQL is not hardened. You can secure MySQL using the mysql_secure_installation script. you should read and below each steps carefully which will set root password, remove anonymous users, disallow remote root login, and remove the test database and access to secure MySQL:
mysql_secure_installation
Configure it like this:
- Set root password? [Y/n] y
- Remove anonymous users? [Y/n] y
- Disallow root login remotely? [Y/n] y
- Remove test database and access to it? [Y/n] y
- Reload privilege tables now? [Y/n] y
To log into MySQL, use the following command (note that it’s the same command you would use to log into a MySQL database):
mysql -u root -p
One of the most important things when running MySQL on a production server is to get the most out of its performances. If you are a beginner and you do not know how to tune your MySQL server, you can start with a program called MySQLTuner. It will help you to analyze your server and to tune MySQL for better overall performances.
Congratulation’s! You have successfully installed MySQL. Thanks for using this tutorial for installing MySQL 8.0 server in Ubuntu 18.04 Bionic Beaver system. For additional help or useful information, we recommend you to check the official MySQL web site.