Nginx is one of the most popular web servers in the world and is responsible for hosting some of the largest and highest-traffic sites on the internet. It is more resource-friendly than Apache in most cases and can be used as a web server or a reverse proxy. So today I’m going to show you how to setup Nginx webserver on Ubuntu or Debian. It’s really not that difficult. Let’s start with Nginx.
This tutorial we will learn how to install Nginx on Ubuntu so that you can successfully run a superior performance based web server while easing the load on your system resources.
Install Nginx on Ubuntu
Step 1. To install, first you must update apt repository and packages by typing the below command:
sudo apt-get install nginx -y
Step 2. Install Nginx,
Installing Nginx is as simple as running just one command:
sudo apt-get install nginx
Starting and stopping the Nginx server
To start the Nginx server, issue the following command:
sudo service nginx start
Top stop the Nginx server, issue the following command:
sudo service nginx stop
Configuration Nginx files/folders
- The main configuration file for Nginx is /etc/nginx/nginx.conf
- Virtual hosts are defined in /etc/nginx/sites-available/default
- PHP will be configured in /etc/php5/fpm/php.ini
Before you close that terminal window, it’s necessary to set the Nginx service to start at boot. Just issue the following command:
update-rc.d nginx defaults
This should already be enabled by default, so you may see a message like this:
System start/stop links for /etc/init.d/nginx already exist
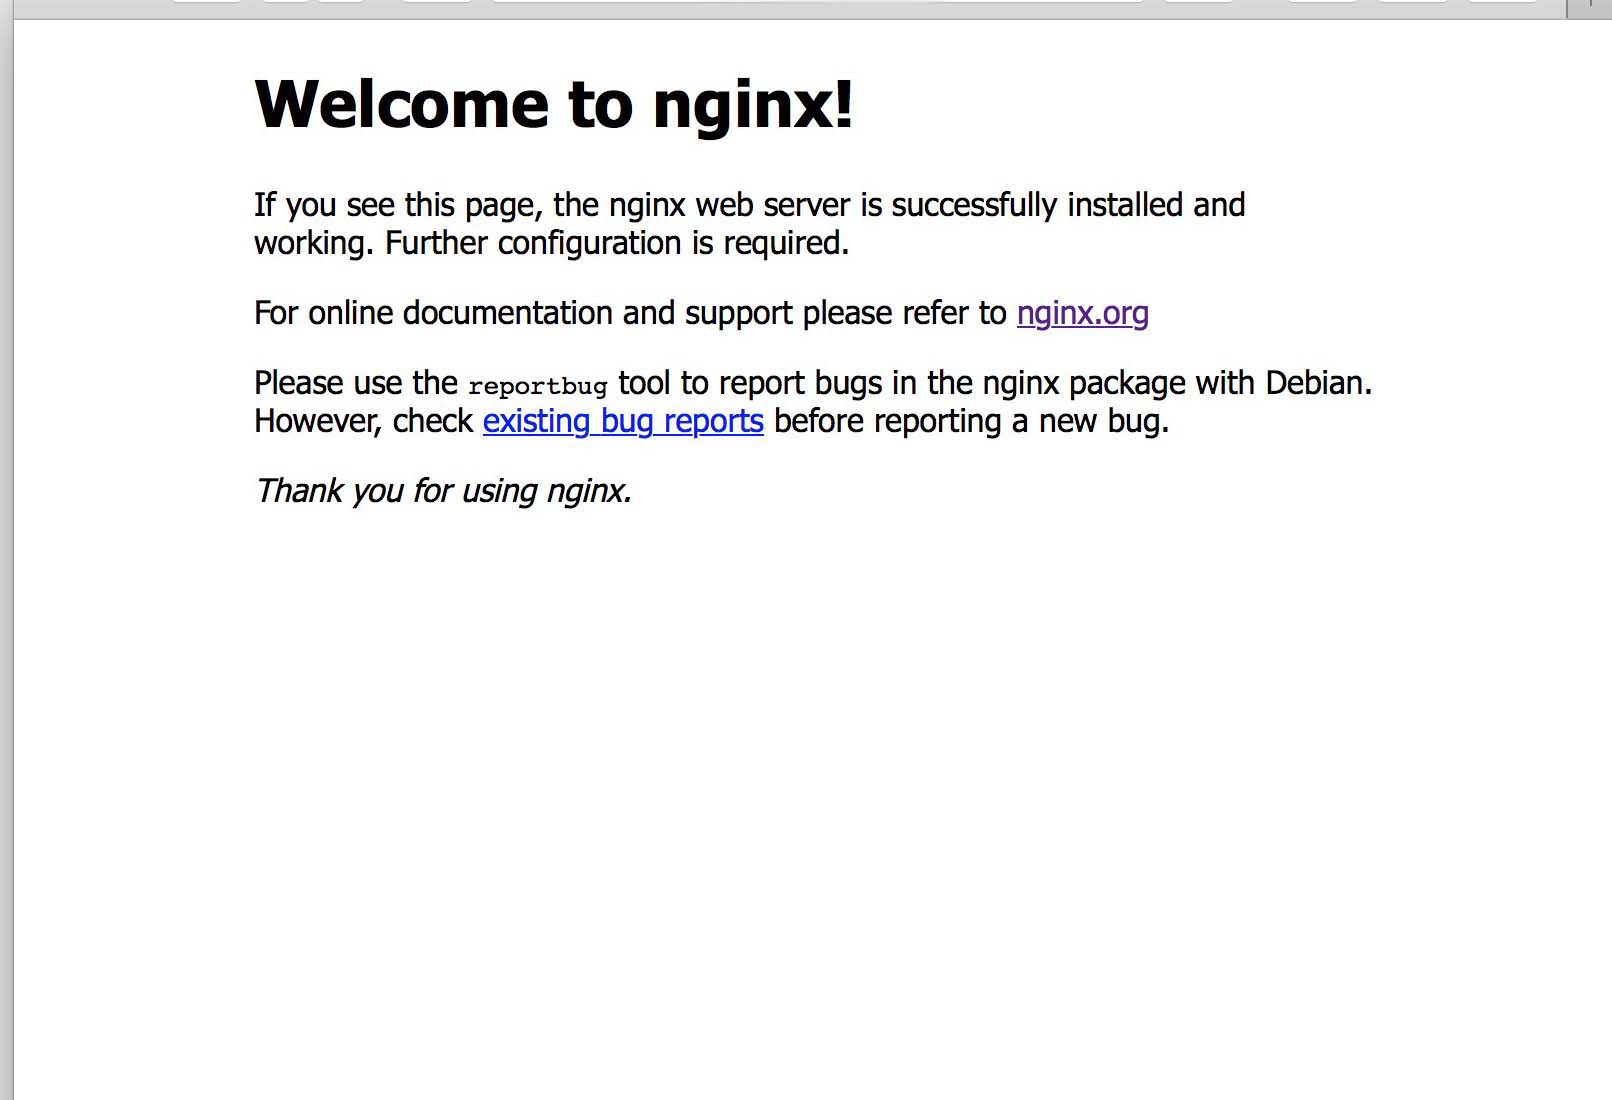
Navigating to your Server’s IP address (assuming you have no other server listening on port 80), you will be greeted with the standard welcome page:

The steps above should produce a running Nginx which serves the Nginx default pages on port 80. We’ll start working through various configurations and optimizations to round out the series. Enjoy your new web server! For additional help or useful information, we recommend you to check the official Nginx web site.
