
OpenXenManager is open source free software and popularly known as alternate of XenCenter for linux. It is mainly written in python and pyGTK helps user to interact on its GUI.
Install OpenXenManager on Ubuntu 16.04 LTS
This article assumes you have at least basic knowledge of linux, know how to use the shell, and most importantly, you host your site on your own VPS. The installation is quite simple and assumes you are running in the root account, if not you may need to add ‘sudo’ to the commands to get root privileges. I will show you through the step by step installation OpenXenManager on a Ubuntu 16.04 (Xenial Xerus) server.
Step 1. First make sure that all your system packages are up-to-date by running these following apt-get commands in the terminal.
sudo apt-get update
sudo apt-get upgrade
Step 2. Installing package dependencies OpenXenManager.
Run following command to install the packages:
apt-get install python-gtk2 glade python-gtk-vnc python-glade2 python-configobj
Step 3. Installing OpenXenManager.
Clone the git repo by given below command:
git clone https://github.com/OpenXenManager/openxenmanager.git
Now change to cloned repo directory:
cd openxenmanager
Next install the package by running below given command:
python setup.py install
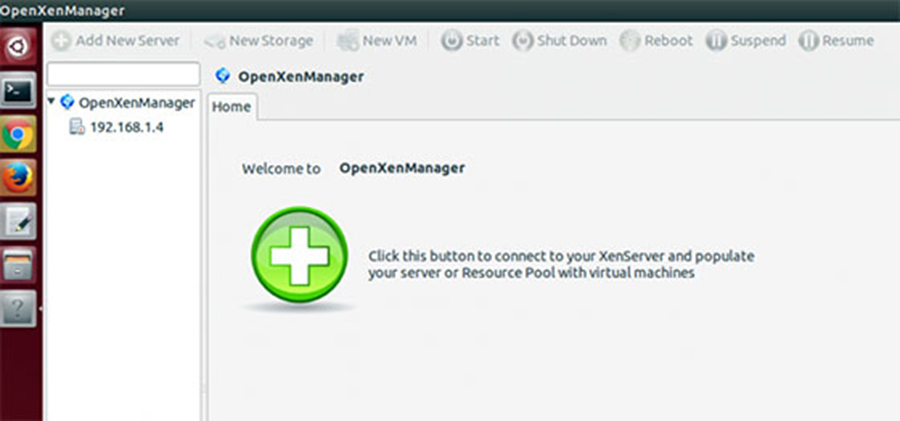
Step 4. Accessing OpenXenManager.
After completion of the installation you can use the package on your system, simply run the command:
openxenmanager
Congratulation’s! You have successfully installed OpenXenManager. Thanks for using this tutorial for installing OpenXenManager on Ubuntu 16.04 LTS (Xenial Xerus) system. For additional help or useful information, we recommend you to check the official OpenXenManager web site.