
Seafile is a open source cloud storage software. It offers file sharing and syncing for individual users and groups, it provides client side encryption and easy access from mobile devices. Also easily integrated with local services such as LDAP and WebDAV or can be deployed using advanced network services and databases like MySQL, SQLite, PostgreSQL, Memcached, Nginx or Apache Web Server.
Prerequisites
This article assumes you have at least basic knowledge of linux, know how to use the shell, and most importantly, you host your site on your own VPS. The installation is quite simple and assumes you are running in the root account, if not you may need to add ‘sudo’ to the commands to get root privileges. I will show you through the step by step installation Seafile Secure Cloud Storage on a CentOS 7 server.
Install Seafile on CentOS 7
Step 1. First let’s start by ensuring your system is up-to-date.
yum clean all
yum -y update
Step 2. Installing required packages.
Seafile storage setup requires some Python modules that must be installed on your server:
yum install python-imaging MySQL-python python-memcached python-ldap python-urllib3
Step 3. Installing MariaDB.
Install MariaDB using Yum:
yum install epel-release
yum install mariadb mariadb-server
Start MariaDB and enable it to start on boot of the server:
systemctl start mariadb.service
systemctl enable mariadb.service
Configuring MariaDB for Seafile.
By default, MariaDB is not hardened. You can secure MariaDB using the mysql_secure_installation script. you should read and below each steps carefully which will set root password, remove anonymous users, disallow remote root login, and remove the test database and access to secure MariaDB:
mysql_secure_installation
Configure it like this:
- Set root password? [Y/n] y
- Remove anonymous users? [Y/n] y
- Disallow root login remotely? [Y/n] y
- Remove test database and access to it? [Y/n] y
- Reload privilege tables now? [Y/n] y
Step 4. Installing Seafile.
First thing to do is to go to Seafile’s download page and download the latest stable version of Seafile, At the moment of writing this article it is version 6.0.8:
wget https://bintray.com/artifact/download/seafile-org/seafile/seafile-server_6.0.8_x86-64.tar.gz
Unpack the Seafile archive to the document root directory on your server:
sudo mkdir -p /opt/seafile/installed
sudo mv seafile-server_6.0.8_x86-64.tar.gz /opt/seafile/installed
sudo mv seafile-server-6.0.8/ /opt/seafile
Run this script which will create the required databases and directories for the Seafile server and and answer all questions using the following configuration options, after the script verifies the existence of all Python required modules:
cd /opt/seafile/seafile-server-6.0.8
sudo ./setup-seafile-mysql.sh
After the installation finishes, run the following commands to start Seafile server and setup an admin user account:
sudo ./seafile.sh start
sudo ./seahub.sh start
Step 5. Configure firewall rules for Seafile.
You need to modify firewall rules using these commands:
sudo firewall-cmd --zone=public --permanent --add-port=8082/tcp
sudo firewall-cmd --zone=public --permanent --add-port=8000/tcp
sudo firewall-cmd --reload
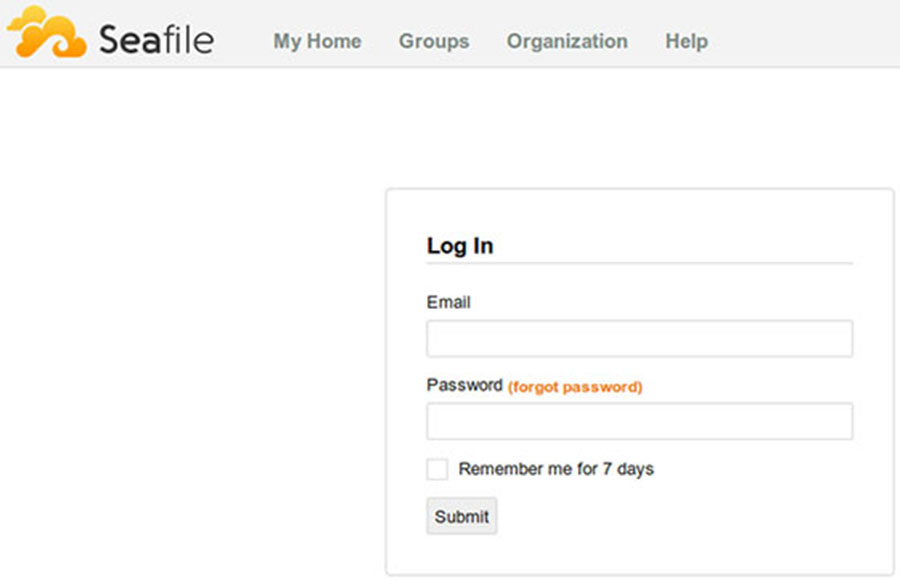
Step 6. Accessing Seafile.
Seafile will be available on HTTP port 8000 by default. Open your favorite browser and navigate to http://yourdomain.com:8000 or http://server-ip:8000. Enter the admin email id and password to login which you have created at the time of installation. If you are using a firewall, please open port 8000 to enable access to the control panel.
Congratulation’s! You have successfully installed Seafile. Thanks for using this tutorial for installing Seafile Secure Cloud Storage on CentOS 7 system. For additional help or useful information, we recommend you to check the official Seafile web site.