Steam is a digital distribution platform for video games. As Amazon Kindle is digital distribution platform for e-Books, iTunes for music, similarly Steam is for games. It provides you the option to buy and install games, play multiplayer and stay in touch with other games via social networking on its platform. The games are protected with DRM. Recently, over 4500 games are available through steam and 125 million active users are registered with Steam platform.
This article assumes you have at least basic knowledge of Linux, know how to use the shell, and most importantly, you host your site on your own VPS. The installation is quite simple and assumes you are running in the root account, if not you may need to add ‘sudo’ to the commands to get root privileges. I will show you through the step by step installation Steam on an Ubuntu 18.04 LTS Bionic Beaver server.
Install Steam on Ubuntu 18.04 LTS Bionic Beaver
Step 1. First make sure that all your system packages are up-to-date
sudo apt-get update
sudo apt-get upgrade
Step 2. Installing Steam on Ubuntu 18.04 LTS.
Method 1. Install Steam from Ubuntu Repository.
First, add steam repository from the standard Ubuntu:
sudo add-apt-repository multiverse
Use the following command to install Steam:
sudo apt install steam
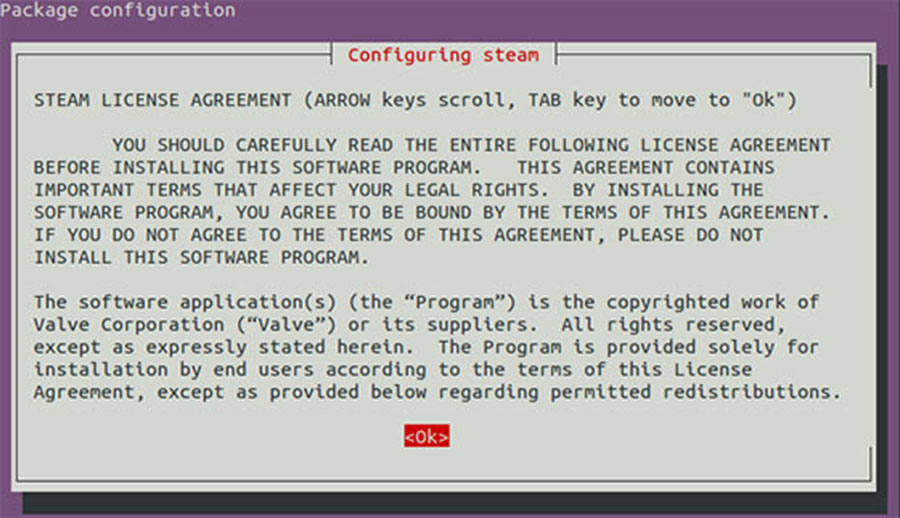
During installation process, “Configuring Steam” window will pop up, you need to read and accept install agreement here. Hit “Ok” to move to next step.
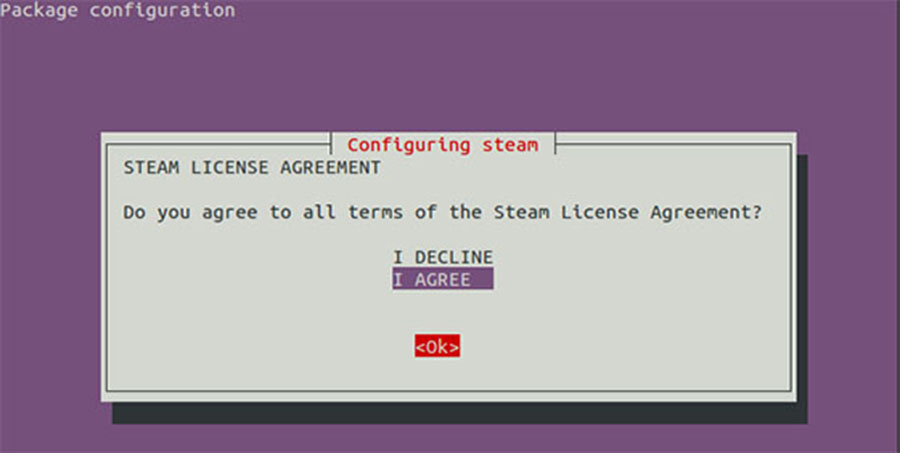
Next screen will be similar with terms and condition. Press tab to select the option and then press enter.
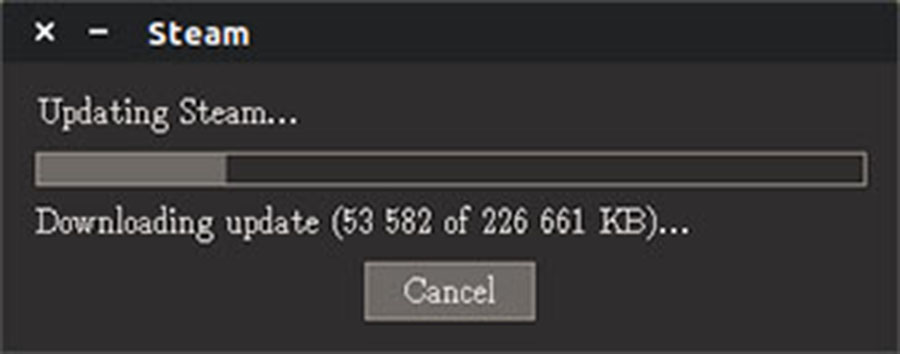
Once installed, go to Unity Dash and look for Steam. Click on it to start it. When you run it for the first time, it will download the necessary package and install the Steam platform.
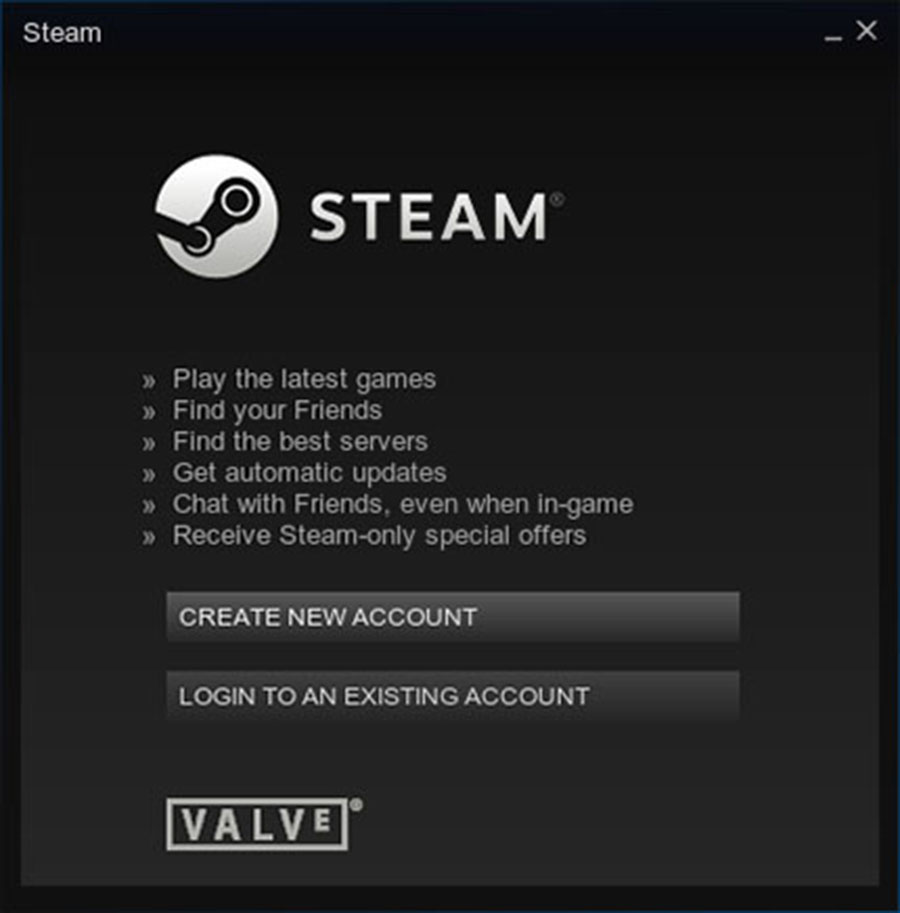
As you are running for the first time, you’ll be asked to either create an account or log in to an existing account. It will also ask for agreeing to terms and conditions.
Method 2. Install Steam from official Steam package.
The following procedure can be used to install steam from the official Steam package. If not available yet, enable the i386 architecture:
sudo dpkg --add-architecture i386
sudo apt update
Next, install prerequisite Steam packages:
php]
sudo apt install wget gdebi-core libgl1-mesa-dri:i386 libgl1-mesa-glx:i386
[/php]
Then, download the official Steam package:
wget http://media.steampowered.com/client/installer/steam.deb
Next, use the gdebi command to install the steam.deb package:
sudo gdebi steam.deb
Violaaaaa… STEAM digital distribution platform is now installed on your system.
Congratulation’s! You have successfully installed Steam. Thanks for using this tutorial for installing Steam on your Ubuntu 18.04 (Bionic Beaver) system. For additional help or useful information, we recommend you to check the official Steam web site.