
A vector is an open source on-host performance monitoring framework which exposes hand chosen high resolution program and program metrics to every engineer’s browser. Possessing the correct metrics available on-demand and in a top resolution is key to know how a system behaves and correctly troubleshoot performance problems.
This article assumes you have at least basic knowledge of linux, know how to use the shell, and most importantly, you host your site on your own VPS. The installation is quite simple and assumes you are running in the root account, if not you may need to add ‘sudo’ to the commands to get root privileges. I will show you through the step by step installation Vector Monitoring framework on a Ubuntu 16.04 (Xenial Xerus) server.
Install Vector Monitoring on Ubuntu 16.04 LTS
Step 1. First make sure that all your system packages are up-to-date by running these following apt-get commands in the terminal.
sudo apt-get update
sudo apt-get upgrade
Step 2. Installing Performance Co-Pilot (PCP).
Before installing Vector you will first have to install Performance Co-Pilot (PCP). It’s an open source toolkit designed for monitoring and managing system-level performance:
echo "deb https://dl.bintray.com/netflixoss/ubuntu {codename} main" | sudo tee -a /etc/apt/sources.list
Install PCP using following command:
apt-get update
apt-get install pcp pcp-webapi
Once installed, restart PCP daemons and setup start on boot:
systemctl enable pmcd.service
systemctl enable pmwebd.service
systemctl enable pmlogger.service
Step 3. Installing Vector Monitoring Framework
First, download Vector archive from netflix oss repository, at the time of this writing the latest version of Vector is 1.0.3:
wget https://bintray.com/artifact/download/netflixoss/downloads/1.0.3/vector.tar.gz
Create a directory to extract vector, we need to create this since vector build is not placed in a directory:
mdkir vector
tar xzf vector.tar.gz -C vector
Step 4. Accessing Vector Monitoring.
Vector Monitoring Framework will be available on HTTP port 80 by default. Open your favorite browser and navigate to http://yourdomain.com/vector or http://server-ip/vector and complete the required the steps to finish the installation.
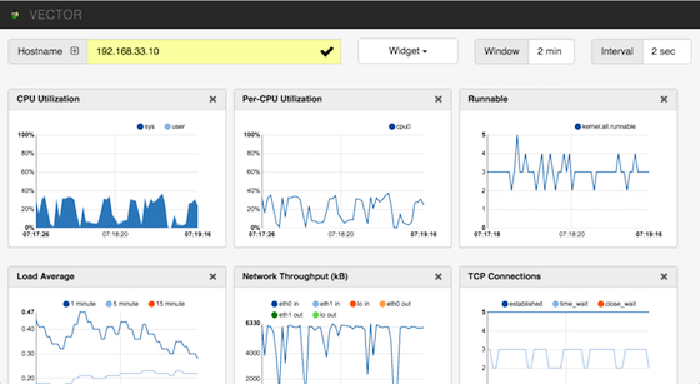
Enter hostname or ip address of the server that you want to monitor. If you change pmwebd port you need to specify hostname:port or ipaddress:port. The performance graphs will start showing the current condition of your system.
Congratulation’s! You have successfully installed Vector. Thanks for using this tutorial for installing Vector Monitoring framework on Ubuntu 16.04 LTS (Xenial Xerus) system. For additional help or useful information, we recommend you to check the official Vector Monitoring web site.