VestaCP is an open source hosting control panel currently supports both RHEL flavoured Linux releases (Red Hat, CentOS) and Ubuntu. It comes with all necessary software to run and manage your websites hosted on your VPS. This article assumes you have at least basic knowledge of linux, know how to use the shell, and most importantly, you host your site on your own VPS.
VestaCP Features
- Web Server (Apache with Nginx as Reverse Proxy).
- DNS server.
- Database Server.
- Mail Server.
- FTP Server.
- Nginx out of the box.
- SSL certificates & SNI.
- Wildcard support.
- Configuration Templates.
- DKIM support.
- Fast Backups.
- System Monitoring.
- AntiSpam / Antivirus.
- WHMCS billing support.
- EPEL integration.
- Simple and Clean GUI.
- Powerfull CLI.
- Reliable Platform.
- Open Data Format.
Install VestaCP on CentOS 6
Step 1. First, login to your VPS server via ssh as root and type following command:
curl -O http://vestacp.com/pub/vst-install.sh
bash vst-install.sh -f
Step 2. If everything is fine then you will get the below screen. Type “y” where it ask if you want to proceed. The system will ask you for an email address, it’s ok to provide a real one, they won’t SPAM you and it’ll advise you when it’s complete and will issue your login credentials to that address.
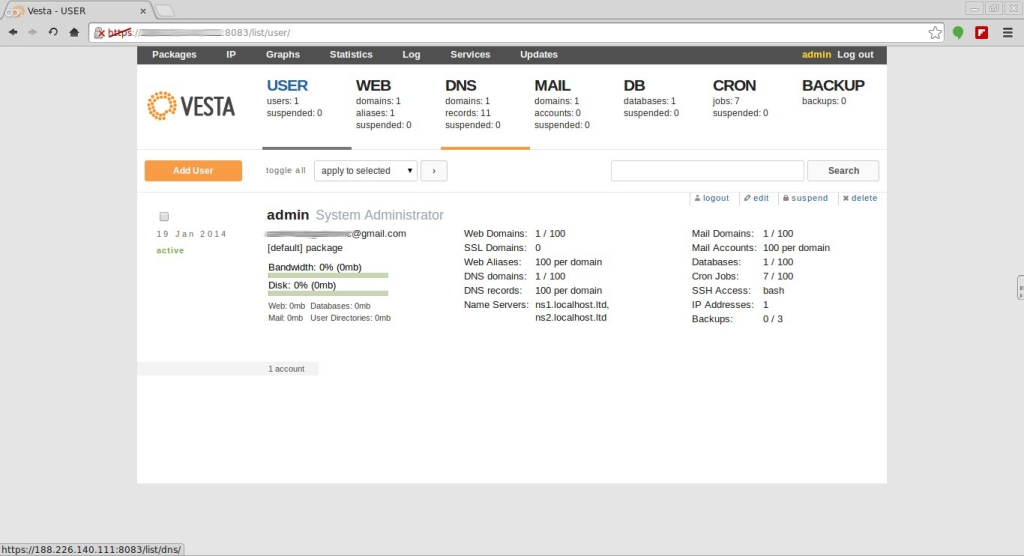
Step 3. Once the installer finishes installing, it will show you the url, Username and Password. just open that url in web browser and login using the username and password.
https://youripaddress:8083/

Check more from VestaCP official website
You Might Also Like: How To Install Vesta Control Panel on Ubuntu 16.04 LTS
