How To Install Redis on Ubuntu 16.04 LTS

Install Redis on Ubuntu 16

Redis is an open source, BSD licensed, advanced key-value store. It is often referred to as a data structure server since keys can contain strings, hashes, lists, sets and sorted sets. Redis also supports datatypes such as Transitions, Publish and Subscribe. ‘Redis ’ is considered more powerful than ‘Memcache’ . It would be smart to bring ‘Redis’ into practice and put ‘Memcache’ down for a while.

This article assumes you have at least basic knowledge of linux, know how to use the shell, and most importantly, you host your site on your own VPS. The installation is quite simple and assumes you are running in the root account, if not you may need to add ‘sudo’ to the commands to get root privileges. I will show you through the step by step installation Redis on a Ubuntu 16.04 LTS (Xenial Xerus) server.
Install Redis on Ubuntu 16.04 LTS

Step 1. First make sure that all your system packages are up-to-date by running these following apt-get commands in the terminal.

sudo apt-get update
sudo apt-get upgrade

Step 2. Installing Redis.

Installing Redis on an Ubuntu is simple. Run the command below to install Redis on your machine:

apt-get install redis-server

Redis provide php extension to work with php. Here we will cover installation of Redis Extension of php from source compilation and using apt repository. Following command will install and setup redis extension with php:

apt-get install php-redis

Step 3. Configure Redis Cache on Ubuntu 16.04.

To configure Redis as a cache you need to edit the /etc/redis/redis.conf file:

nano /etc/redis/redis.conf

To configure the max memory for Redis as well as how Redis will select what to remove when the max memory is reached, add the following lines at the end of the file:

maxmemory 128mb
maxmemory-policy allkeys-lru

Save and close the file, then restart the Redis service:

systemctl restart redis-server.service
systemctl enable redis-server.service

Step 4. Starting and Testing the Redis.

We will start and check the status of the Redis with the below commands:

$ systemctl start redis-server.service
$ systemctl status redis-server.service
redis.service - Redis In-Memory Data Store
Loaded: loaded (/etc/systemd/system/redis.service; disabled; vendor preset: enabled)
Active: active (running) since Thu 2016-10-20 15:07:10 IST; 17s ago
Main PID: 7207 (redis-server)
Tasks: 3
Memory: 6.2M
CPU: 22ms
CGroup: /system.slice/redis.service
└─7207 /usr/local/bin/redis-server 127.0.0.1:6379
Oct 20 15:07:10 ubuntu-16 redis-server[7207]:  |    `-._`-._        _.-'_.-'    |
Oct 20 15:07:10 ubuntu-16 redis-server[7207]:   `-._    `-._`-.__.-'_.-'    _.-'
Oct 20 15:07:10 ubuntu-16 redis-server[7207]:       `-._    `-.__.-'    _.-'
Oct 20 15:07:10 ubuntu-16 redis-server[7207]:           `-._        _.-'
Oct 20 15:07:10 ubuntu-16 redis-server[7207]:               `-.__.-'
Oct 20 15:07:10 ubuntu-16 redis-server[7207]: 7207:M 20 Dec 16:07:10.853 # WARNING: The T
Oct 20 15:07:10 ubuntu-16 redis-server[7207]: 7207:M 20 Dec 16:07:10.853 # Server started
Oct 20 15:07:10 ubuntu-16 redis-server[7207]: 7207:M 20 Dec 16:07:10.853 # WARNING overco
Oct 20 15:07:10 ubuntu-16 redis-server[7207]: 7207:M 20 Dec 16:07:10.853 # WARNING you have.
...
...

We will now test the Redis instance with some commands:

$ redis-cli
127.0.0.1:6379> ping
PONG
127.0.0.1:6379> set test "Redis Working!"
OK
127.0.0.1:6379> get test
"Redis Working!"
127.0.0.1:6379> exit

Congratulation’s! You have successfully installed Redis. Thanks for using this tutorial for installing Redis on your Ubuntu 16.04 system. For additional help or useful information, we recommend you to check the official Redis web site.

How To Install Odoo on Ubuntu 16.04 LTS

Install Odoo on Ubuntu 16

Odoo is one of the most popular and most powerful Open Source ERP business software based on the Python programming language. It is an web based fully featured application, and comes with Open Source CRM, Point of Sales, Human Resource Management, Point of Sales, Billing and Accounting, Event Management, Email Marketing, Order Tracking etc. This application is helpful to maintain the ERP in any business.

This article assumes you have at least basic knowledge of linux, know how to use the shell, and most importantly, you host your site on your own VPS. The installation is quite simple and assumes you are running in the root account, if not you may need to add ‘sudo’ to the commands to get root privileges. I will show you through the step by step installation Odoo on a Ubuntu 16.04 (Xenial Xerus) server.
Odoo Features

Odoo comes with Website Builder, which supports WYSIWYG editor, version control, form builder and Multi Website with an option to add blogs, forum and slide shows.
Odoo comes with multiple themes and inbuilt e-commerce software.
Odoo has contract management as well as subscription management features.
Odoo comes with customizable project management and timesheets options, it has inbuilt Invoicing and Project management features.
Odoo comes with full featured Accounting software which includes VoIP integration including an option to send mass mailis and links tracking.
Odoo comes with inbuilt CRM which does accurate forecasting and shows real time overview.

Install Odoo on Ubuntu 16.04 LTS

Step 1. First make sure that all your system packages are up-to-date by running these following apt-get commands in the terminal.

sudo apt-get update
sudo apt-get upgrade

Step 2. Installing Odoo.

The first step is to download script from Github and to add the code in a new .sh file on your Ubuntu machine, wherever you’d like this:

wget https://raw.githubusercontent.com/Yenthe666/InstallScript/10.0/odoo_install.sh

Next, open up the file and edit the parameters to your liking:

nano odoo_install.sh

There are some things you can configure/change to your likings at the top of the script. You can choose if you wish to install Wkhtmltopdf or not, which version you’d like, where the location is and most importantly what the master admin password is.

After you configure the file, make it executable:

chmod +x odoo_install.sh

Run the odoo_install.sh script and wait until Odoo 10 is fully installed:

./odoo_install.sh

Edit the Odoo configuration file and set the master admin password:

### nano /etc/odoo-server.conf
admin_passwd = UseStr0ngPasswd

Finally, restart Odoo for the changes to take effect:

/etc/init.d/odoo-server restart

Step 3. Accessing Odoo.

Odoo will be available on HTTP port 8069 by default. Open your favorite browser and navigate to http://yourdomain.com:8069 or http://server-ip:8069.

Congratulation’s! You have successfully installed Odoo. Thanks for using this tutorial for installing Odoo Open Source ERP on Ubuntu 16.04 LTS (Xenial Xerus) system. For additional help or useful information, we recommend you to check the official Odoo web site.

How To Install GIMP Image Editor on Ubuntu 16.04 LTS

Install GIMP Image Editor on Ubuntu 16

GIMP is a free and open-source image editor used for retouching and editing images. From retouching to restoring to creative composites, the only limit is your imagination. GIMP is used for producing icons, graphical design elements, and art for user interface components and mockups. GIMP provides top-notch color management features to ensure high-fidelity color reproduction across digital and printed media.

This article assumes you have at least basic knowledge of linux, know how to use the shell, and most importantly, you host your site on your own VPS. The installation is quite simple and assumes you are running in the root account, if not you may need to add ‘sudo’ to the commands to get root privileges. I will show you through the step by step installation GIMP image editor on a Ubuntu 16.04 (Xenial Xerus) server.
Install GIMP Image Editor on Ubuntu 16.04 LTS

Step 1. First make sure that all your system packages are up-to-date by running these following apt-get commands in the terminal.

sudo apt-get update
sudo apt-get upgrade

Step 2. Installing GIMP.

Open terminal from Unity Dash, App launcher, or via Ctrl+Alt+T shortcut key. When it opens, paste below command and hit Enter:

sudo add-apt-repository ppa:otto-kesselgulasch/gimp-edge
sudo apt-get update
sudo apt-get install gimp

Once installed, open GIMP image editor from Ubuntu Dash or Terminal. Run “gimp” command in Terminal. (without quotes):

gimp

In case you encounter issues and you want to go back to the GIMP version available in the Ubuntu repositories, you can purge the PPA using ppa-purge:

sudo apt install ppa-purge
sudo ppa-purge ppa:otto-kesselgulasch/gimp

Congratulation’s! You have successfully installed GIMP. Thanks for using this tutorial for installing GIMP image editor on Ubuntu 16.04 LTS (Xenial Xerus) system. For additional help or useful information, we recommend you to check the official GIMP web site.

How To Install and Configure DNS Server on Ubuntu 16.04 LTS

Install and Configure DNS Server on Ubuntu 16

BIND is a widely used DNS Server. Ideally, DNS server consist of 2 machines that work together simultaneously, one act as master and the other one act as slave. If your domain registrar doesn’t provide you a free DNS server, or if you want to create a custom DNS record, then you might need to host your own DNS server.

This article assumes you have at least basic knowledge of linux, know how to use the shell, and most importantly, you host your site on your own VPS. The installation is quite simple and assumes you are running in the root account, if not you may need to add ‘sudo’ to the commands to get root privileges. I will show you through the step by step installation and configure DNS server on ubuntu on a Ubuntu 16.04 (Xenial Xerus) server.

Install and Configure DNS Server on Ubuntu 16.04 LTS

Host Role Private FQDN Private  IP Address

ns1 Primary DNS Server 108.100.100.1

ns2 Secondary DNS Server 108.100.100.2

Step 1. First make sure that all your system packages are up-to-date by running these following apt-get commands in the terminal.

sudo apt-get update
sudo apt-get upgrade

Step 2. Installing DNS Server Bind9.

After updating the system, run the following command to install BIND9 packages which are used to setup DNS server:

apt-get install bind9 bind9utils bind9-doc

Step 3. Configure Bind9.

It is time to show you a basic configuration how to setup your domain to resolve to your server:

### nano /etc/bind/named.conf.options

options {
directory "/var/cache/bind";
additional-from-auth no;
additional-from-cache no;
version "Bind Server";

// If there is a firewall between you and nameservers you want
// to talk to, you may need to fix the firewall to allow multiple
// ports to talk. See http://www.kb.cert.org/vuls/id/800113

// If your ISP provided one or more IP addresses for stable
// nameservers, you probably want to use them as forwarders.
// Uncomment the following block, and insert the addresses replacing
// the all-0's placeholder.

forwarders {
8.8.8.8;
8.8.4.4;
};

//========================================================================
// If BIND logs error messages about the root key being expired,
// you will need to update your keys. See https://www.isc.org/bind-keys
//========================================================================
dnssec-validation auto;
allow-recursion { 127.0.0.1; };
auth-nxdomain no; # conform to RFC1035
listen-on-v6 { any; };
};

Step 4. Configure Local File.

Next, we will configure the local file, to specify our DNS zones:

### nano /etc/bind/named.conf.local

//place these lines at the bottom of file

zone "wpcademy.com" {
type master;
file "/etc/bind/zones/wpcademy.com.db";
allow-transfer { 108.200.200.2; };
also-notify { 108.200.200.200.2; };
};

Because in the above config we put zone file in “/etc/bind/zones/wpcademy.com.db”, then we need to create the folder and file:

mkdir /etc/bind/zones
nano /etc/bind/zones/wpcademy.com.db
$TTL 86400
$ORIGIN wpcademy.net.
@ IN SOA ns1.wpcademy.com. root.wpcademy.com. (
1 ; Serial
86400 ; Refresh
7200 ; Retry
2419200 ; Expire
604800 ) ; Negative Cache TTL
;
@ IN NS ns1.wpcademy.com.
@ IN NS ns2.wpcademy.com.
ns1 IN A 108.100.100.1
ns2 IN A 108.100.100.2

;also list other computers
@ IN A 192.30.35.67
www IN A 192.30.35.67

Install and Configure DNS Server on Ubuntu 16.04 LTS

How To Install Virtualmin on Ubuntu 16.04

Install Virtualmin on Ubuntu 16

Virtualmin is an advanced web server management panel, and a very good alternative to cPanel, with the same administration structure based on root users, resellers, and clients. Once installed, you will be able to manage Apache, Nginx, PHP, DNS, MySQL, PostgreSQL, mailboxes, FTP, SSH, SSL, Subversion/Git repositories and many more.

This article assumes you have at least basic knowledge of linux, know how to use the shell, and most importantly, you host your site on your own VPS. The installation is quite simple and assumes you are running in the root account, if not you may need to add ‘sudo’ to the commands to get root privileges. I will show you through the step by step installation Virtualmin on a Ubuntu 16.04 (Xenial Xerus) server.
Install Virtualmin on Ubuntu 16.04

Step 1. First make sure that all your system packages are up-to-date by running these following apt-get commands in the terminal.

sudo apt-get update
sudo apt-get upgrade

Step 2. Installing Virtualmin.

Virtualmin provides an install script which allows for an easy installation. Use the following command to download the script to your desire directory:

wget http://software.virtualmin.com/gpl/scripts/install.sh

Once downloaded, do a chmod +x to make the script executable:

chmod +x install.sh

Now it is time to running virtualmin install script. Installation will take approximately 5-15 minutes depends on your server speed and power. To do so, use the command below:

./install.sh
### During the installation it will ask you for the host name make sure you enter this correctly ###

Step 3. Accessing Virtualmin.

Virtualmin web based monitoring will be available on HTTPS port 10000 by default. Open your favorite browser and navigate to http://yourdomain.com:10000 or http://server-ip:10000. If you are using a firewall, please open port 10000 to enable access to the control panel.
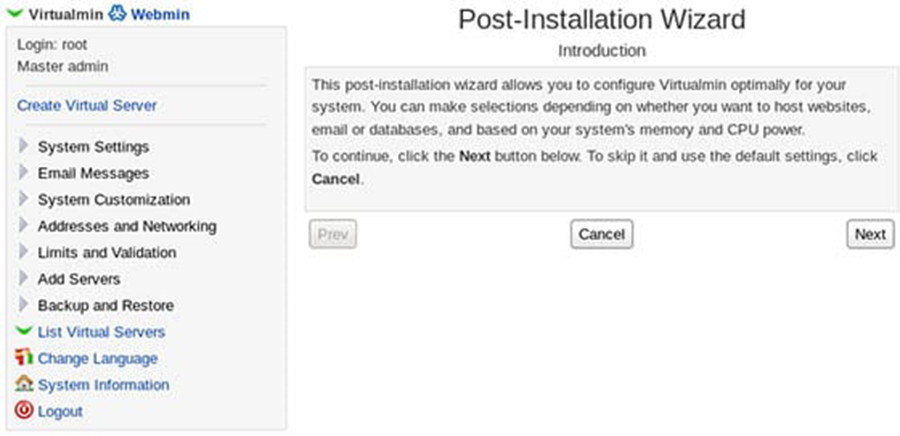
virtualmin-installation
Congratulation’s! You have successfully installed Virtualmin. Thanks for using this tutorial for installing virtualmin web server management panel on Ubuntu 16.04 LTS (Xenial Xerus) system. For additional help or useful information, we recommend you to check the official Virtualmin web site.

How To Install XAMPP on Ubuntu 16.04 LTS

Install XAMPP on Ubuntu 16

XAMPP is an open source software that provides users with an out-of-the-box server experience. It is a complex, yet very easy-to-use AMPP (Apache, MySQL, PHP and Perl) distribution that’s compatible with the Linux, Microsoft Windows and Mac OS X operating systems. The best tool for those who want to install a fully functional web development environment.

This article assumes you have at least basic knowledge of linux, know how to use the shell, and most importantly, you host your site on your own VPS. The installation is quite simple and assumes you are running in the root account, if not you may need to add ‘sudo’ to the commands to get root privileges. I will show you through the step by step installation XAMPP stack on a Ubuntu 16.04 (Xenial Xerus) server.
Features XAMPP

Regularly updated to the latest versions of Apache, MariaDB, PHP and Perl.
Supports other modules like OpenSSL, phpMyAdmin, MediaWiki, Joomla, WordPress etc.,
Tests the website designers and programmers work without Internet.
Secured package.
Allows creation and manipulation of databases in MariaDB and SQLite.

Install XAMPP on Ubuntu 16.04 LTS

Step 1. First make sure that all your system packages are up-to-date by running these following apt-get commands in the terminal.

sudo apt-get update
sudo apt-get upgrade

Step 2. Installing XAMPP.

The first step is to download script from official xampp and to add the code in a new .run file on your Ubuntu machine, wherever you’d like this:

https://www.apachefriends.org/xampp-files/7.1.1/xampp-linux-x64-7.1.1-0-installer.run

Next, run the following command to make XAMPP executable:

chmod +x xampp-linux-x64-7.1.1-0-installer.run

Run the xampp-linux-x64-7.1.1-0-installer.run script and wait until xampp is fully installed:

./xampp-linux-x64-7.1.1-0-installer.run

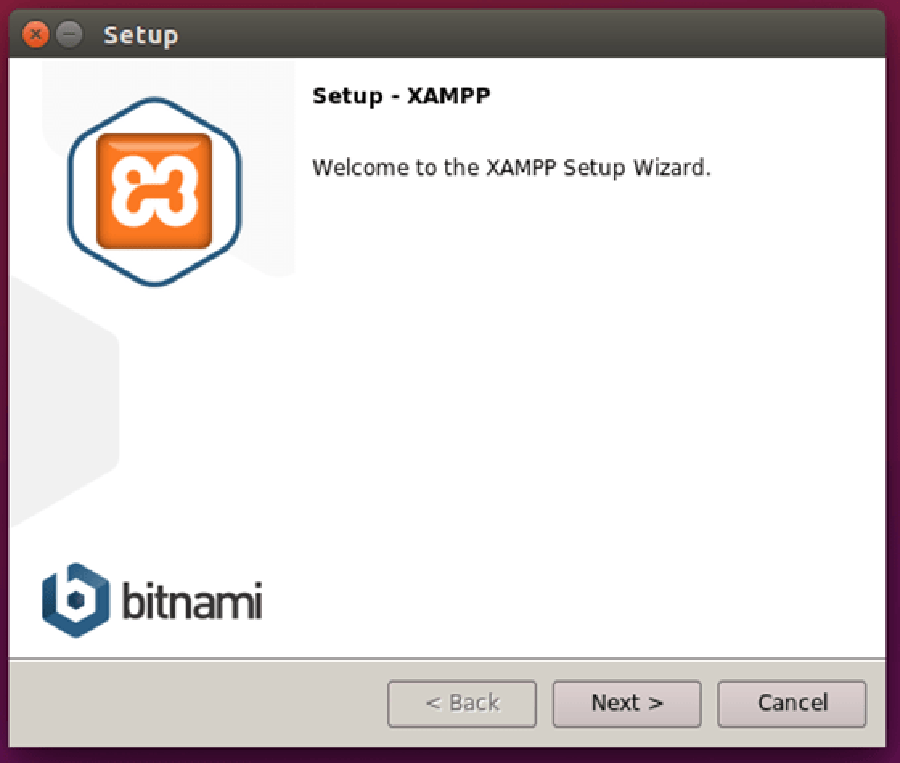
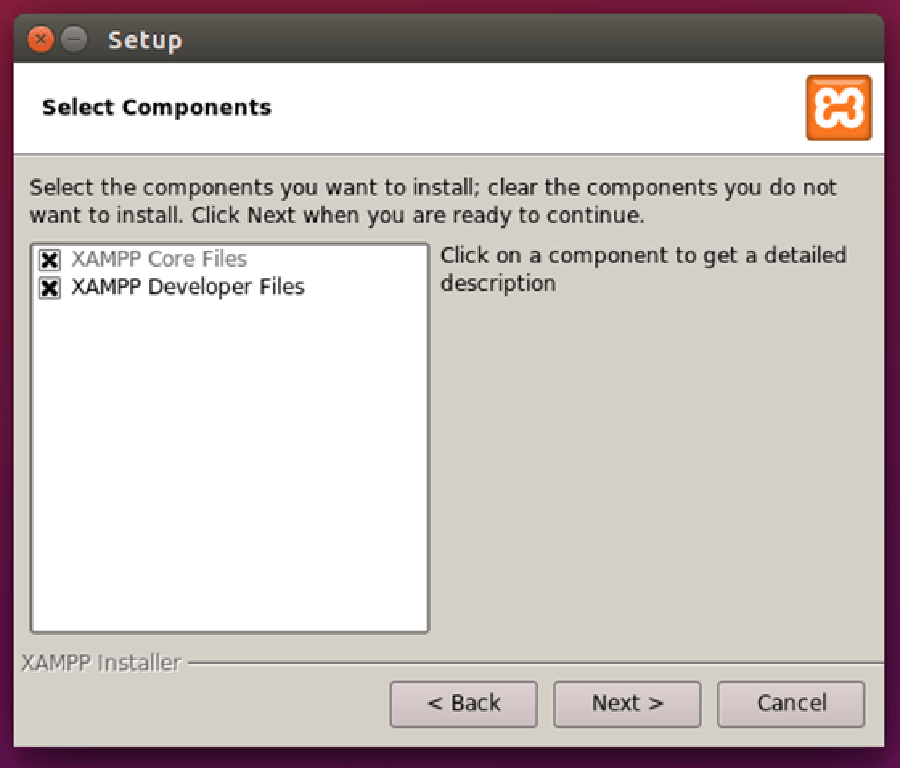
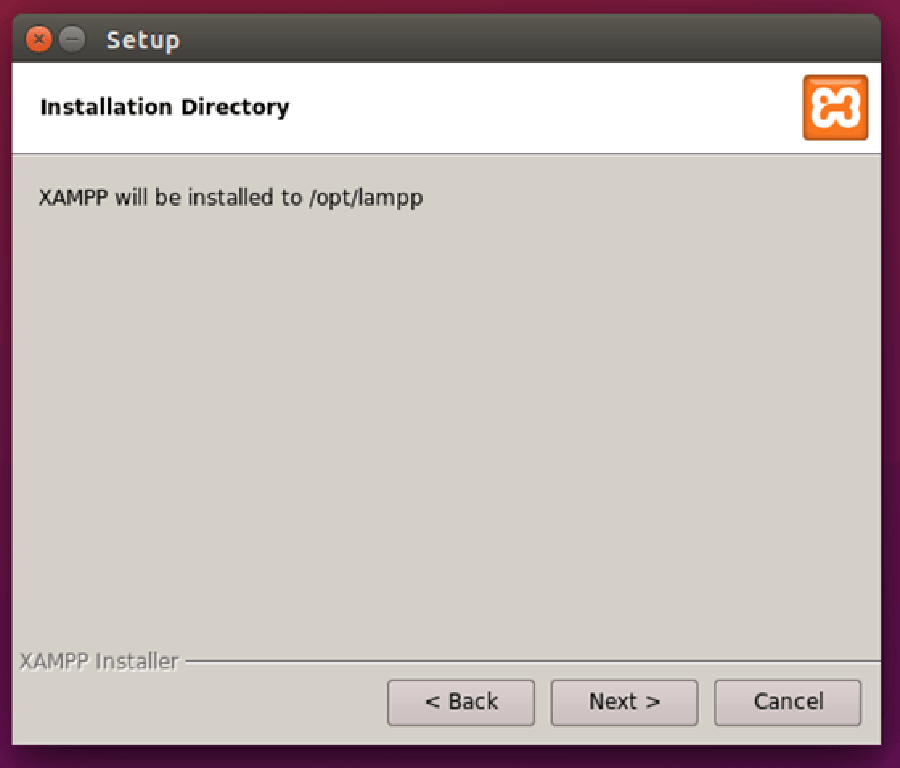
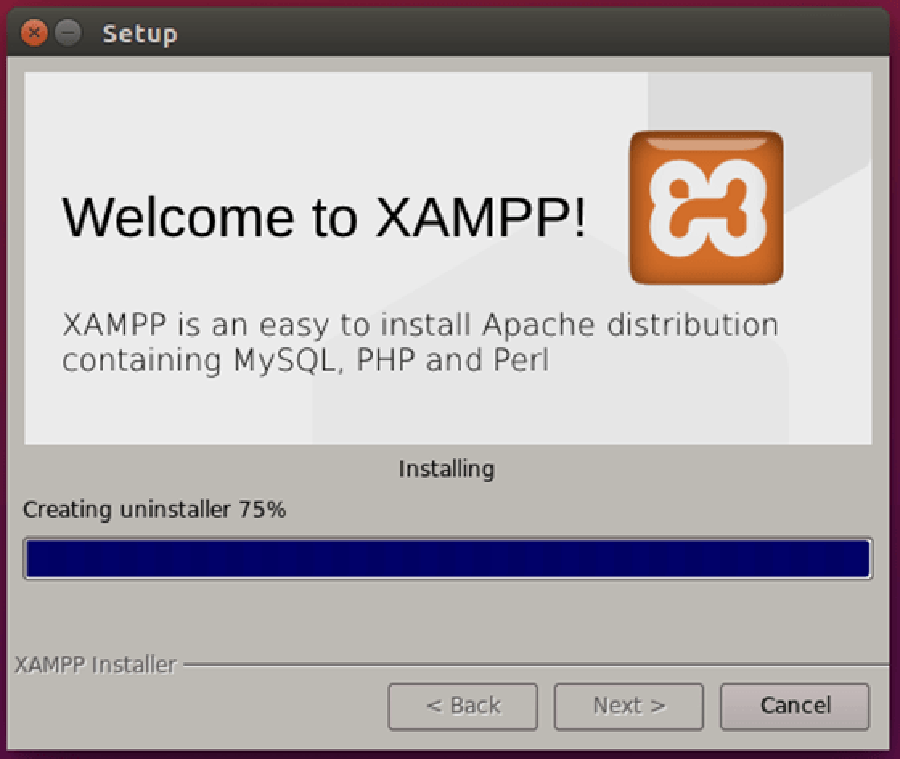
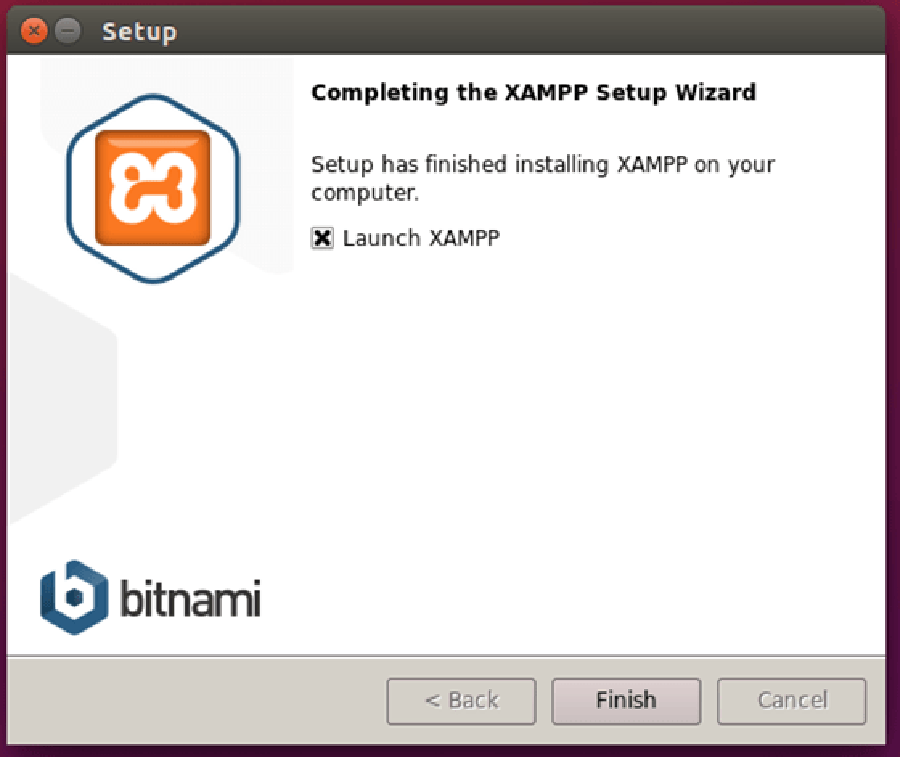
That should start the XAMPP installation setup. Continue with the installation as you usually do:
XAMPP1
xampp2
xampp3
xampp4
xampp5
xampp6
Once the setup is finished, XAMPP should be available for its usage in your Desktop or open your browser and follow this link : http://localhost/dashboard/

Congratulation’s! You have successfully installed XAMPP. Thanks for using this tutorial for installing XAMPP stack on Ubuntu 16.04 LTS (Xenial Xerus) system. For additional help or useful information, we recommend you to check the official XAMPP web site.

How To Install Cherokee Web Server on Ubuntu 16.04 LTS

Install Cherokee Web Server on Ubuntu 16

Cherokee is an free and open source high-performance web server. It is very fast, flexible and easy to configure. It offers support for the widespread technologies nowadays: FastCGI, SCGI, PHP, CGI, SSI, TLS and SSL encrypted connections, Virtual hosts, Authentication, on the fly encoding, Load Balancing, Apache compatible log files, Data Base Balancer, downtime-free updates and upgrades, Reverse HTTP Proxy, and much more.

This article assumes you have at least basic knowledge of linux, know how to use the shell, and most importantly, you host your site on your own VPS. The installation is quite simple and assumes you are running in the root account, if not you may need to add ‘sudo’ to the commands to get root privileges. I will show you through the step by step installation Cherokee Web Server on a Ubuntu 16.04 (Xenial Xerus) server.

Install Cherokee Web Server on Ubuntu 16.04 LTS

Step 1. First make sure that all your system packages are up-to-date by running these following apt-get commands in the terminal.

sudo apt-get update
sudo apt-get upgrade

Step 2. Enable Cherokee PPA (Personal Package Archive) repository.

add-apt-repository ppa:cherokee-webserver
apt-get update

Step 3.Installing Cherokee Web Server.

Install Cherokee Web Server using apt-get, Enter the following command to install the Cherokee web server including Module SSL:

sudo apt-get install cherokee cherokee-doc libcherokee-mod-libssl libcherokee-mod-streaming libcherokee-mod-rrd

Start Cherokee service daemon.

systemctl start cherokee
systemctl enable cherokee

Step 4. Configuring Cherokee.

The best part about using Cherokee Web Server is being able to manage all of its configurations through a simple to use web interface. It can be started through the cherokee-admin command.

sudo cherokee-admin

By default, cherokee-admin can only accessed from localhost. If you need to access the admin for other network address using the parameter ‘-b’. If you doesn’t mention any ip address, it will automatically listen to all network interfaces. Then you can connect to cherokee-admin from other network address.

sudo cherokee-admin -b

Access cherokee admin from specific network address:

sudo cherokee-admin -b 192.169.1.2
#sudo cherokee-admin -b

Cherokee Web Server 1.2.103 (Dec 059 2014): Listening on port 127.0.0.1:9090,
TLS disabled, IPv6 enabled, using epoll, 4096 fds system limit, max. 2041
connections, caching I/O, 2 threads, 1020 connections per thread, standard
scheduling policy

Login:
 User: admin
 One-time Password: wpcademyEMfQRznWWa6h

Web Interface:
 URL: http://127.0.0.1:9090/

Important: The password is for one time use only. If you need to login again, you should use the same command for generating it.

Step 5. Now access Cherokee-Admin by navigating your browser to http://127.0.0.1:9090. Type user name and password for accessing it.
cherokee-admin-panel

Congratulation’s! You have successfully installed Cherokee Web Server. Thanks for using this tutorial for installing Cherokee Web Server on Ubuntu 16.04 LTS (Xenial Xerus) system. For additional help or useful information, we recommend you to check the official Cheroke web site.