Apache Spark is a fast and general-purpose cluster computing system. It provides high-level APIs in Java, Scala and Python, and also an optimized engine which supports overall execution charts. It also supports a rich set of higher-level tools including Spark SQL for SQL and structured information processing, MLlib for machine learning, GraphX for graph processing, and Spark Streaming.
Table of Contents
Step 1. First let’s start by ensuring your system is up-to-date.
Step 2. Installing Java.
Step 3. Installing Scala.
Step 4. Installing Apache Spark.
Step 5. Configure Firewall for Apache Spark.
Step 6. Accessing Apache Spark.
Prerequisites
This article assumes you have at least basic knowledge of Linux, know how to use the shell, and most importantly, you host your site on your own VPS. The installation is quite simple and assumes you are running in the root account, if not you may need to add ‘sudo’ to the commands to get root privileges. I will show you through the step by step install Apache Spark on CentOS 7 server.
Install Apache Spark on CentOS 7
Step 1. First let’s start by ensuring your system is up-to-date.
yum clean all
yum -y install epel-release
yum -y update
Step 2. Installing Java.
Installing java for requirement install apache spark:
yum install java -y
Once installed, check java version:
java -version
Step 3. Installing Scala.
Spark installs Scala during the installation process, so we just need to make sure that Java and Python are present:
wget http://www.scala-lang.org/files/archive/scala-2.10.1.tgz
tar xvf scala-2.10.1.tgz
sudo mv scala-2.10.1 /usr/lib
sudo ln -s /usr/lib/scala-2.10.1 /usr/lib/scala
export PATH=$PATH:/usr/lib/scala/bin
Once installed, check scala version:
scala -version
Step 4. Installing Apache Spark.
Install Apache Spark using following command:
wget http://www-eu.apache.org/dist/spark/spark-2.2.1/spark-2.2.1-bin-hadoop2.7.tgz
tar -xzf spark-2.2.1-bin-hadoop2.7.tgz
export SPARK_HOME=$HOME/spark-2.2.1-bin-hadoop2.7
export PATH=$PATH:$SPARK_HOME/bin
Setup some Environment variables before you start spark:
echo 'export PATH=$PATH:/usr/lib/scala/bin' >> .bash_profile
echo 'export SPARK_HOME=$HOME/spark-1.6.0-bin-hadoop2.6' >> .bash_profile
echo 'export PATH=$PATH:$SPARK_HOME/bin' >> .bash_profile
The standalone Spark cluster can be started manually i.e. executing the start script on each node, or simple using the available launch scripts. For testing we can run master and slave daemons on the same machine:
./sbin/start-master.sh
Step 5. Configure Firewall for Apache Spark.
firewall-cmd --permanent --zone=public --add-port=6066/tcp
firewall-cmd --permanent --zone=public --add-port=7077/tcp
firewall-cmd --permanent --zone=public --add-port=8080-8081/tcp
firewall-cmd --reload
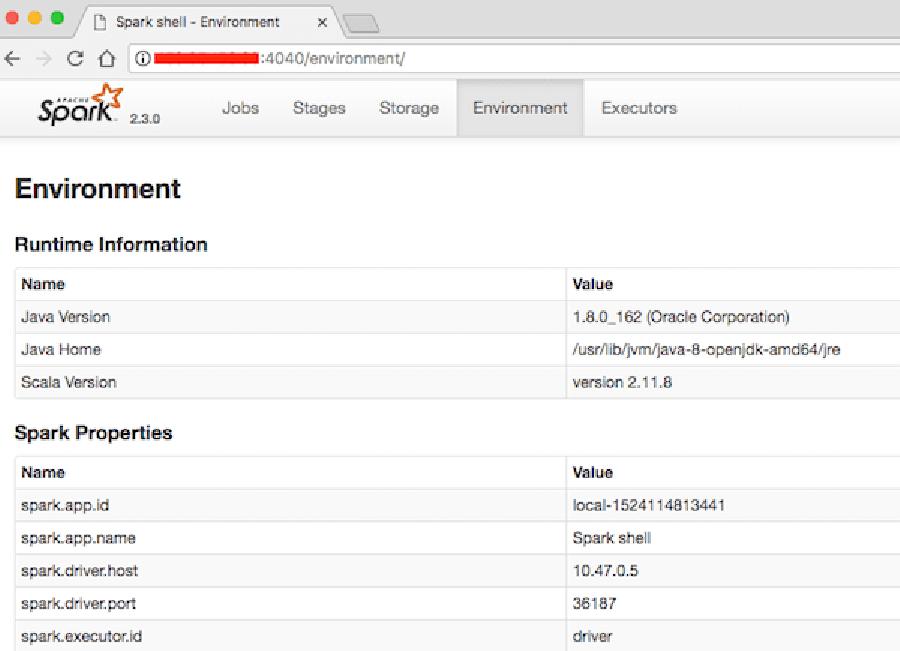
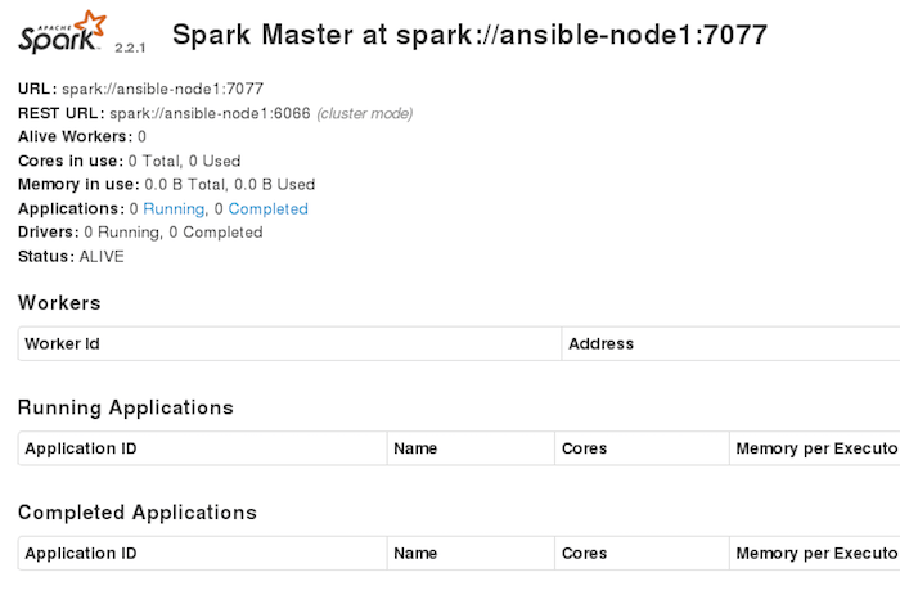
Step 6. Accessing Apache Spark.
Apache Spark will be available on HTTP port 7077 by default. Open your favorite browser and navigate to http://yourdomain.com:7077 or http://server-ip:7077 and complete the required the steps to finish the installation.
Congratulation’s! You have successfully installed Apache Spark on CentOS 7. Thanks for using this tutorial for installing Apache Spark on CentOS 7 systems. For additional help or useful information, we recommend you to check the official Apache Spark web site.