How To Install FFmpeg and FFmpeg-PHP Extension on CentOS

Install FFmpeg and FFmpeg-PHP Extension on CentOS

FFmpeg is a cross-platform solution for streaming audio and video as well as recording and conversion. There’s also a great PHP package called ffmpeg-php that allows for easy use of FFmpeg from inside PHP scripts. In this tutorial we will learn Install FFmpeg and FFmpeg-PHP Extension on CentOS server.

Install FFmpeg on CentOS

Step 1. To install, first you must add the DAG yum repository information corresponding to your CentOS/RHEL version to yum:

 #nano /etc/yum.repos.d/dag.repo

Add the following text to the file and save:

[dag]
name=DAG RPM Repository
baseurl=http://apt.sw.be/redhat/el$releasever/en/$basearch/dag
gpgcheck=1
enabled=1

Step 2. After add Dag repository, Use yum to install ffmpeg using following command.

#<code>rpm --import http://apt.sw.be/RPM-GPG-KEY.dag.txt
#yum install ffmpeg ffmpeg-devel ffmpeg-libpostproc


FFmpeg Basic Commands

#ffmpeg -version:            show version
#ffmpeg -formats:            show available formats
#ffmpeg -codecs:             show available codecs
#ffmpeg -decoders:           show available decoders
#ffmpeg -encoders:           show available encoders
#ffmpeg -bsfs:               show available bit stream filters
#ffmpeg -protocols:          show available protocols
#ffmpeg -pix_fmts:           show available pixel formats
#ffmpeg -layouts:            show standard channel layouts
#ffmpeg -sample_fmts:        show available audio sample formats
#ffmpeg -filters:            show available filters

 Install FFmpeg-PHP Extension on CentOS

Step 1.

 #yum install php-gd php-devel

Step 2.Download the latest ffmpeg-php release

#wget http://nchc.dl.sourceforge.net/project/ffmpeg-php/ffmpeg-php/0.6.0/ffmpeg-php-0.6.0.tbz2
#tar -xjf ffmpeg-php-0.6.0.tbz2
#cd ffmpeg-php-0.6.0
#phpize
#./configure
#make
#make install

If you get  [ffmpeg_movie.lo] Error 1 when compiling ffmpeg-php, then you will need to do:

#nano ffmpeg_movie.c
Changes in ffmpeg_movie.c:
#row 311: list_entry *le; to zend_rsrc_list_entry *le;
#row 346: list_entry new_le; to zend_rsrc_list_entry new_le;
#row 360: hashkey_length+1, (void *)&new_le, sizeof(list_entry), to hashkey_length+1, (void *)&new_le,sizeof(zend_rsrc_list_entry),


Step 3. Copy the ffmpeg.so module in php default module location. Now you have to edit php.ini file to enable ffmpeg-php support in it by using ffmpeg.so module.

 #nano /etc/php.ini

Put the below two lines at the end of the php.ini file

[ffmpeg]
extension=ffmpeg.so

FFmpeg-PHP extension should now be installed. You can check by creating a file called info.php in /var/www/html/ with the following content:

<?php phpinfo(); ?>
How To Install Nginx Web Server On CentOS

How To Install Nginx Using Yum Command On CentOS

Nginx is one of the most popular web servers in the world and is responsible for hosting some of the largest and highest-traffic sites on the internet. It is more resource-friendly than Apache in most cases and can be used as a web server or a reverse proxy.

This article assumes you have at least basic knowledge of linux, know how to use the shell, and most importantly, you host your site on your own VPS. So today I’m going to show you how to setup Nginx webserver on CentOS 6 or 7. In this tutorial we will learn how to install and configuration of Nginx web server on your CentOS server.

Install Nginx Using Yum Command On CentOS

Step 1. To install, first you must add the Webtatic yum repository information corresponding to your CentOS/RHEL version to yum:

CentOS/RHEL 7.x:

rpm -Uvh https://mirror.webtatic.com/yum/el7/epel-release.rpm
rpm -Uvh https://mirror.webtatic.com/yum/el7/webtatic-release.rpm

CentOS/RHEL 6.x:

 rpm -Uvh https://mirror.webtatic.com/yum/el6/latest.rpm

Step 2. Install nginx package and dependencies using the below command :

 yum install nginx16

Starting and stopping the server

To start the Nginx server, issue the following command:

 service nginx start

Top stop the Nginx server, issue the following command:

 service nginx stop

Configuration files/folders

  • The main configuration file for Nginx is /etc/nginx/nginx.conf
  • Virtual hosts are defined in /etc/nginx/sites-available/default
  • PHP will be configured in /etc/php5/fpm/php.ini

Before you close that terminal window, it’s necessary to set the Nginx service to start at boot. Just issue the following command:

 chkconfig nginx on

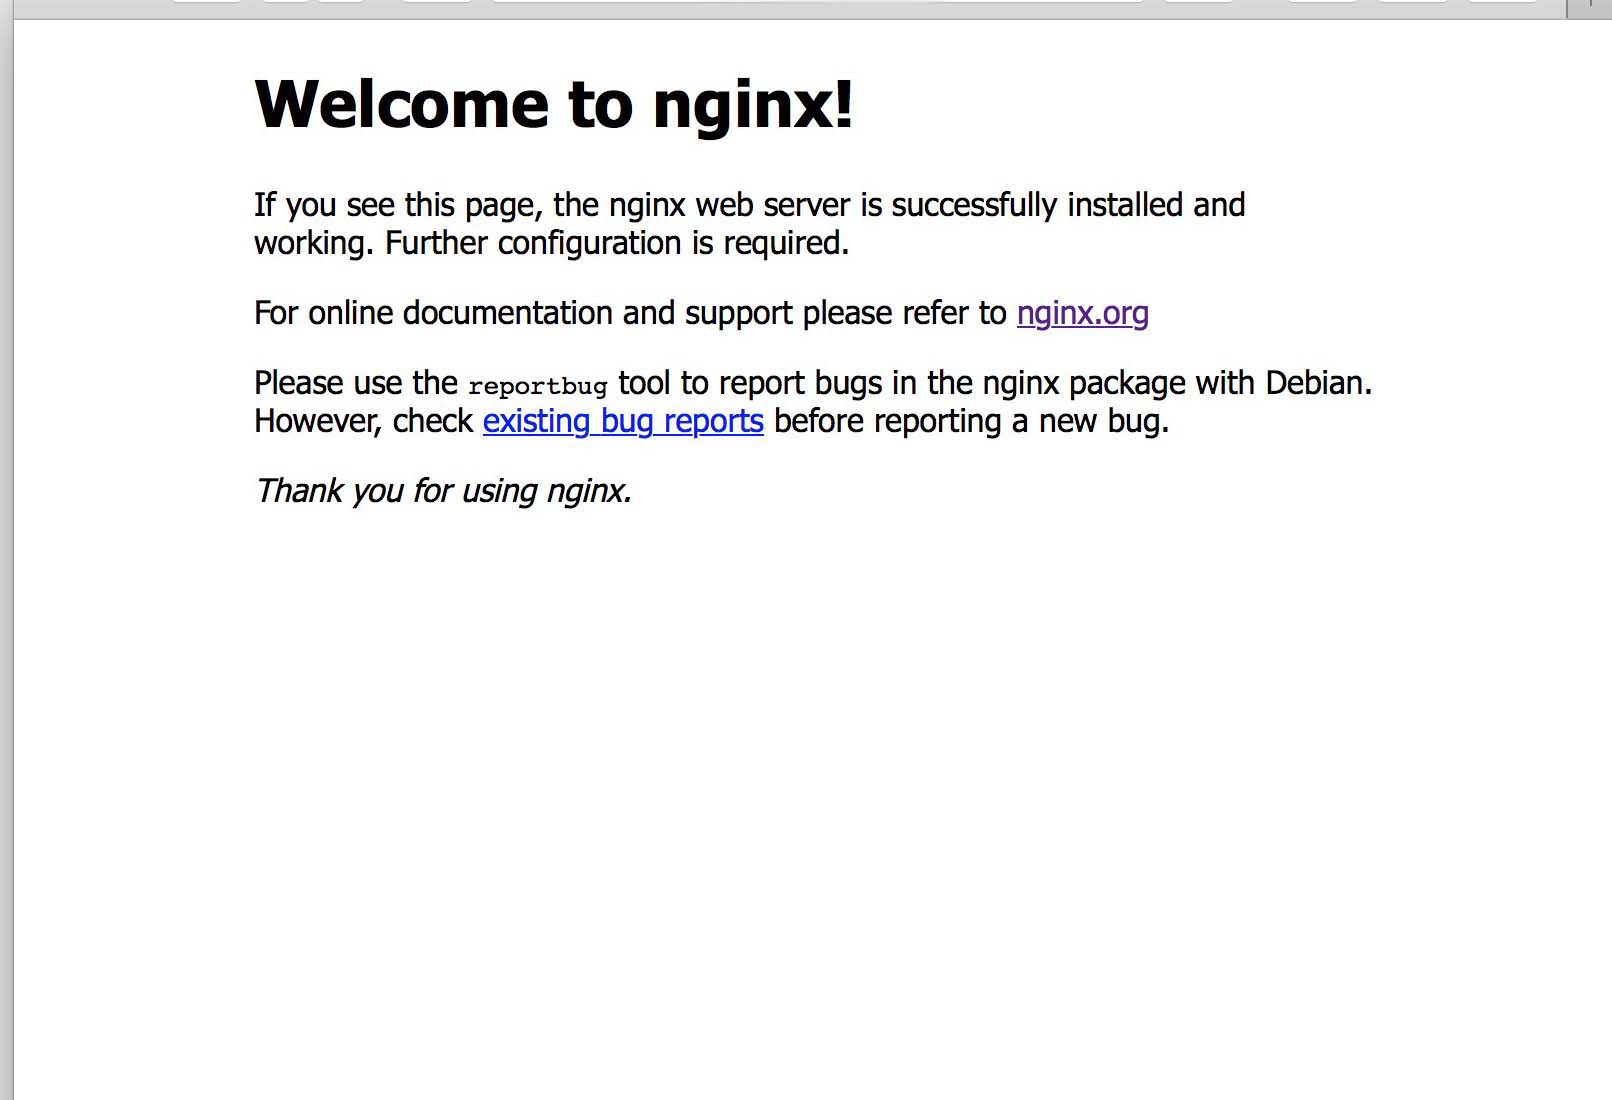
Navigating to your Server’s IP address (assuming you have no other server listening on port 80), you will be greeted with the standard welcome page:

nginx-default

The steps above should produce a running Nginx which serves the Nginx default pages on port 80. We’ll start working through various configurations and optimizations to round out the series. Enjoy your new web server!

Click here to learn How To Install Nginx Web Server on Ubuntu

How To Replacing OpenSSH With Dropbear on CentOS

Replacing OpenSSH With Dropbear on CentOS

Dropbear is a relatively small SSH server and client. It runs on a variety of POSIX-based platforms. Dropbear is open source software, distributed under a MIT-style license. Dropbear is particularly useful for “embedded”-type Linux (or other Unix) systems, such as wireless routers.

Features

  • A small memory footprint suitable for memory-constrained environments – Dropbear can compile to a 110kB statically linked binary with uClibc on x86 (only minimal options selected)
  • Dropbear server implements X11 forwarding, and authentication-agent forwarding for OpenSSH clients
  • Can run from inetd or standalone
  • Compatible with OpenSSH ~/.ssh/authorized_keys public key authentication
  • The server, client, keygen, and key converter can be compiled into a single binary (like busybox)
  • Features can easily be disabled when compiling to save space
  • Multi-hop mode uses SSH TCP forwarding to tunnel through multiple SSH hosts in a single command. dbclient user1@hop1,user2@hop2,destination

This article assumes you have at least basic knowledge of linux, know how to use the shell, and most importantly, you host your site on your own VPS. The installation is quite simple and assumes you are running in the root account, if not you may need to add ‘sudo’ to the commands to get root privileges. In this tutorial we will learn through the step by step replacing Dropbear SSH in CentOS server.

Replacing OpenSSH With Dropbear on CentOS

To install, first you must add the yum repository information corresponding to your CentOS/RHEL version to yum:

For CentOS 6.x use:

#wget http://dl.fedoraproject.org/pub/epel/6/i386/dropbear-0.58-1.el6.i686.rpm
#rpm -Uvh dropbear-0.58-1.el6.i686.rpm

For CentOS 5.x use:

#wget http://dl.fedoraproject.org/pub/epel/5/i386/dropbear-0.55-1.el5.i386.rpm
#rpm -Uvh dropbear-0.55-1.el5.i386.rpm

First we will just install dropbear using yum:

 #yum install dropbear

Now we just need to start up new SSH server:

 #nano /etc/init.d/dropbear

Edit port dropbear:

 #OPTIONS=" -p 222"

Add dropbear to startup and start the sever:

#chkconfig dropbear on
#service dropbear start

Next you can stop the current OpenSSH server:

 #yum remove openssh-server

Note: Make sure you check that it is indeed running and verify from another box before you logout your current session otherwise.

Congratulation’s! You have successfully installed Dropbear. Thanks for using this tutorial for installing Dropbear SSH in CentOS system.

How To Install and Configure Squid 3 on CentOS

Install and Configure Squid 3 on CentOS

Squid is a caching proxy for the Web supporting HTTP, HTTPS, FTP, and more. It reduces bandwidth and improves response times by caching and reusing frequently-requested web pages. Squid has extensive access controls and makes a great server accelerator. It runs on most available operating systems, including Windows and is licensed under the GNU GPL.

This article assumes you have at least basic knowledge of linux, know how to use the shell, and most importantly, you host your site on your own VPS. The installation is quite simple and assumes you are running in the root account, if not you may need to add ‘sudo’ to the commands to get root privileges.

In this tutorial we are going to learn how to install and configuration of Squid on your CentOS server.

Install and Configure Squid 3 on CentOS

Step 1. To install, first you must update yum repository and packages by typing the below command:

 #yum -y update

Step 2. Installing Squid 3.

Install squid package and dependencies using the below command :

 #yum -y install squid

Step 3. Configuration Squid.

Edit squid configuration file ‘/etc/squid/squid.conf’

 #nano /etc/squid/squid.conf
# Recommended minimum configuration:
auth_param basic program /usr/lib/squid/ncsa_auth /etc/squid/squid_passwd
acl ncsa_users proxy_auth REQUIRED
http_access allow ncsa_users

acl manager proto cache_object
acl localhost src 127.0.0.1/32
acl to_localhost dst 127.0.0.0/8 0.0.0.0/32
acl SSL_ports port 443
acl Safe_ports port 80        # http
acl Safe_ports port 21        # ftp
acl Safe_ports port 443        # https
acl Safe_ports port 1025-65535    # unregistered ports
acl Safe_ports port 280        # http-mgmt
acl Safe_ports port 488        # gss-http
acl Safe_ports port 591        # filemaker
acl Safe_ports port 777        # multiling http
acl CONNECT method CONNECT

http_access allow manager localhost
http_access deny manager
http_access deny !Safe_ports
http_access deny CONNECT !SSL_ports
http_access deny all
http_port 3128

hierarchy_stoplist cgi-bin ?
coredump_dir /var/spool/squid
cache deny all

refresh_pattern ^ftp:        1440    20%    10080
refresh_pattern ^gopher:    1440    0%    1440
refresh_pattern -i (/cgi-bin/|\?) 0    0%    0
refresh_pattern .        0    20%    4320

icp_port 3130

forwarded_for off

request_header_access Allow allow all
request_header_access Authorization allow all
request_header_access Proxy-Authorization allow all
request_header_access Proxy-Authenticate allow all
request_header_access Cache-Control allow all
request_header_access Content-Encoding allow all
request_header_access Content-Length allow all
request_header_access Content-Type allow all
request_header_access Date allow all
request_header_access Expires allow all
request_header_access Host allow all
request_header_access If-Modified-Since allow all
request_header_access Last-Modified allow all
request_header_access Location allow all
request_header_access Pragma allow all
request_header_access Accept allow all
request_header_access Accept-Charset allow all
request_header_access Accept-Encoding allow all
request_header_access Accept-Language allow all
request_header_access Content-Language allow all
request_header_access Mime-Version allow all
request_header_access Retry-After allow all
request_header_access Title allow all
request_header_access Connection allow all
request_header_access Proxy-Connection allow all
request_header_access User-Agent allow all
request_header_access Cookie allow all
request_header_access All deny all
visible_hostname wpcademy.com

Step 4. Create our authentication file which Squid can use to verify for user authentications:

 #htpasswd -b /etc/squid/squid_passwd username password

Example:

 #htpasswd -b -c /etc/squid/squid_passwd ranty ratna

Congratulation’s! You have successfully installed squid. Thanks for using this tutorial for installing squid proxy on CentOS system. For additional help or useful information, we recommend you to check the official squid web site.

You Might Also Like: How To Install Redis on Ubuntu 16.04 LTS

How To Remove MySQL Server from CentOS

Remove MySQL Server from CentOS

MySQL is a relational database management system (RDBMS) that runs as a server providing multi-user access to a number of databases. The MySQL source code is freely available because it was originally developed as freeware. MySQL is written in C and C++ and is compatible with all major operating systems. MySQL can be used for a variety of applications, but is most commonly found on Web servers.

This article assumes you have at least basic knowledge of linux, know how to use the shell, and most importantly, you host your site on your own VPS. The uninstall or removing is quite simple. I will show you through the step by step removing MySQL on CentOS server. May be it’s good idea to backup databases before doing this.

In this tutorial we will guide you how to completely remove of MySQL from your CentOS server.

Completely Removing MySQL Server in CentOS

Step 1: Check list the mysql rpm which is installed on server

#rpm -qa | grep mysql
or
#yum list installed | grep mysql

Step 2 : Removing all mysql-related packages (with “yum remove”)

 #yum remove mysql-client mysql-server mysql-common mysql-devel

Step 3: Delete the databases folder

#rm -rf /var/lib/mysql/
#rm -rf /etc/my.cnf

If you need to reinstall mysql database server, check out our tutorial, click here.

Congratulation’s! You have successfully removes MySQL. Thanks for using this tutorial for removing MySQL server on CentOS system. For additional help or useful information, we recommend you to check the official MySQL web site

You Might Also Like: How To Install MySQL Database Server on CentOS

How To Install MySQL Database Server on CentOS

Install MySQL Database Server on CentOS

MySQL is a relational database management system (RDBMS) that runs as a server providing multi-user access to a number of databases. The MySQL source code is freely available because it was originally developed as freeware. MySQL is written in C and C++ and is compatible with all major operating systems. MySQL can be used for a variety of applications, but is most commonly found on Web servers.

This article assumes you have at least basic knowledge of linux, know how to use the shell, and most importantly, you host your site on your own VPS. The installation is quite simple.

In this tutorial we will guide you through the step by step installation MySQL in CentOS server.

Install MySQL Database Server on CentOS

To install, first you must add the Remi yum repository information corresponding to your CentOS/RHEL version to yum:

For CentOS 6.x use:

#rpm -Uvh http://download.fedoraproject.org/pub/epel/6/i386/epel-release-6-8.noarch.rpm
#rpm -Uvh http://rpms.famillecollet.com/enterprise/remi-release-6.rpm

 For CentOS 5.x use:

#rpm -Uvh http://dl.fedoraproject.org/pub/epel/5/i386/epel-release-5-4.noarch.rpm
#rpm -Uvh http://rpms.famillecollet.com/enterprise/remi-release-5.rpm

After installing Remi repository on your system, then look for MySQL latest version using –enablerepo=remi switch option.

 #yum --enablerepo=remi list mysql mysql-server

Sample output:

Installing MySQL 5.5.37:

 #yum --enablerepo=remi install mysql mysql-server

Starting / Stopping MySQL Server on CentOS

#service mysqld start
#service mysqld restart
#service mysqld stop

Hardening MySQL with mysql_secure_installation:

 #mysql_secure_installation

Connecting to MySQL Server:

Connecting to newly installed MySQL server by providing username and password.

 #mysql -u root -p

Congratulation’s! You have successfully installed MySQL. Thanks for using this tutorial for installing MySQL server in CentOS system. For additional help or useful information, we recommend you to check the official MySQL web site.

You Might Also Like: How To Install MariaDB On CentOS 6

How To Install IonCube Loader on CentOS

Install IonCube Loader on CentOS

IonCube Loaders is basically an encryption/decryption utility for PHP applications which also assists in speeding up the pages that are served. It is often required for a lot of PHP-based applications.

This article assumes you have basic knowledge of linux, know how to use the shell, and most importantly, you host your site on your own VPS. The installation is quite simple and assumes you are running in the root account, if not you may need to add ‘sudo’ to the commands to get root privileges.

In this tutorial we will guide you through the step by step installation IonCube Loader in CentOS server.

Install IonCube Loader on CentOS

Method 1:

For CentOS 32-bit use:

#wget http://downloads3.ioncube.com/loader_downloads/ioncube_loaders_lin_x86.tar.gz
#tar xvfz ioncube_loaders_lin_x86.tar.gz

For CentOS x86_64 (64-bit):

#wget http://downloads3.ioncube.com/loader_downloads/ioncube_loaders_lin_x86-64.tar.gz
#tar xvfz ioncube_loaders_lin_x86-64.tar.gz

If the links are not working anymore, please check the latest version download links in here.

#cd ioncube
#mkdir /usr/local/ioncube
#cp ioncube_loader_lin_5.3.so /usr/local/ioncube

Copy ioncube_loader_lin_5.3.so as PHP version installed on the server was PHP 5.3

Now edit php.ini file. To find location of php.ini, run

#php -i| grep php.ini
#nano /etc/php.ini

Add following line to end on php.ini

 zend_extension = /usr/local/ioncube/ioncube_loader_lin_5.3.so

Restart apache after IonCube Loaders installation

#service httpd restart
#php -v

Method 2:

Install IonCube Loaders via atomic yum repository:

#wget -q -O - http://www.atomicorp.com/installers/atomic |sh
#yum install php-ioncube-loader -y

IonCube Loader should now be installed. You can check by creating a file called info.php in /var/www/html/ with the following content:

 <? phpinfo(); ?>

Congratulation’s! You have successfully installed IonCube Loader. Thanks for using this tutorial for installing IonCube Loader in CentOS  system. For additional help or useful information, we recommend you to check the official IonCube Loader web site.

You Might Also Like: How To Install IonCube Loader on Ubuntu 16.04 LTS