How To Install LEMP on Ubuntu 16.04

Install LEMP on Ubuntu 16

A LEMP software stack is a group of open source software that is typically installed together to enable a server to host dynamic websites and web apps. This term is actually an acronym which represents the Linux operating system, with the Nginx web server (which replaces the Apache component of a LAMP stack). The site data is stored in a MySQL database (using MariaDB), and dynamic content is processed by PHP.

lemp stack install in ubuntu

This article assumes you have at least basic knowledge of linux, know how to use the shell, and most importantly, you host your site on your own VPS. The installation is quite simple. I will show you through the step by step installation LEMP stack (Linux, Nginx, MariaDB and PHP) on Ubuntu 16.04 server.

Install LEMP on Ubuntu 16.04

Step 1. First make sure that all your system packages are up-to-date by running these following apt-get commands in the terminal.

apt-get update
apt-get upgrade

Note: If another web server like Apache2 was installed in your system, remove it first to avoid conflicts. To uninstall Apache, run the following commands:

sudo service apache2 stop
sudo apt-get remove --purge apache2 apache2-utils apache2.2-bin apache2-common -y
sudo apt-get autoremove -y
sudo apt-get autoclean -y

Step 2. Installing Nginx on Ubuntu 16.04.

Install Nginx with apt-get, which is the default package manager for Ubuntu:

sudo apt-get install nginx

Start Nginx service using the following command:

sudo systemctl start nginx

You can verify that Nginx is really running by opening your favorite web browser and entering the URL http://your-server’s-address, if it is installed, then you will see this:
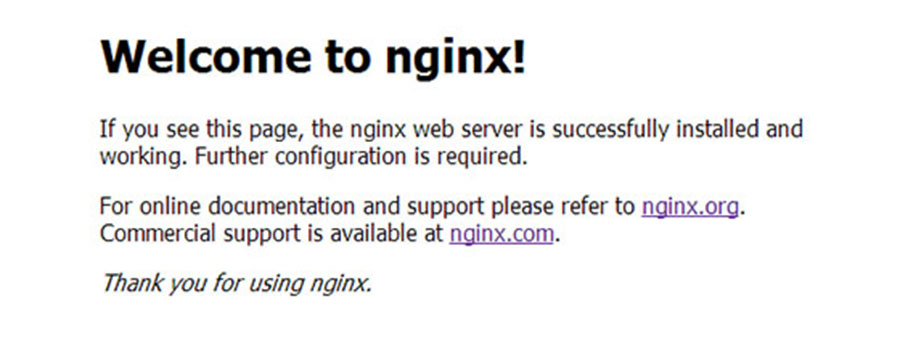
nginx-default-page
The default web page for NGINX on Ubuntu 16.04

Step 3. Configure Nginx web server.

To get Nginx to work with PHP correctly, we need to make changes to the Nginx configuration file. This guide we will be using a simple Nginx config file:

sudo nano /etc/nginx/sites-available/default

Copy the following into your text editor:

server {
listen 80;
server_name your_domain_name.com;
root /usr/share/nginx/html;
index index.php index.html;
location / {
try_files $uri $uri/ =404;
}
error_page 404 /404.html;
error_page 500 502 503 504 /50x.html;
location = /50x.html {
root /var/www/html;
}
location ~ \.php$ {
try_files $uri =404;
fastcgi_pass unix:/var/run/php5-fpm.sock;
fastcgi_index index.php;
fastcgi_param SCRIPT_FILENAME $document_root$fastcgi_script_name;
include fastcgi_params;
}
}

Once you have finished editing the file restart Nginx with:

sudo nginx -t
sudo systemctl restart nginx

Step 4. Installing MySQL on Ubuntu 16.04.

To install MySQL in Ubuntu 16.04 run the following command:

sudo apt-get install mysql-server php5-mysql

Once complete, you can verify MySQL is installed by running the below command:

systemctl status mysql

By default, MySQL is not hardened. You can secure MySQL using the mysql_secure_installation script. you should read and below each steps carefully which will set root password, remove anonymous users, disallow remote root login, and remove the test database and access to secure MySQL:

mysql_secure_installation

Configure it like this:

- Set root password? [Y/n] y
- Remove anonymous users? [Y/n] y
- Disallow root login remotely? [Y/n] y
- Remove test database and access to it? [Y/n] y
- Reload privilege tables now? [Y/n] y

To log into MySQL, use the following command (note that it’s the same command you would use to log into a MySQL database):

mysql -u root -p

Step 5. Installing and Configuring PHP on Ubuntu 16.04.

Install PHP on the Ubuntu 16.04 with the following command to begin the install:

sudo apt-get install php php-fpm php7.0-mysql

Once the installation is finished, edit the server php.ini file and change the cgi.fix_pathinfo parameter value to 0. By default it will be commented out with a semi-colon and the value set to 1 which practically ensures that PHP will attempt to execute the closest file available when a requested PHP file can’t be found. This is a bad security practice, so let’s change it. Execute the below command:

nano /etc/php/7.0/fpm/php.ini

Now find the cgi.fix_pathinfo line, uncomment it and set the value to 0. Save and close the file.

Your server should restart Nginx automatically after the installation of both MySQL and PHP. If it doesn’t, execute this command:

sudo systemctl restart nginx

To test PHP, create a test file named info.php with he content below. Save the file, then browse to it to see if PHP is working:

nano /usr/share/nginx/html/info.php

Copy the following into your text editor:

<!--?php phpinfo(); ?-->

Try to access it at http://your_server_ip/info.php . If the PHP info page is rendered in your browser then everything looks good and you are ready to proceed further.
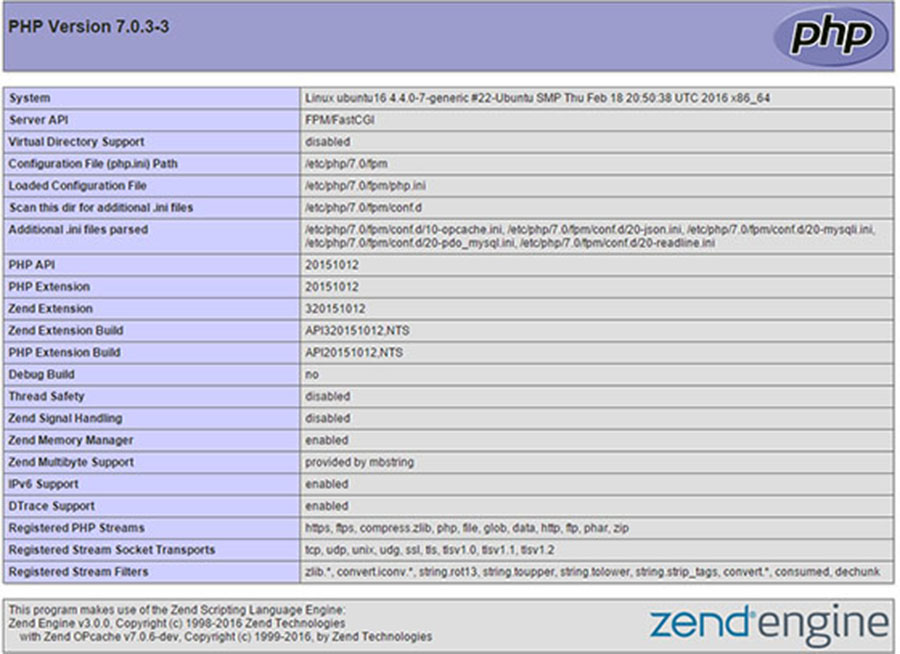
installing-lemp-ubuntu-16-04
Congratulation’s! You have successfully installed LEMP stack. Thanks for using this tutorial for installing LAMP (Linux, Nginx, MySQL and PHP) in Ubuntu 16.04 system. For additional help or useful information, we recommend you to check the official Nginx, MySQL and PHP web site

You Might Also Like: How To Install LAMP Stack on Ubuntu 16.04

How To Install Seafile on Ubuntu 16.04 LTS

Install Seafile on Ubuntu 16

Seafile is a open source cloud storage software. It offers file sharing and syncing for individual users and groups, it provides client side encryption and easy access from mobile devices. Also easily integrated with local services such as LDAP and WebDAV or can be deployed using advanced network services and databases like MySQL, SQLite, PostgreSQL, Memcached, Nginx or Apache Web Server.

This article assumes you have at least basic knowledge of linux, know how to use the shell, and most importantly, you host your site on your own VPS. The installation is quite simple and assumes you are running in the root account, if not you may need to add ‘sudo’ to the commands to get root privileges. I will show you through the step by step installation Seafile open source secure cloud storage on a Ubuntu 16.04 (Xenial Xerus) server.
Install Seafile on Ubuntu 16.04 LTS Xenial Xerus

Step 1. First make sure that all your system packages are up-to-date by running these following apt-get commands in the terminal.

sudo apt-get update
sudo apt-get upgrade

Step 2. Install LEMP (Linux, Nginx, MariaDB, PHP) server.

A Ubuntu 16.04 LAMP server is required. If you do not have LEMP installed, you can follow our guide here. Also install all required PHP modules:

apt-get install php7.0-curl php7.0-gd php7.0-mbstring php7.0-mysql libapache2-mod-php7.0 php7.0-mcrypt php7.0-zip

Installing Python modules:

apt-get install python2.7 libpython2.7 python-setuptools python-imaging python-ldap python-mysqldb python-memcache python-urllib3

Step 3. Configure the MariaDB database for Seafile.

By default, MariaDB is not hardened. You can secure MariaDB using the mysql_secure_installation script. You should read and below each steps carefully which will set root password, remove anonymous users, disallow remote root login, and remove the test database and access to secure MariaDB.

mysql_secure_installation

Configure it like this:

- Set root password? [Y/n] y
- Remove anonymous users? [Y/n] y
- Disallow root login remotely? [Y/n] y
- Remove test database and access to it? [Y/n] y
- Reload privilege tables now? [Y/n] y

Next we will need to log in to the MariaDB console and create a database for the Seafile. Run the following command:

mysql -u root -p

This will prompt you for a password, so enter your MariaDB root password and hit Enter. Once you are logged in to your database server you need to create a database for Seafile installation:

MariaDB [(none)]> create database ccnet_db character set = 'utf8'; MariaDB [(none)]> create database seafile_db character set = 'utf8'; MariaDB [(none)]> create database seahub_db character set = 'utf8';
MariaDB [(none)]> create user seacloud@localhost identified by 'password';
MariaDB [(none)]> grant all privileges on ccnet_db.* to seacloud@localhost identified by 'password'; MariaDB [(none)]> grant all privileges on seafile_db.* to seacloud@localhost identified by 'password'; MariaDB [(none)]> grant all privileges on seahub_db.* to seacloud@localhost identified by 'password';
MariaDB [(none)]> flush privileges; MariaDB [(none)]> exit

Step 4. Installing Seafile on Server.

You need to download the last stable release of Seafile:

wget https://bintray.com/artifact/download/seafile-org/seafile/seafile-server_6.0.6_x86-64.tar.gz

Extract the tarball into the current directory:

tar -xvzf seafile-server_6.0.6_x86-64.tar.gz
mv seafile-server_6.0.6 seafile-server

Install Seafile:

Run this script which will create the required databases and directories for the Seafile server and and answer all questions using the following configuration options, after the script verifies the existence of all Python required modules:

./setup-seafile-mysql.sh

After Seafile server successfully installs, it will generate some useful information such as what ports needs to be open on your Firewall to allow external connection and what scripts to handle in order to start the server.

Step 5. Starting the Seafile services.

Create startup script for the Seafile server like this:

nano /lib/systemd/system/seafile.service

Add the following lines:

[Unit]
Description=Seafile Server
After=network.target mariadb.service[Service]
Type=oneshot
ExecStart=/home/seafile/seafile-server/seafile.sh start
ExecStop=/home/seafile/seafile-server/seafile.sh stop
RemainAfterExit=yes
User=seafile
Group=seafile[Install]
WantedBy=multi-user.target

Save the file and create a new service file for seahub:

[Unit]
Description=Seafile Hub
After=network.target seafile.target[Service]
Type=oneshot
ExecStart=/home/seafile/seafile-server/seahub.sh start-fastcgi
ExecStop=/home/seafile/seafile-server/seahub.sh stop
RemainAfterExit=yes
User=seafile
Group=seafile[Install]
WantedBy=multi-user.target

Now try using the service and command to start a new Seafile server instance:

systemctl daemon-reload 
systemctl start seafile
systemctl start seahub

Step 6. Configuring Nginx web server for Seafile.

*Note: A static IP address 192.168.77.21 configure on your server.

First, create a new virtual host file with name seafile.conf:

nano /etc/nginx/sites-available/seafile.conf

Add the following lines:

server {
    listen 80;
    server_name 192.168.77.21;proxy_set_header X-Forwarded-For $remote_addr;# Reverse proxy for seafile
    location / {
        fastcgi_pass    127.0.0.1:8000;
        fastcgi_param   SCRIPT_FILENAME     $document_root$fastcgi_script_name;
        fastcgi_param   PATH_INFO           $fastcgi_script_name;fastcgi_param    SERVER_PROTOCOL        $server_protocol;
        fastcgi_param   QUERY_STRING        $query_string;
        fastcgi_param   REQUEST_METHOD      $request_method;
        fastcgi_param   CONTENT_TYPE        $content_type;
        fastcgi_param   CONTENT_LENGTH      $content_length;
        fastcgi_param   SERVER_ADDR         $server_addr;
        fastcgi_param   SERVER_PORT         $server_port;
        fastcgi_param   SERVER_NAME         $server_name;
        fastcgi_param   REMOTE_ADDR         $remote_addr;access_log      /var/log/nginx/seahub.access.log;
        error_log       /var/log/nginx/seahub.error.log;
        fastcgi_read_timeout 36000;
    }# Reverse Proxy for seahub
    location /seafhttp {
        rewrite ^/seafhttp(.*)$ $1 break;
        proxy_pass http://127.0.0.1:8082;
        client_max_body_size 0;
        proxy_connect_timeout  36000s;
        proxy_read_timeout  36000s;
        proxy_send_timeout  36000s;
        send_timeout  36000s;
    }#CHANGE THIS PATH WITH YOUR OWN DIRECTORY
    location /media {
        root /home/seafile/seafile-server/seahub;
    }
}

Save the file and restart nginx:

systemctl restart nginx

Step 7. Accessing Seafile.

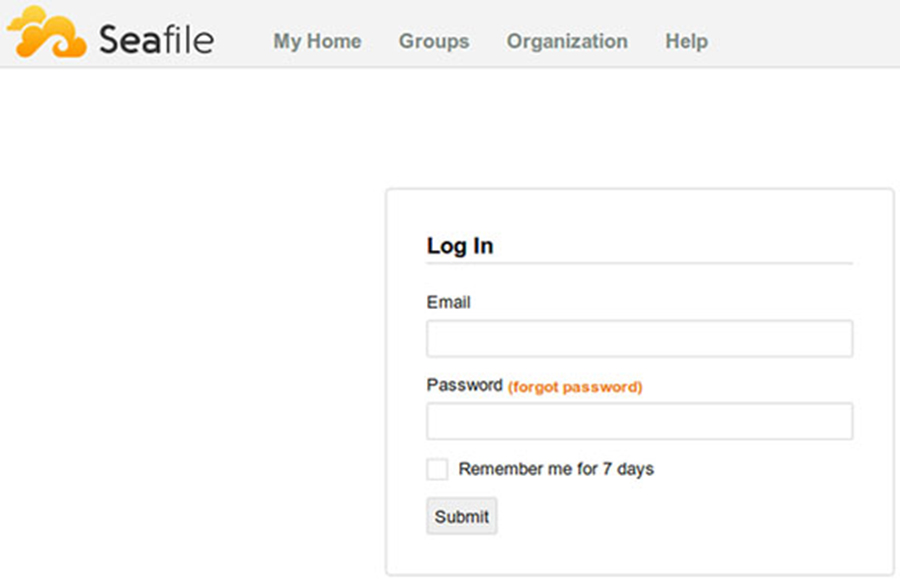
Seafile cloud storage will be available on HTTP port 80 by default. Open your favorite browser and navigate to http://yourdomain.com or http://192.168.77.21. Enter the admin email id and password to login which you have created at the time of installation. If you are using a firewall, please open port 8000 to enable access to the control panel.

seafile-web-interface-login

Congratulation’s! You have successfully installed Seafile. Thanks for using this tutorial for installing Seafile open source secure cloud storage on Ubuntu 16.04 LTS (Xenial Xerus) system. For additional help or useful information, we recommend you to check the official Seafile web site.