LAMP represents a full featured stack containing the most popular web server known as Apache, the most popular database server MySQL and the most popular open-source web programming language known as PHP. All components are free and open-source software, and the combination is suitable for building dynamic web pages.
This article assumes you have at least basic knowledge of linux, know how to use the shell, and most importantly, you host your site on your own VPS. The installation is quite simple. I will show you through the step by step installation LAMP (Linux Apache, MySQL and PHP) on Ubuntu 16.04 server.
Install LAMP Stack on Ubuntu 16.04
Step 1. First make sure that all your system packages are up-to-date by running these following apt-get commands in the terminal.
apt-get update
apt-get upgrade
Step 2. Installing Apache on Ubuntu 16.04.
We will be installing Apache with apt-get, which is the default package manager for ubuntu. Your also required to install libapache2-mod-php module to work PHP with Apache2:
apt-get install apache2 libapache2-mod-php
After installing apache services on your system, start all required services:
systemctl enable apache2
systemctl start apache2
systemctl status apache2
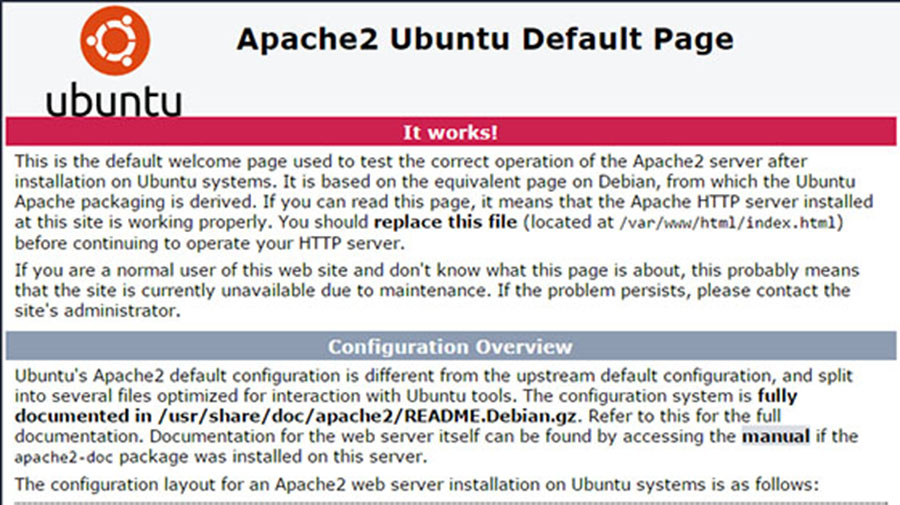
You can verify that Apache is really running by opening your favorite web browser and entering the URL http://your-server’s-address, if it is installed, then you will see this:
Step 3. Installing MySQL on Ubuntu 16.04
Now that we have our web server up and running, it is time to install MySQL. MySQL is a database management system. Basically, it will organize and provide access to databases where our site can store information:
apt-get install mysql-server php7.0-mysql
Once complete, you can verify MySQL is installed by running the below command:
systemctl status mysql
systemctl start mysql
By default, MySQL is not hardened. You can secure MySQL using the mysql_secure_installation script. you should read and below each steps carefully which will set root password, remove anonymous users, disallow remote root login, and remove the test database and access to secure MySQL:
mysql_secure_installation
Configure it like this:
- Set root password? [Y/n] y
- Remove anonymous users? [Y/n] y
- Disallow root login remotely? [Y/n] y
- Remove test database and access to it? [Y/n] y
- Reload privilege tables now? [Y/n] y
To log into MySQL, use the following command (note that it’s the same command you would use to log into a MySQL database):
mysql -u root -p
Step 4. Installing PHP 7 on Ubuntu 16.04
PHP 7.0 is now the default PHP package shipping in Ubuntu LTS 16.04 (Xenial Xerus), Now install PHP 7 with the following command:
sudo apt-get install php7.0 php7.0-mysql php7.0-curl php7.0-gd php7.0-json php7.0-opcache php7.0-xml mcrypt php7.0-mcrypt
If you like to search all the available PHP 7 modules you can use to command:
sudo apt-cache search php7-*
Your server should restart Apache automatically after the installation of both MySQL and PHP. If it doesn’t, execute this command:
sudo systemctl restart apache2
sudo systemctl restart mysql
To test PHP, create a test file named info.php with he content below. Save the file, then browse to it to see if PHP is working:
nano /var/www/html/info.php
<!--?php phpinfo(); ?-->
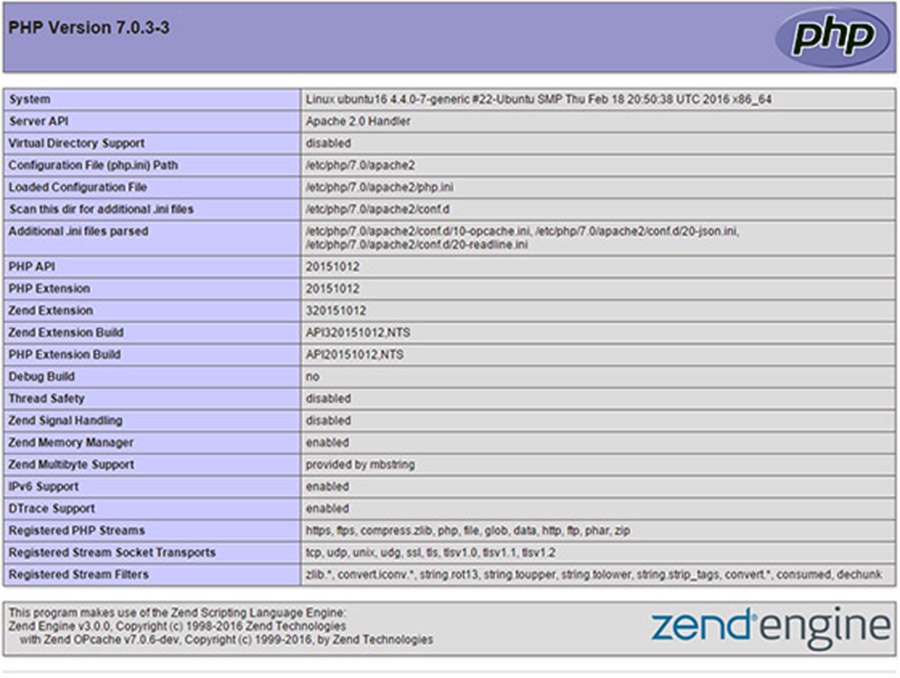
Try to access it at http://your_server_ip/info.php . If the PHP info page is rendered in your browser then everything looks good and you are ready to proceed further.
Congratulation’s! You have successfully installed LAMP stack. Thanks for using this tutorial for installing LAMP (LinuxApache, MySQL andPHP) in Ubuntu 16.04 system. For additional help or useful information, we recommend you to check the official Apache, MySQL and PHP web site.