How To Install Seafile on Ubuntu 16.04 LTS

Install Seafile on Ubuntu 16

Seafile is a open source cloud storage software. It offers file sharing and syncing for individual users and groups, it provides client side encryption and easy access from mobile devices. Also easily integrated with local services such as LDAP and WebDAV or can be deployed using advanced network services and databases like MySQL, SQLite, PostgreSQL, Memcached, Nginx or Apache Web Server.

This article assumes you have at least basic knowledge of linux, know how to use the shell, and most importantly, you host your site on your own VPS. The installation is quite simple and assumes you are running in the root account, if not you may need to add ‘sudo’ to the commands to get root privileges. I will show you through the step by step installation Seafile open source secure cloud storage on a Ubuntu 16.04 (Xenial Xerus) server.
Install Seafile on Ubuntu 16.04 LTS Xenial Xerus

Step 1. First make sure that all your system packages are up-to-date by running these following apt-get commands in the terminal.

sudo apt-get update
sudo apt-get upgrade

Step 2. Install LEMP (Linux, Nginx, MariaDB, PHP) server.

A Ubuntu 16.04 LAMP server is required. If you do not have LEMP installed, you can follow our guide here. Also install all required PHP modules:

apt-get install php7.0-curl php7.0-gd php7.0-mbstring php7.0-mysql libapache2-mod-php7.0 php7.0-mcrypt php7.0-zip

Installing Python modules:

apt-get install python2.7 libpython2.7 python-setuptools python-imaging python-ldap python-mysqldb python-memcache python-urllib3

Step 3. Configure the MariaDB database for Seafile.

By default, MariaDB is not hardened. You can secure MariaDB using the mysql_secure_installation script. You should read and below each steps carefully which will set root password, remove anonymous users, disallow remote root login, and remove the test database and access to secure MariaDB.

mysql_secure_installation

Configure it like this:

- Set root password? [Y/n] y
- Remove anonymous users? [Y/n] y
- Disallow root login remotely? [Y/n] y
- Remove test database and access to it? [Y/n] y
- Reload privilege tables now? [Y/n] y

Next we will need to log in to the MariaDB console and create a database for the Seafile. Run the following command:

mysql -u root -p

This will prompt you for a password, so enter your MariaDB root password and hit Enter. Once you are logged in to your database server you need to create a database for Seafile installation:

MariaDB [(none)]> create database ccnet_db character set = 'utf8'; MariaDB [(none)]> create database seafile_db character set = 'utf8'; MariaDB [(none)]> create database seahub_db character set = 'utf8';
MariaDB [(none)]> create user seacloud@localhost identified by 'password';
MariaDB [(none)]> grant all privileges on ccnet_db.* to seacloud@localhost identified by 'password'; MariaDB [(none)]> grant all privileges on seafile_db.* to seacloud@localhost identified by 'password'; MariaDB [(none)]> grant all privileges on seahub_db.* to seacloud@localhost identified by 'password';
MariaDB [(none)]> flush privileges; MariaDB [(none)]> exit

Step 4. Installing Seafile on Server.

You need to download the last stable release of Seafile:

wget https://bintray.com/artifact/download/seafile-org/seafile/seafile-server_6.0.6_x86-64.tar.gz

Extract the tarball into the current directory:

tar -xvzf seafile-server_6.0.6_x86-64.tar.gz
mv seafile-server_6.0.6 seafile-server

Install Seafile:

Run this script which will create the required databases and directories for the Seafile server and and answer all questions using the following configuration options, after the script verifies the existence of all Python required modules:

./setup-seafile-mysql.sh

After Seafile server successfully installs, it will generate some useful information such as what ports needs to be open on your Firewall to allow external connection and what scripts to handle in order to start the server.

Step 5. Starting the Seafile services.

Create startup script for the Seafile server like this:

nano /lib/systemd/system/seafile.service

Add the following lines:

[Unit]
Description=Seafile Server
After=network.target mariadb.service[Service]
Type=oneshot
ExecStart=/home/seafile/seafile-server/seafile.sh start
ExecStop=/home/seafile/seafile-server/seafile.sh stop
RemainAfterExit=yes
User=seafile
Group=seafile[Install]
WantedBy=multi-user.target

Save the file and create a new service file for seahub:

[Unit]
Description=Seafile Hub
After=network.target seafile.target[Service]
Type=oneshot
ExecStart=/home/seafile/seafile-server/seahub.sh start-fastcgi
ExecStop=/home/seafile/seafile-server/seahub.sh stop
RemainAfterExit=yes
User=seafile
Group=seafile[Install]
WantedBy=multi-user.target

Now try using the service and command to start a new Seafile server instance:

systemctl daemon-reload 
systemctl start seafile
systemctl start seahub

Step 6. Configuring Nginx web server for Seafile.

*Note: A static IP address 192.168.77.21 configure on your server.

First, create a new virtual host file with name seafile.conf:

nano /etc/nginx/sites-available/seafile.conf

Add the following lines:

server {
    listen 80;
    server_name 192.168.77.21;proxy_set_header X-Forwarded-For $remote_addr;# Reverse proxy for seafile
    location / {
        fastcgi_pass    127.0.0.1:8000;
        fastcgi_param   SCRIPT_FILENAME     $document_root$fastcgi_script_name;
        fastcgi_param   PATH_INFO           $fastcgi_script_name;fastcgi_param    SERVER_PROTOCOL        $server_protocol;
        fastcgi_param   QUERY_STRING        $query_string;
        fastcgi_param   REQUEST_METHOD      $request_method;
        fastcgi_param   CONTENT_TYPE        $content_type;
        fastcgi_param   CONTENT_LENGTH      $content_length;
        fastcgi_param   SERVER_ADDR         $server_addr;
        fastcgi_param   SERVER_PORT         $server_port;
        fastcgi_param   SERVER_NAME         $server_name;
        fastcgi_param   REMOTE_ADDR         $remote_addr;access_log      /var/log/nginx/seahub.access.log;
        error_log       /var/log/nginx/seahub.error.log;
        fastcgi_read_timeout 36000;
    }# Reverse Proxy for seahub
    location /seafhttp {
        rewrite ^/seafhttp(.*)$ $1 break;
        proxy_pass http://127.0.0.1:8082;
        client_max_body_size 0;
        proxy_connect_timeout  36000s;
        proxy_read_timeout  36000s;
        proxy_send_timeout  36000s;
        send_timeout  36000s;
    }#CHANGE THIS PATH WITH YOUR OWN DIRECTORY
    location /media {
        root /home/seafile/seafile-server/seahub;
    }
}

Save the file and restart nginx:

systemctl restart nginx

Step 7. Accessing Seafile.

Seafile cloud storage will be available on HTTP port 80 by default. Open your favorite browser and navigate to http://yourdomain.com or http://192.168.77.21. Enter the admin email id and password to login which you have created at the time of installation. If you are using a firewall, please open port 8000 to enable access to the control panel.
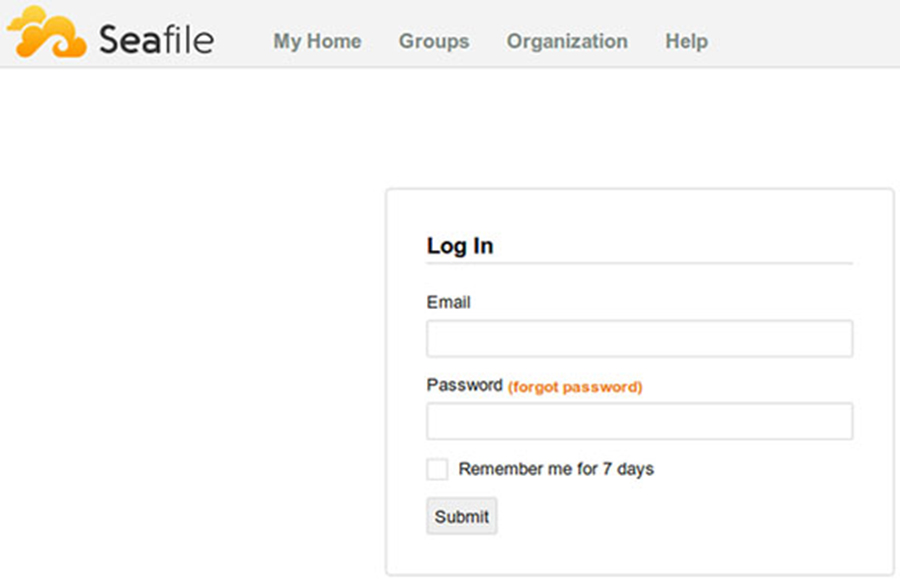
seafile-web-interface-login

Congratulation’s! You have successfully installed Seafile. Thanks for using this tutorial for installing Seafile open source secure cloud storage on Ubuntu 16.04 LTS (Xenial Xerus) system. For additional help or useful information, we recommend you to check the official Seafile web site.

How To Install Let’s Encrypt SSL With Nginx on Ubuntu 16.04 LTS

Install Let’s Encrypt SSL With Nginx on Ubuntu 16

LetsEncrypt is a free open certificate authority (CA) that provides free certificates for websites and other services. The service, which is backed by the Electronic Frontier Foundation, Mozilla, Cisco Systems, and Akamai. Unfortunately, LetsEncrypt.org certificates currently have a 3 month lifetime. This means you’ll need to renew your certificate quarterly for now.

This article assumes you have at least basic knowledge of Linux, know how to use the shell, and most importantly, you host your site on your own VPS. The installation is quite simple and assumes you are running in the root account, if not you may need to add ‘sudo’ to the commands to get root privileges. I will show you through the step by step installation Let’s Encrypt SSL with Nginx on a Ubuntu 16.04 LTS xenial xerus server.
Install Let’s Encrypt SSL With Nginx on Ubuntu 16.04 LTS

Step 1. First, make sure that all your system packages are up-to-date by running these following apt-get commands in the terminal.

sudo apt-get update
sudo apt-get upgrade

Step 2. Installing Let’s Encrypt SSL on Ubuntu 16.04

The first step is to install certbot, the software client which will automate almost everything in the process:

add-apt-repository ppa:certbot/certbot
apt-get update
apt-get install certbot

You will also need to have nginx installed and running. Of course, if you are adding certificates onto a previously configured web host this would already be installed:

apt-get install nginx
systemctl start nginx

The first step to install let’s encrypt ssl on Ubuntu Linux is to add a simple configuration inside your nginx server block configuration. Add this line to your server block configuration:

location ~ /.well-known {
  allow all;
  }

Save and exit to apply changes:

### nginx -t
nginx: the configuration file /etc/nginx/nginx.conf syntax is ok
nginx: configuration file /etc/nginx/nginx.conf test is successful

Restart Nginx:

systemctl restart nginx

Obtaining a certificate with Certbot:

Run the command as you see below, replace “wpcademy.com” with your real domain name and /var/www/wpcademy.com with your real webroot path:

certbot certonly -a webroot --webroot-path=/var/www/wpcademy.com -d wpcademy.com -d www.wpcademy.com

Result:

[[email protected]:~]certbot certonly -a webroot --webroot-path=/var/www/wpcademy.com -d wpcademy.com -d www.wpcademy.com
Saving debug log to /var/log/letsencrypt/letsencrypt.log
Obtaining a new certificate
Performing the following challenges:
http-01 challenge for wpcademy.net
Using the webroot path /var/www/html for all unmatched domains.
Waiting for verification...
Cleaning up challenges
Generating key (2048 bits): /etc/letsencrypt/keys/0001_key-certbot.pem
Creating CSR: /etc/letsencrypt/csr/0001_csr-certbot.pem
IMPORTANT NOTES:
 - Congratulations! Your certificate and chain have been saved at
   /etc/letsencrypt/live/wpcademy.com/fullchain.pem. Your cert
   will expire on 2017-07-16. To obtain a new or tweaked version of
   this certificate in the future, simply run certbot again. To
   non-interactively renew *all* of your certificates, run "certbot
   renew"
 - If you like Certbot, please consider supporting our work by:

   Donating to ISRG / Let's Encrypt:   https://letsencrypt.org/donate
   Donating to EFF:                    https://eff.org/donate-le
[[email protected]:~]
/[php]


<strong>Step 3. Configure SSL/TLS on NGINX web server.</strong>

First, edit the server block file you specified during configuration through Certbot and add this three directives:
[php]
listen 443 ssl http2;
ssl_certificate /etc/letsencrypt/live/wpcademy.com/fullchain.pem;
ssl_certificate_key /etc/letsencrypt/live/wpcademy.com/privkey.pem;
The full nginx server block configuration may look like this:
server {
     listen 80;
     server_name wpcademy.com www.wpcademy.com;
     rewrite ^(.*) https://wpcademy.com$1 permanent;
}
server {
     access_log off;
     log_not_found off;
     error_log  logs/wpcademy.com-error_log warn;

    server_name  wpcademy.com; 
    root   /var/www/wpcademy.com;
    index  index.php index.html index.htm;

    listen 443 ssl http2;
    ssl_certificate /etc/letsencrypt/live/wpcademy.com/fullchain.pem;
    ssl_certificate_key /etc/letsencrypt/live/wpcademy.com/privkey.pem;

  ## Stuff required by certbot
     location ~ /.well-known {
     allow all;
     }

  ## SSL
   ssl_session_cache shared:SSL:20m;
   ssl_session_timeout 10m;

   ssl_prefer_server_ciphers On;
   ssl_protocols TLSv1 TLSv1.1 TLSv1.2;
   ssl_ciphers ECDH+AESGCM:DH+AESGCM:ECDH+AES256:DH+AES256:ECDH+AES128:DH+AES:ECDH+3DES:DH+3DES:RSA+AESGCM:RSA+AES:RSA+3DES:!aNULL:!MD5:!DSS;

   ssl_stapling on;
   ssl_stapling_verify on;
   resolver 8.8.8.8 8.8.4.4 valid=300s;
   resolver_timeout 10s;

   access_log /var/www/wpcademy.com/logs/access.log;
   error_log /var/www/wpcademy.com/logs/error.log;

   # php-script handler
   location ~ \.php$ {
      fastcgi_index index.php;
      fastcgi_pass 127.0.0.1:9000;       fastcgi_read_timeout 150;
      root    /var/www/wpcademy.com/public_html;
      fastcgi_param SCRIPT_FILENAME /var/www/wpcademy.com$fastcgi_script_name;
      include /etc/nginx/fastcgi_params;
   }
 location  ~ /\.ht {
               deny  all;
           }
    }

Save and close the file when you are finished.

Step 5. Set Up Let’s Encrypt SSL Auto Renewal.

We will add a cronjob to run the renewal command every week, run this command:

export VISUAL=nano; crontab -e

Paste the following lines:

01 1 * * 0 /usr/bin/certbot renew >> /var/log/ssl-renew.log 
06 1 * * 0 /usr/bin/systemctl nginx reload

Save and Exit from the crontab table.

This will create a new cronjob that will be executed every Sunday at 01 AM, and then it will reload Nginx web server to apply the changes. The output will be logged into /var/log/ssl-renew.log file for further analysis if needed.

Congratulation’s! You have successfully installed Let’s Encrypt. Thanks for using this tutorial for installing Let’s Encrypt SSL on Ubuntu 16.04 LTS system. For additional help or useful information, we recommend you to check the official Let’s Encrypt web site.

How To Hide Nginx Server Default Header

Hide Nginx Server Default Header

In this tutorial we will learn How To Hide Nginx Server Default Header on your Linux server.  In default Nginx configuration, the server sends HTTP Header with the information of Nginx version number of the Server. The HTTP response header “Server” displays the version number of the server. This information can be used to try to exploit any vulnerabilities in the Nginx, specially if you are running an older version with known vulnerabilities.

Hiding nginx version is very easy and it’s done using server_tokens directive. This tutorial helps you customize the name of the server on your host.

Hide Nginx Server Header

Step 1. Go to nginx/conf folder (it can be located at /etc/nginx/nginx.conf or /usr/local/nginx/conf/nginx.conf file)

Step 2. Hide Nginx version.

Add following in nginx.conf under server section:

 server_tokens off;

Step 3. Restart nginx web server:

 service nginx restart

Let’s verify if we see the server information now:

curl -I https://wpcademy.com/
HTTP/1.1 200 OK
Server: nginx
Date: Sun, 03 Aug 2014 06:06:52 GMT
Content-Type: text/html; charset=UTF-8
Connection: keep-alive
Vary: Accept-Encoding
X-Pingback: https://wpcademy.com/xmlrpc.php

Congratulation’s! You have successfully hide Nginx version. For additional help or useful information, we recommend you to check the official Nginx web site.

You Might Also Like: How To Install Nginx Web Server On CentOS

How To Install Nginx Web Server on Ubuntu

Install Nginx Web Server on Ubuntu

Nginx is one of the most popular web servers in the world and is responsible for hosting some of the largest and highest-traffic sites on the internet. It is more resource-friendly than Apache in most cases and can be used as a web server or a reverse proxy. So today I’m going to show you how to setup Nginx webserver on Ubuntu or Debian. It’s really not that difficult. Let’s start with Nginx.

This tutorial we will learn how to install Nginx on Ubuntu so that you can successfully run a superior performance based web server while easing the load on your system resources.

Install Nginx on Ubuntu

Step 1. To install, first you must update apt repository and packages by typing the below command:

 sudo apt-get install nginx -y

Step 2. Install Nginx,

Installing Nginx is as simple as running just one command:

 sudo apt-get install nginx

Starting and stopping the Nginx server

To start the Nginx server, issue the following command:

 sudo service nginx start

Top stop the Nginx server, issue the following command:

 sudo service nginx stop

Configuration Nginx files/folders

  • The main configuration file for Nginx is /etc/nginx/nginx.conf
  • Virtual hosts are defined in /etc/nginx/sites-available/default
  • PHP will be configured in /etc/php5/fpm/php.ini

Before you close that terminal window, it’s necessary to set the Nginx service to start at boot. Just issue the following command:

 update-rc.d nginx defaults

This should already be enabled by default, so you may see a message like this:

 System start/stop links for /etc/init.d/nginx already exist

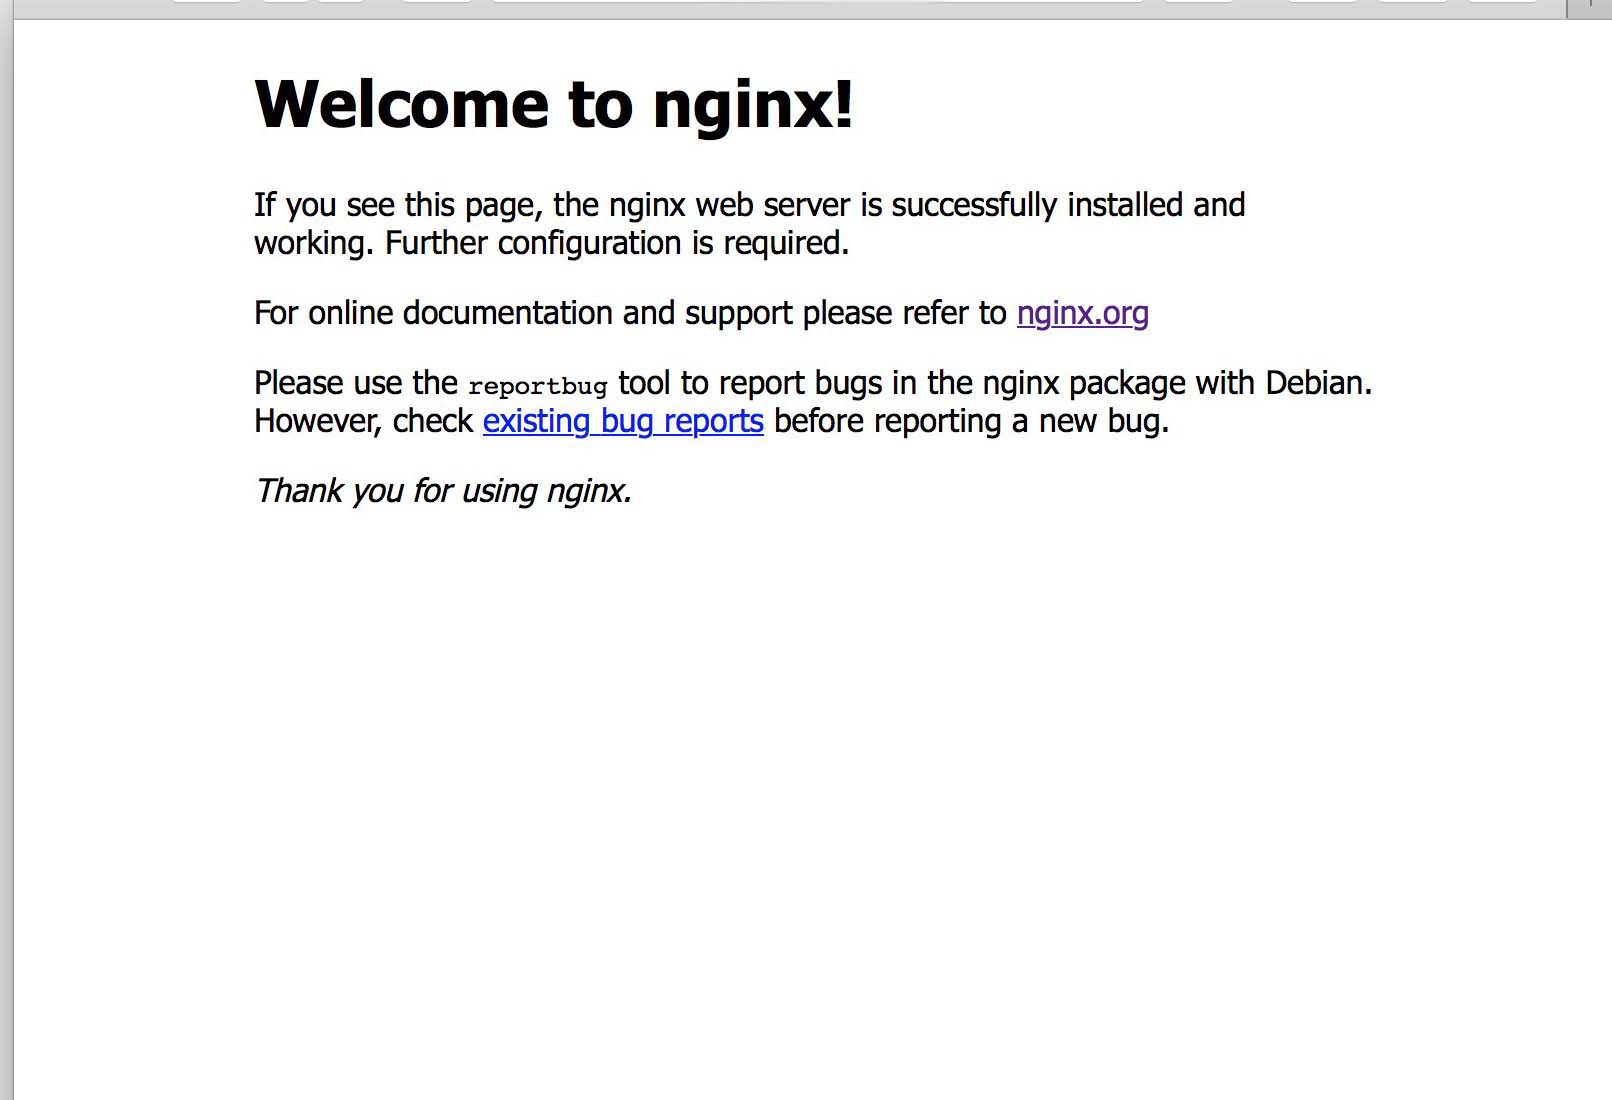
Navigating to your Server’s IP address (assuming you have no other server listening on port 80), you will be greeted with the standard welcome page:

nginx-default

The steps above should produce a running Nginx which serves the Nginx default pages on port 80. We’ll start working through various configurations and optimizations to round out the series. Enjoy your new web server! For additional help or useful information, we recommend you to check the official Nginx web site.


How To Install Nginx With GeoIP Module

Install Nginx With GeoIP Module

Nginx GeoIP module for country and city geo targeting can be installed in a few easy steps. It brings you a geo targeting layer allowing you to show some parts of your websites, or even split traffic according to the geographical location of the end users. By default, when you install modules from yum, nginx will not come with GeoIP module (This is module: HttpGeoipModule), so we will install from source and the active the module. This article assumes you have at least basic knowledge of linux, know how to use the shell, and most importantly, you host your site on your own VPS. The installation is quite simple.

In this tutorial we will show you how to install and configuration of Nginx With GeoIP Module on your Linux server.

Install Nginx With GeoIP Module

Step 1. First install require package for compiling:

 yum install gcc-c++ pre pcre-devel zlib zlib-devel -y

Step 2. Download the latest stable version of Nginx from here and build it with GeoIP module support.

## cd /opt/nginx/
## wget http://nginx.org/download/nginx-1.6.2.tar.gz
## tar -zxf nginx-1.6.2.tar.gz
## cd nginx-1.6.2/
## ./configure
--prefix=/etc/nginx \
--sbin-path=/etc/nginx/sbin/nginx \
--conf-path=/etc/nginx/conf/nginx.conf \
--error-log-path=/var/log/nginx/error.log \
--http-log-path=/var/log/nginx/access.log \
--pid-path=/var/run/nginx.pid \
--lock-path=/var/run/ninx.lock \
--user=nobody \
--with-http_geoip_module \
--with-http_gzip_static_module \
--with-http_secure_link_module \
--without-mail_pop3_module \
--without-mail_imap_module \
--without-mail_smtp_module \
--without-http_ssi_module

## make
## make install


Step 3. Create an init script for Nginx.

get -O /etc/init.d/nginx https://raw.githubusercontent.com/Fleshgrinder/nginx-sysvinit-script/master/nginx
chmod 0755 /etc/init.d/nginx
chown root:root /etc/init.d/nginx

Step 4. Finally, start Nginx.

 service nginx start

Step 5. Install GeoIP library via yum

# For CentOS 6 – 64-bit

rpm -Uvh http://dl.fedoraproject.org/pub/epel/6/x86_64/epel-release-6-8.noarch.rpm
rpm -Uvh http://rpms.famillecollet.com/enterprise/remi-release-6.rpm 

# yum install geoip geoip-devel -y

After successful installation, the library will be stored in: /usr/share/GeoIP/GeoIP.dat
For the latest updates can be downloaded at: http://geolite.maxmind.com/download/geoip/database/GeoLiteCountry/GeoIP.dat.gz

Configure Nginx

  • Configure on main file:
#nano /etc/nginx/conf/nginx.conf

http {
[...]
geoip_country /usr/share/GeoIP/GeoIP.dat;
map $geoip_country_code $allowed_country {
default yes;
CN no;
}
[...]
}
  • Configure nginx virtualhost:
#nano /etc/nginx/conf.d/yourdomain.conf

server {
[...]
if ($allowed_country = no) {
return 444;
# # This means the server will stop processing, returns error 444 (The connection was reset),
# # And ignore always sending the response header.
# # Replace 444 by 403 if you want
}
[...]
}

The above configuration will accept all IP and banned only from China IP (CN). About Code of the country in GeoIP database you can refer here: http://dev.maxmind.com/geoip/legacy/codes/iso3166/

Congratulation’s! You have successfully installed Nginx With GeoIP Module. Thanks for using this tutorial for installing Nginx With GeoIP Module on Linux system. For additional help or useful information, we recommend you to check the official Nginx web site.

You Might Also Like: How To Install Nginx Web Server On CentOS

How To Fix 502 Bad Gateway Error on Nginx

Fix 502 Bad Gateway Error on Nginx

If you run a Nginx web server you may have already encountered the annoying 502 bad gateway errors. This is pretty common error, are generated most probably by the PHP or  FastCGI buffer and timeouts settings. This tutorial shows you how to fix nginx 502 bad gateway on the nginx webserver. This post shows how to fix this problem, and the configuration option to prevent it occurring again on reboot.

This article assumes you have at least basic knowledge of linux, know how to use the shell, and most importantly, you host your site on your own VPS. The installation is quite simple and assumes you are running in the root account, if not you may need to add ‘sudo’ to the commands to get root privileges. I will show you through the step by step solve 502 bad gateway error on Nginx web server.

In this tutorial we will show you how to fix 502 bad gateway error on Nginx web server.

Fix 502 Bad Gateway Error on Nginx

Method 1. Changes in Nginx Config

#nano /etc/nginx/nginx.conf

http {
    ...
    fastcgi_buffers 8 16k;
    fastcgi_buffer_size 32k;
    ...
}

Method 2. Change PHP-FPM to listen on a unix socket or TCP socket.

#nano /etc/php-fpm.d/www.conf

listen = /var/run/php5-fpm.sock

To:

listen = 127.0.0.1:9000

If you are configuring php-fpm to listen on a Unix socket, you should also check that the socket file has the correct owner and permissions.

chmod 0660 /var/run/php5-fpm.sock
chown www-data:www-data /var/run/php5-fpm.sock

Method 3. Disable APC.

APC caching can cause 502 Bad Gateway issues under particular environments causing segmentation faults. I highly suggest using Memcache(d), but XCache is also a good alternative.

Congratulation’s! You have successfully solved 502 bad gateway issues. Thanks for using this tutorial to fix 502 bad gateway issues on Linux system. For additional help or useful information, we recommend you to check the official Nginx web site.

You Might Also Like: How To Hide Nginx Server Default Header

How To Protect Directory With Password on Nginx

Protect Directory With Password on Nginx

Unlike Apache, Nginx does not have any .htaccess file. Password protection is achieved by using the Nginx HttpAuthBasic module directives in the configuration file. For future reference, I will show you a steps to protect directory with password on nginx. This article assumes you have at least basic knowledge of linux, know how to use the shell, and most importantly, you host your site on your own VPS.

Protect Directory With Password on Nginx

Step 1. First add the following to your Nginx configuration file:

location / {
  auth_basic            "Restricted";
  auth_basic_user_file  /etc/nginx/htpasswd;
}

Step 2. Create the htpasswd file, notice that the file is /etc/nginx/htpasswd. This means you need to use htpasswd to create that file:

htpasswd -c /etc/nginx/htpasswd yourusername
New password: 
Re-type new password: 
Adding password for user yourusername

Step 3. This will create the password file. Next restart nginx’s configuration:

 service nginx restart

Now when you visit your directory or domain, you will be asked to enter a username and password that you chose beforehand. This is definitely not the most secure way of restricting domain access.

Congratulation’s! You have successfully protect directory on Nginx. Thanks for using this tutorial for protect directory with password on Nginx system. For additional help or useful information, we recommend you to check the official Nginx web site.

You Might Also Like: How To Install Let’s Encrypt SSL With Nginx on Ubuntu 16.04 LTS