How To Install Jupyter 4.1 on Ubuntu 18.04 LTS

Install Jupyter on Ubuntu 18

Jupyter Notebook is an open-source web application used for creating and sharing documents which have the live code, equations, visualizations and explanatory text. It includes data cleaning and transformation, numerical simulation, statistical modeling, machine learning, etc.

This article assumes you have at least basic knowledge of Linux, know how to use the shell, and most importantly, you host your site on your own VPS. The installation is quite simple and assumes you are running in the root account, if not you may need to add ‘sudo’ to the commands to get root privileges. I will show you through the step by step installation Jupyter notebook on an Ubuntu 18.04 Bionic Beaver server.

Install Jupyter on Ubuntu 18.04 LTS

Step 1. First, make sure that all your system packages are up-to-date

sudo apt-get update
sudo apt-get upgrade

Step 2. Installing Python 3 and Pip.

Before installing Jupyter is to add all the required dependency packages to your system:

apt install python3 python3-pip python3-dev

To verify that everything went well, let us check the Python & PIP version with these commands:

python3 --version
pip3 --version

Step 3. Installing IPython and Jupyter Notebook

Run the following commands to install IPython & Juptyr on our machine:

apt install ipython
pip3 install jupyter

Before we start the application, we will create a new user for Jupyter Notebook because it is not recommended to run the application as user root:

useradd -M jupyter

Finally, start Jupyter Notebook in the background as the newly created ‘jupyter’ using the following command:

su - jupyter -c 'jupyter notebook --ip IP_Address --no-browser' &

You will receive an output similar to the following:

Copy/paste this URL into your browser when you connect for the first time,
to login with a token:
    http://IP_Address:8888/?token=7f928e48351e58492d1bmwe4671ff846fd87b98godetb1171f6

Step 4. Accessing Jupyter.

Jupyter will be available on HTTP port 8000 by default. Open your favorite browser and navigate to http://your-domain.com:8000 or http://server-ip:8000/

Congratulation’s! You have successfully installed Jupyter. Thanks for using this tutorial for installing Jupyter notebook on your Ubuntu 18.04 LTS system. For additional help or useful information, we recommend you to check the official Jupyter web site.

How To Install Matomo 3.9.1 on Ubuntu 18.04 LTS

Install Matomo on Ubuntu 18

Matomo or formerly known as Piwik, is an open source web analytics application. It rivals Google Analytics and includes even more features and allows you to brand your brand and send out custom daily, weekly, and monthly reports to your clients.

This article assumes you have at least basic knowledge of Linux, know how to use the shell, and most importantly, you host your site on your own VPS. The installation is quite simple and assumes you are running in the root account, if not you may need to add ‘sudo’ to the commands to get root privileges. I will show you through the step by step installation Matomo open source web analytics on an Ubuntu 18.04 Bionic Beaver server.

Install Matomo on Ubuntu 18.04 LTS

Step 1. First make sure that all your system packages are up-to-date

sudo apt-get update
sudo apt-get upgrade

Step 2. Install LAMP (Linux, Apache, MariaDB and PHP) server.

A Ubuntu 18.04 LAMP server is required. If you do not have LAMP installed, you can follow our guide here. Also install all required PHP modules:

apt-get install php7.1-cli php7.1-mbstring php7.1-gd php7.1-opcache php7.1-mysql php7.1-json php7.1-mcrypt php7.1-xml php7.1-curl

Step 3. Download the latest version

First thing to do is to go to Matomo’s download page and download the latest stable version of Matomo:

cd /var/www/html/
wget https://builds.matomo.org/piwik.zip

Unzip the Matomo archive to the document root directory on your server:

unzip piwik.zip

We will need to change some folders permissions:

chown -R www-data:www-data /var/www/html/piwik
chmod -R 0755 /var/www/html/piwik/tmp

Step 4. Configuring MariaDB for Matomo.

By default, MariaDB is not hardened. You can secure MariaDB using the mysql_secure_installation script. you should read and below each steps carefully which will set root password, remove anonymous users, disallow remote root login, and remove the test database and access to secure MariaDB:

mysql_secure_installation

Configure it like this:

- Set root password? [Y/n] y
- Remove anonymous users? [Y/n] y
- Disallow root login remotely? [Y/n] y
- Remove test database and access to it? [Y/n] y
- Reload privilege tables now? [Y/n] y

Next we will need to log in to the MariaDB console and create a database for the Matomo. Run the following command:

mysql -u root -p

This will prompt you for a password, so enter your MariaDB root password and hit Enter. Once you are logged in to your database server you need to create a database for Matomo installation:

CREATE DATABASE db_name;
GRANT ALL ON db_name.* TO 'username' IDENTIFIED BY 'password';
FLUSH PRIVILEGES;
quit

Step 5. Accessing Matomo web analytics application.

Matomo will be available on HTTP port 80 by default. Open your favorite browser and navigate to http://yourdomain.com/piwik or http://server-ip/piwik and complete the required the steps to finish the installation. If you are using a firewall, please open port 80 to enable access to the control panel.

install-matomo

Congratulation’s! You have successfully installed Matomo. Thanks for using this tutorial for installing Matomo open source web analytics on your Ubuntu 18.04 LTS Bionic Beaver. For additional help or useful information, we recommend you to check the official Matomo web site.

How To Install Django on Ubuntu 18.04 LTS – Step by Step

Install Django on Ubuntu 18

Django is a popular Python framework for writing web applications. Web frameworks like Django provide a set of tools which helps the developer to write the application faster as the framework takes care of the internal structure, thus the developer needs to take care of the application development only. Django is free and open source software.

This article assumes you have at least basic knowledge of Linux, know how to use the shell, and most importantly, you host your site on your own VPS. The installation is quite simple and assumes you are running in the root account, if not you may need to add ‘sudo’ to the commands to get root privileges. I will show you through the step by step installation Django on an Ubuntu 18.04 (Bionic Beaver) server.

Install Django on Ubuntu 18.04

Step 1. First, make sure that all your system packages are up-to-date

sudo apt-get update
sudo apt-get upgrade

Step 2. Installing Python 3 and venv.

Now you can install pip using the following command:

sudo apt install python3-venv

Next, Creating Virtual Environment:

mkdir my_django_app
cd my_django_app

Once inside the directory, run the following command to create your new virtual environment:

python3 -m venv venv

To start using this virtual environment, you need to activate it by running the activate script:

source venv/bin/activate

Step 4. Installing Djanggo with pip install

Once the pip is installed, run the following command to install Django:

sudo pip install django

To verify the Django version, run:

python -m django --version

Step 5. Create a sample Django project.

Now that the Django framework has been installed, you can to give it a test drive by creating a sample project:

cd ~
django-admin startproject mysite

The command above will create a directory myproject in your working directory ~, and store all necessary files within.

Run the commands below in sequence to get your application started. Follow the instructions on screen to provide the superuser’s credentials:

cd myidproject/
python3 manage.py migrate
python3 manage.py createsuperuser
python3 manage.py runserver

Step 6. Accessing Django.

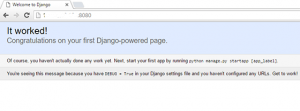
Django will be available on HTTP port 8080 by default. Open your favorite browser and navigate to http://yourdomain.com:8000 or http://server-ip:8000/admin
Django-installation

Congratulation’s! You have successfully installed Django. Thanks for using this tutorial for installing Django web framework on Ubuntu 18.04 Bionic Beaver server. For additional help or useful information, we recommend you to check the official Django web site.

How To Install phpMyAdmin 4.8.5 with Nginx on Ubuntu 18.04 LTS

Install phpMyAdmin with Nginx on Ubuntu 18

phpMyAdmin is a web-based client written in php for managing MySQL and MariaDB databases. It provides a user friendly web interface to access and manage your databases. To ease usage to a wide range of people, phpMyAdmin is being translated into 72 languages and supports both LTR and RTL languages.

This article assumes you have at least basic knowledge of Linux, know how to use the shell, and most importantly, you host your site on your own VPS. The installation is quite simple and assumes you are running in the root account, if not you may need to add ‘sudo’ to the commands to get root privileges. I will show you through the step by step installation phpMyAdmin with Nginx on an Ubuntu 18.04 LTS (Bionic Beaver) server.

Install phpMyAdmin with Nginx on Ubuntu

Step 1. First, make sure that all your system packages are up-to-date

sudo apt-get update
sudo apt-get upgrade


<strong> Step 2. Installing phpMyAdmin on Ubuntu 18.04 LTS.
</strong>

Use this command to install phpmyadmin on Ubuntu 18.04:
[php]
sudo apt install phpmyadmin

The installer will ask you to choose the web server that should be automatically configured to run phpMyAdmin. There is no option to choose Nginx, press TAB to select OK and then Enter. We’ll configure Nginx in the next section.
configuring-phpmyadmin-web-server

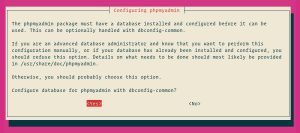
Next, the installer will ask you whether you want to use dbconfig-common tool to set up the database. Select Yes and hit Enter.
configuring-phpmyadmin-database

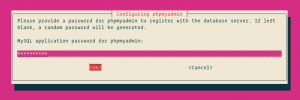
Enter a password for phpMyAdmin to register with the database, select OK and press Enter.
configuring-phpmyadmin-password

You will be prompted to confirm the password, enter the same password, select OK and press Enter.
configuring-phpmyadmin-confirm-password

Step 3. Configure Administrative MySQL.

Start by logging in to the MySQL server as the root user:

sudo mysql

From within the MySQL shell execute the following commands which will create a new administrative user and grant appropriate permissions:

CREATE USER 'padmin'@'localhost' IDENTIFIED BY 'change-with-your-secure-password';GRANT ALL PRIVILEGES ON *.* TO 'padmin'@'localhost' WITH GRANT OPTION;

Step 4. Configure Nginx to serve phpMyAdmin.

 In Nginx, virtual host file can be found in etc/nginx/snippets directory. Let’s create a file called “phpmyadmin.conf”:
sudo nano /etc/nginx/snippets/phpmyadmin.conf 

Add the following content:

location /phpmyadmin {
    root /usr/share/;
    index index.php index.html index.htm;
    location ~ ^/phpmyadmin/(.+\.php)$ {
        try_files $uri =404;
        root /usr/share/;
        fastcgi_pass unix:/run/php/php7.2-fpm.sock;
        fastcgi_index index.php;
        fastcgi_param SCRIPT_FILENAME $document_root$fastcgi_script_name;
        include /etc/nginx/fastcgi_params;
    }

    location ~* ^/phpmyadmin/(.+\.(jpg|jpeg|gif|css|png|js|ico|html|xml|txt))$ {
        root /usr/share/;
    }
}

Then, add the following line to each domain’s server block where you want to access phpMyAdmin using: domain.com/phpmyadmin:

include snippets/phpmyadmin.conf;
### /etc/nginx/conf.d/domain.com.conf

server {

    # . . . other code

    include snippets/phpMyAdmin.conf;

    # . . . other code 

}

Step 5. Finally, test phpMyAdmin.

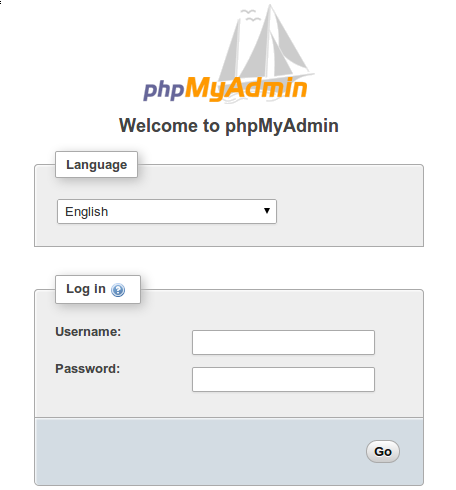
Now open your browser and surf to http://youripaddress/phpMyAdmin and your phpmyadmin will ask you for user and password of your mysql installation, you can use root as user and the root mysql password, or any other mysql user/password.


phpMyAdmin-login

Congratulation’s! You have successfully installed phpMyAdmin. Thanks for using this tutorial for installing phpMyAdmin with Nginx on Ubuntu 18.04 LTS system. For additional help or useful information, we recommend you to check the official phpMyAdmin web site.

How To Install PHP 7.2 on Ubuntu 18.04 LTS

Install PHP 7.2 on Ubuntu 18

PHP (recursive acronym for PHP: Hypertext Preprocessor) is an open source, popular general-purpose scripting language that is widely-used and best suited for developing websites and web-based applications. It is a server-side scripting language that can be embedded in HTML.

This article assumes you have at least basic knowledge of Linux, know how to use the shell, and most importantly, you host your site on your own VPS. The installation is quite simple and assumes you are running in the root account, if not you may need to add ‘sudo’ to the commands to get root privileges. I will show you through the step by step installation PHP 7.2 on a Ubuntu 18.04 (Bionic Beaver) server.

Install PHP 7.2 on Ubuntu 18.04 LTS

Step 1. First make sure that all your system packages are up-to-date

sudo apt update
sudo apt upgrade

Step 2. Installing PHP 7.2 on Ubuntu 18.04 LTS.

If Apache is installed and configured as your web server, then you can follow the steps below to install PHP 7.2:

sudo apt install php libapache2-mod-php

Once, the process is complete, execute the following command to restart your Apache service:

sudo systemctl restart apache2

Step 3. Installing PHP With Nginx Web Server.

Run the command below to install the latest version of PHP and the required PHP FPM packages:

sudo apt install php-fpm
[php]

Once the modules are installed, you can run the command below to check the status of your PHP FPM service:
[php]
systemctl status php7.2-fpm

Then, edit your Nginx server block and include the lines below to enable Nginx web server to process PHP files:

server {
        # . . . other code
        location~ .php$ {
            include snippets/fastcgi-php.conf;
            fastcgi_pass unix:/run/php/php7.2-fpm.sock;
        }
    }

Restart your Nginx web server for the configuration changes to take effect:

sudo systemctl restart nginx

Step 4. Installing PHP Extensions.

First, execute the command below to see all the available PHP modules:

sudo apt-cachesearch php7.2

To install one PHP 7.2 extension run the command:

sudo apt install php-[package name]

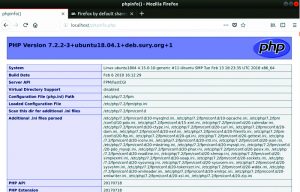
To test PHP, create a test file named info.php with he content below. Save the file, then browse to it to see if PHP is working:

nano /var/www/html/info.php

In this file, paste the following code:


<?php
phpinfo();
?>

php_ubuntu_test_18.04_LTS.

Try to access it at http://your_server_ip/info.php . If the PHP info page is rendered in your browser then everything looks good and you are ready to proceed further.


Congratulation’s! You have successfully installed PHP 7.2. Thanks for using this tutorial for installing PHP 7.2 on Ubuntu 18.04 LTS (Bionic Beaver) system. For additional help or useful information, we recommend you to check the official PHP web site.

How To Install XAMPP7.3.4 on Ubuntu 18.04 LTS

Install XAMPP on Ubuntu 18

XAMPP is an open source software that provides users with an out-of-the-box server experience. It is a complex, yet very easy-to-use AMPP (Apache, MySQL, PHP and Perl) distribution that’s compatible with the Linux, Microsoft Windows and Mac OS X operating systems. The best tool for those who want to install a fully functional web development environment.

This article assumes you have at least basic knowledge of Linux, know how to use the shell, and most importantly, you host your site on your own VPS. The installation is quite simple and assumes you are running in the root account, if not you may need to add ‘sudo’ to the commands to get root privileges. I will show you through the step by step installation XAMPP stack on a Ubuntu 18.04 (Bionic Beaver) server.

Features XAMPP:

  • Regularly updated to the latest versions of Apache, MariaDB, PHP and Perl.
  • Supports other modules like OpenSSL, phpMyAdmin, MediaWiki, Joomla, WordPress etc.,
  • Tests the website designers and programmers work without Internet.
    Secured package.
  • Allows creation and manipulation of databases in MariaDB and SQLite.

Install XAMPP on Ubuntu 18.04 LTS

Step 1. First make sure that all your system packages are up-to-date

sudo apt-get update
sudo apt-get upgrade

Step 2. Installing XAMPPon Ubuntu 18.04 LTS.

The first step is to download script from official xampp and to add the code in a new .run file on your Ubuntu machine, wherever you’d like this:

wget https://www.apachefriends.org/xampp-files/7.2.9/xampp-linux-x64-7.2.9-0-installer.run

Next, run the following command to make XAMPP executable:

chmod +x xampp-linux-x64-7.2.9-0-installer.run

Run the xampp-linux-x64-7.1.1-0-installer.run script and wait until xampp is fully installed:

./xampp-linux-x64-7.2.9-0-installer.run

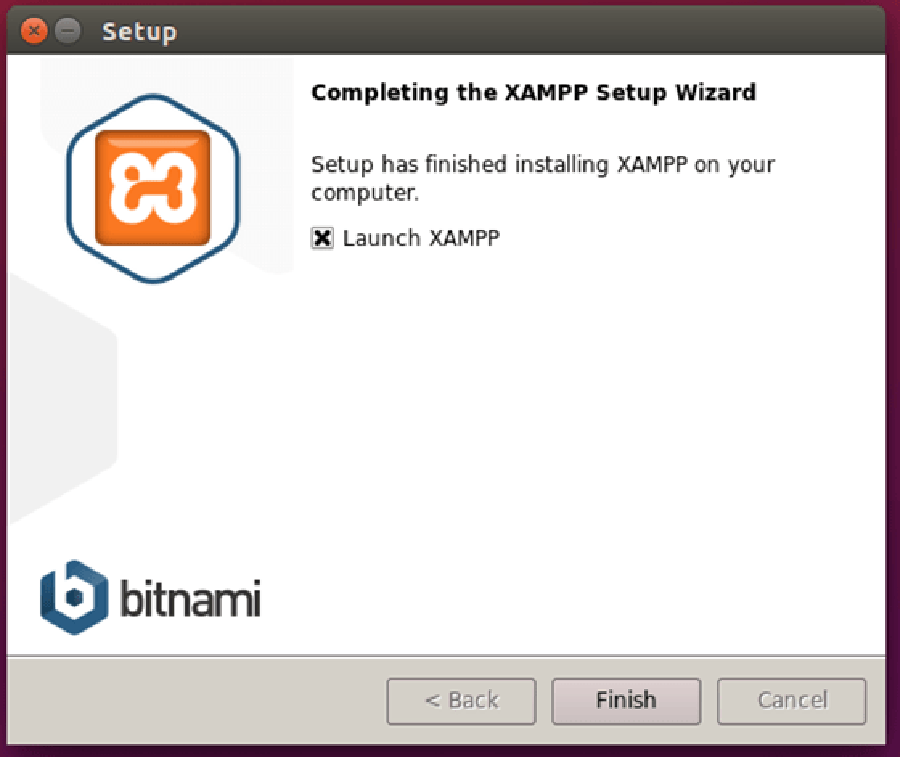
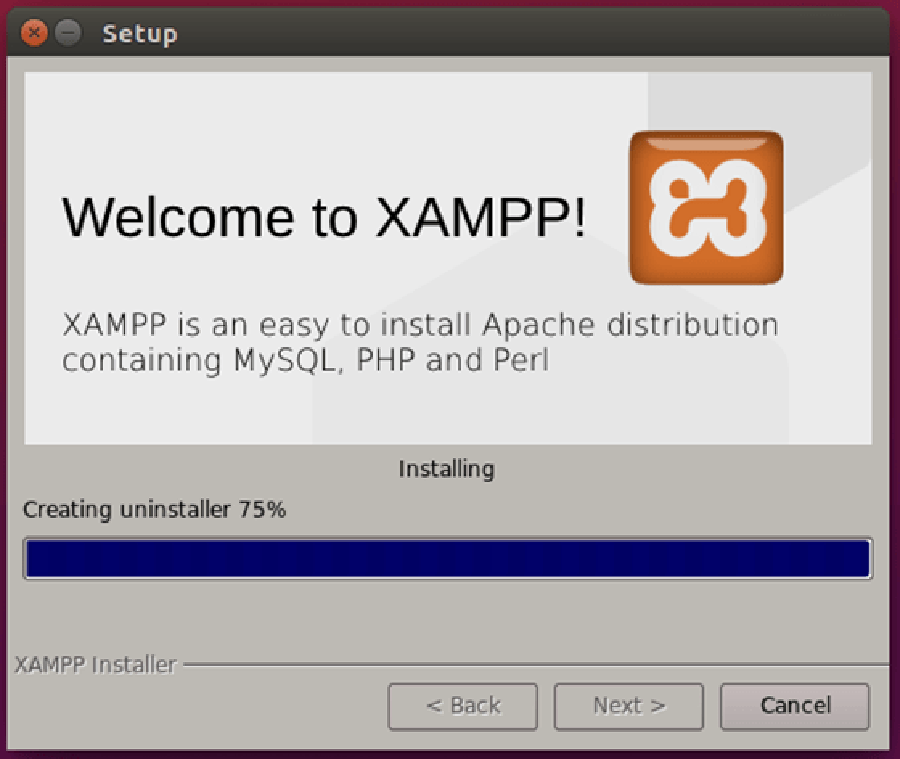
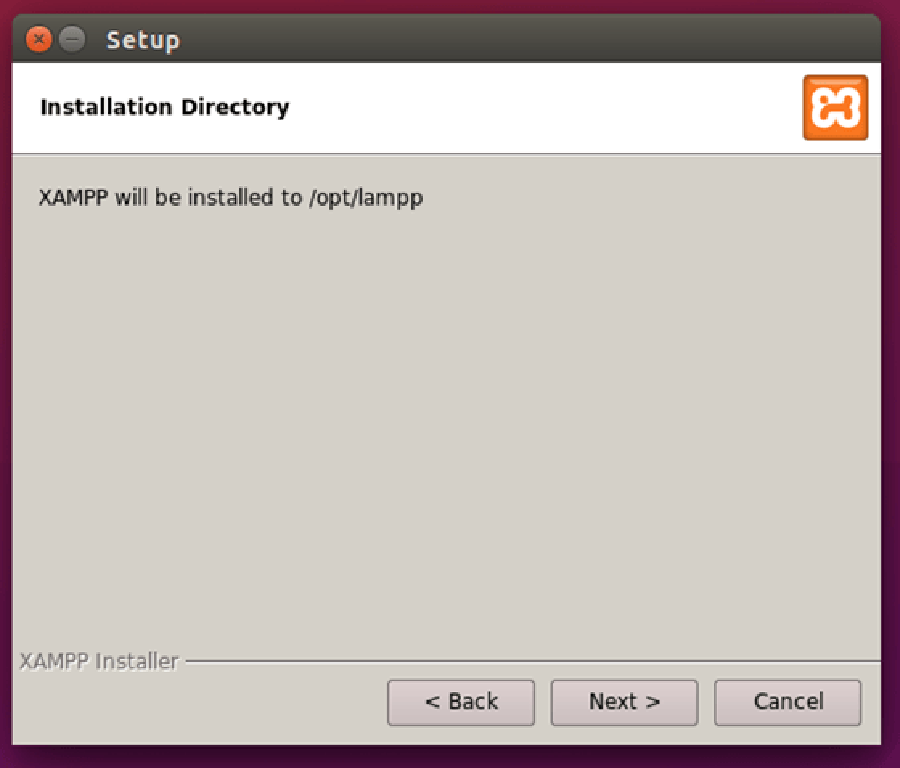
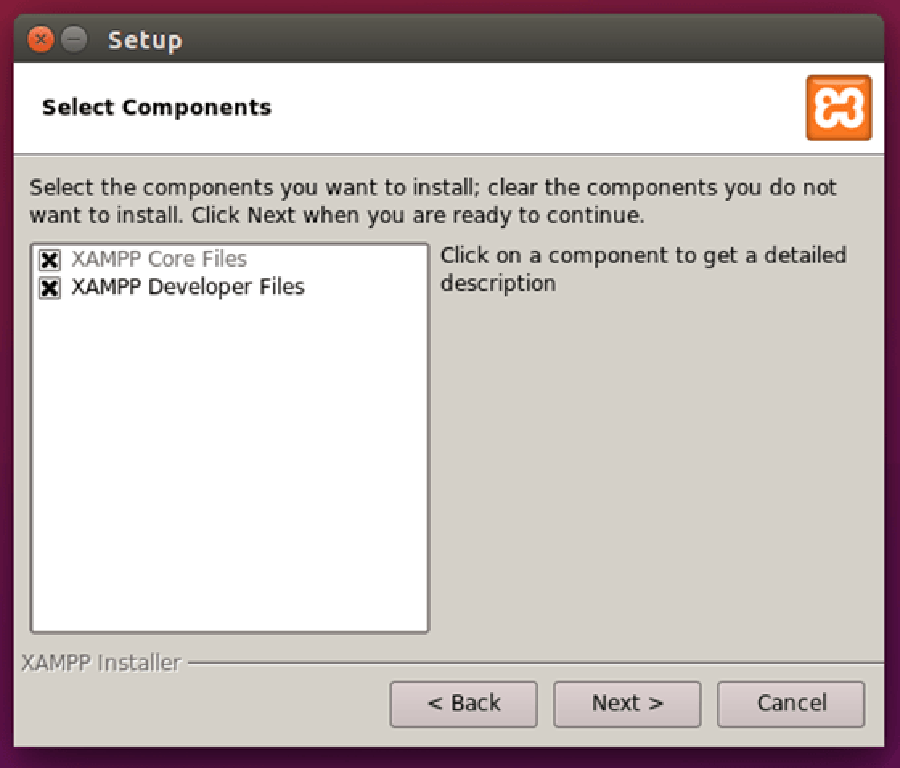
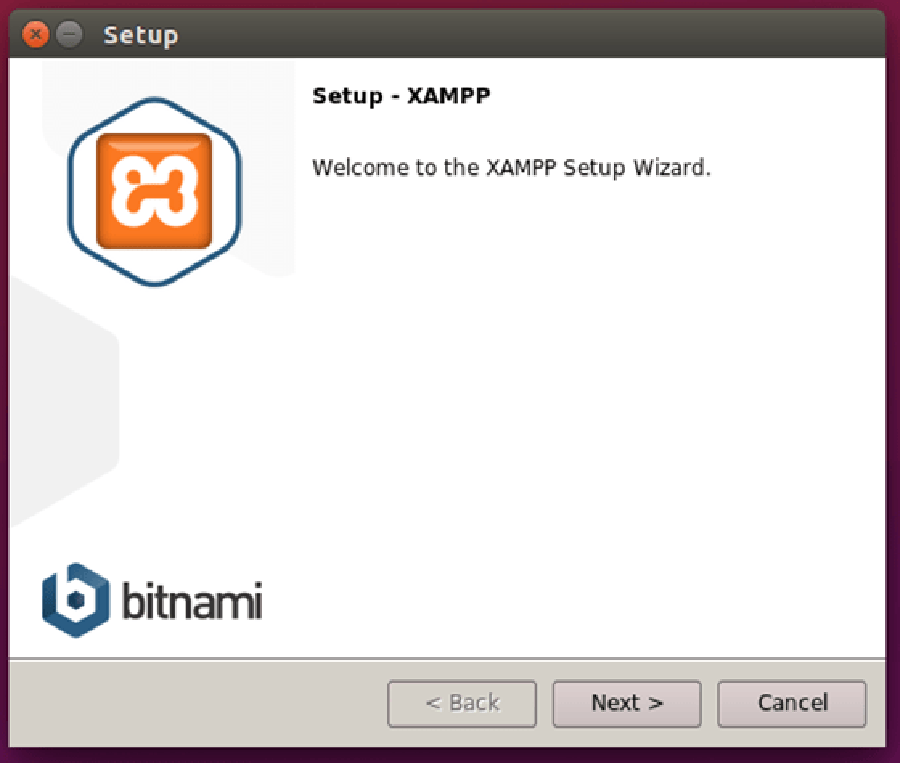
That should start the XAMPP installation setup. Continue with the installation as you usually do:

xampp6

xampp5

xampp4

xampp3

xampp2

XAMPP1

Once the setup is finished, XAMPP should be available for its usage in your Desktop or open your browser and follow this link : http://localhost/dashboard/

Congratulation’s! You have successfully installed XAMPP. Thanks for using this tutorial for installing XAMPP stack on Ubuntu 18.04 LTS (Bionic Beaver) system. For additional help or useful information, we recommend you to check the official XAMPP web site.

How To Install GUI Gnome on Ubuntu 18.04 LTS

Install GUI Gnome on Ubuntu 18

Installing GNOME desktop on Ubuntu is faily straightforward. Most Ubuntu servers are run on CLI (Command-Line Interface) mode. But in some cases, one may need to have a desktop to install some applications with GUI (Grapich User Interface) mode. In this case, we will use Gnome, the most popular user-friendly desktop for any UNIX based system.

This article assumes you have at least basic knowledge of Linux, know how to use the shell, and most importantly, you host your site on your own VPS. The installation is quite simple and assumes you are running in the root account, if not you may need to add ‘sudo’ to the commands to get root privileges. I will show you through the step by step installation GUI Gnome on an Ubuntu 18.04 Bionic Beaver server.

Install GUI Gnome on Ubuntu 18.04 LTS

Step 1. First, make sure that all your system packages are up-to-date

sudo apt update
sudo apt upgrade

Step 2. Installing GUI Gnome on Ubuntu 18.04.

Use the command below to install GNOME desktop:

sudo apt install gnome-session gdm3

Before we can switch the new desktop and theme, we need to install the Vanilla Gnome theme:

sudo update-alternatives --config gdm3.css

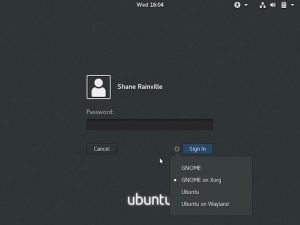
After installation, reboot. In the login prompt, choose GNOME:
Ubuntu-18.04-Desktop-Gnome

Congratulation’s! You have successfully installed Gnome. Thanks for using this tutorial for installing GUI Gnome in Ubuntu 18.04 LTS system. For additional help or useful information, we recommend you to check the official Gnome web site.