
Apache Tomcat is an open source web server and servlet container developed by the Apache Software Foundation. It implements the Java Servlet, JavaServer Pages (JSP), Java Unified Expression Language and Java WebSocket specifications from Sun Microsystems and provides a web server environment for Java code to run in.
This article assumes you have at least basic knowledge of linux, know how to use the shell, and most importantly, you host your site on your own VPS. The installation is quite simple and assumes you are running in the root account, if not you may need to add ‘sudo’ to the commands to get root privileges. I will show you through the step by step installation Apache Tomcat 9 on a Ubuntu 18.04 (Bionic Beaver) server.
Install Apache Tomcat on Ubuntu 18.04 LTS Bionic Beaver
Step 1. First make sure that all your system packages are up-to-date by running these following apt-get commands in the terminal.
sudo apt-get update
sudo apt-get upgrade
Step 2. Installing Java.
Apache Tomcat requires Java to be installed on your server. By default, Java is not available in Ubuntu’s repository. Add the Oracle Java PPA to Apt with the following command:
sudo add-apt-repository ppa:webupd8team/java
sudo apt install oracle-java8-installer
sudo apt install oracle-java8-set-default
Verify the Java version by running the following command:
java -version
Step 2. Installing Apache Tomcat on Ubuntu 18.04 LTS.
First thing to do is to go to Apache Tomcat’s download page and download the latest stable version of Apache Tomcat, At the moment of writing this article it is version 9:
cd /opt
wget http://www-us.apache.org/dist/tomcat/tomcat-9/v9.0.10/bin/apache-tomcat-9.0.10.zip
tar -xvf apache-tomcat-9.0.10.zip
mv apache-tomcat-9.0.8 /opt/tomcat9
Next, Create a directory for Tomcat files:
sudo useradd -r tomcat9 --shell /bin/false
Then give the user control of the directory:
sudo chown -R tomcat9 /opt/tomcat9
Step 3. Configure Apache Tomcat.
Configure Tomcat users so they can access admin/manager sections. You can do this by adding the users in the conf/tomcat-users.xml file with your favorite text editor. Add this text to the file:
nano /opt/tomcat9/conf/tomcat-users.xml
Place the following two lines just above the last line.
<!-- user manager can access only manager section -->
<role rolename="manager-gui" />
<user username="manager" password="_SECRET_PASSWORD_" roles="manager-gui" />

<!-- user admin can access manager and admin section both -->
<role rolename="admin-gui" />
<user username="admin" password="_SECRET_PASSWORD_" roles="manager-gui,admin-gui" />
Next, run the commands below to create a server account for Tomcat:
nano /etc/systemd/system/tomcat.service
Add lines below into the file and save:
[Unit]
Description=Tomcat9
After=network.target
[Service]
Type=forking
User=tomcat9
Group=tomcat9
Environment=CATALINA_PID=/opt/tomcat9/tomcat9.pid
Environment=JAVA_HOME=/usr/lib/jvm/java-8-oracle/
Environment=CATALINA_HOME=/opt/tomcat9
Environment=CATALINA_BASE=/opt/tomcat9
Environment="CATALINA_OPTS=-Xms512m -Xmx512m"
Environment="JAVA_OPTS=-Dfile.encoding=UTF-8 -Dnet.sf.ehcache.skipUpdateCheck=true -XX:+UseConcMarkSweepGC -XX:+CMSClassUnloadingEnabled -XX:+UseParNewGC"
ExecStart=/opt/tomcat9/bin/startup.sh
ExecStop=/opt/tomcat9/bin/shutdown.sh
[Install]
WantedBy=multi-user.target
Save and exit and reload the systemd service:
systemctl daemon-reload
systemctl start tomcat.service
systemctl enable tomcat.service
You can verify the service running, by default tomcat runs on port no 8080.
[root@wpcademy ~]# netstat -antup | grep 8080
tcp        0      0 0.0.0.0:8080                0.0.0.0:*                   LISTEN
Step 4. Accessing Apache Tomcat.
Tomcat server default works on port 8080. Access tomcat in the web browser by connecting your server on port 8080. If you are using a firewall, please open port 80 to enable access to the control panel:
http://your-domain.com:8080
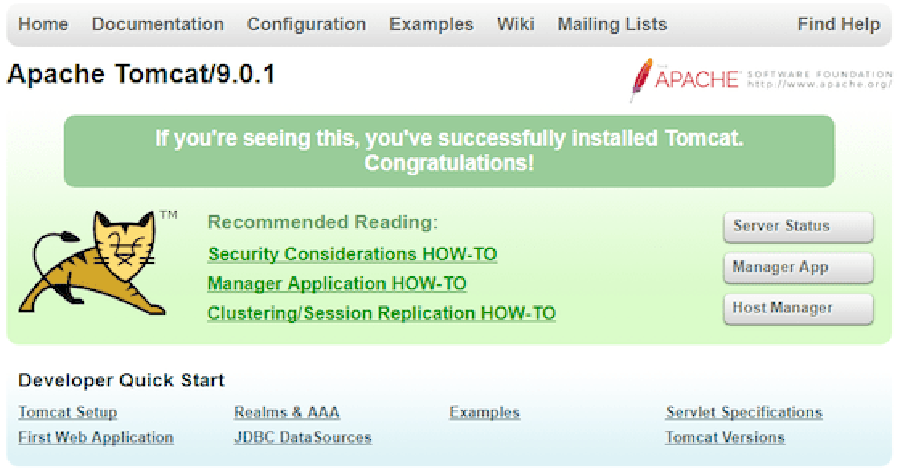
Congratulation’s! You have successfully installed Apache Tomcat. Thanks for using this tutorial for installing Apache Tomcat 9 in Ubuntu 18.04 LTS system. For additional help or useful information, we recommend you to check the official Apache Tomcat web site.