
Eclipse is an open source and free multi-language and multi-platform (Windows , Linux and Mac) software development program that used to build JAVA based web applications. It is written in Java program and can be used to develop Java based applications and other various plugins, including languages like C, C++, PHP, Perl, Python, Ruby and Rails framework and much more.
This article assumes you have at least basic knowledge of Linux, know how to use the shell, and most importantly, you host your site on your own VPS. The installation is quite simple and assumes you are running in the root account, if not you may need to add ‘sudo’ to the commands to get root privileges. I will show you through the step by step installation Eclipse Oxygen on a Ubuntu 18.04 (Bionic Beaver) server.
Install Eclipse Oxygen on Ubuntu 18.04 LTS Bionic Beaver
Step 1. First make sure that all your system packages are up-to-date by running these following apt-get commands in the terminal.
sudo apt-get update
sudo apt-get upgrade
Step 2. Installing Java.
Jenkins requires Java to be installed on your server. By default, Java is not available in Ubuntu’s repository. Add the Oracle Java PPA to Apt with the following command:
sudo add-apt-repository ppa:webupd8team/java
sudo apt install oracle-java8-installer
sudo apt install oracle-java8-set-default
Verify the Java version by running the following command:
java -version
Step 3. Installing Eclipse Oxygen on Ubuntu 18.04 LTS.
Download latest eclipse package. This guide uses Eclipse IDE for Java Developers version. Another popular versions are Eclipse IDE for Java EE Developers and Eclipse for PHP Developers. Select also 32-bit or 64-bit version depending on your system:
wget http://eclipse.bluemix.net/packages/oxygen.2/data/eclipse-inst-linux64.tar.gz
Extract Eclipse package to your desired directory:
tar xzf eclipse-inst-linux64.tar.gz
Next, Start the installer by executing the bellow command:
./eclipse-installer/eclipse-inst
Step 4. Create desktop launcher.
Create a new file eclipse.desktop in /usr/share/applications/ and add the below code:
nano .local/share/applications/eclipse.desktop
Add the following content in the above file:
[Desktop Entry]
Name=Eclipse JEE Oxygen
Type=Application
Exec=/home/<strong>wpcademy</strong>/eclipse/jee-oxygen/eclipse/eclipse
Terminal=false
Icon=/home/<strong>wpcademy</strong>/eclipse/jee-oxygen/eclipse/icon.xpm
Comment=Integrated Development Environment
NoDisplay=false
Categories=Development;IDE;
Name[en]=Eclipse
Replace the highlighted username (wpcademy) with your own account name, also the Exec = location and icon.xpm should depend on where Eclipse got installed on your system.
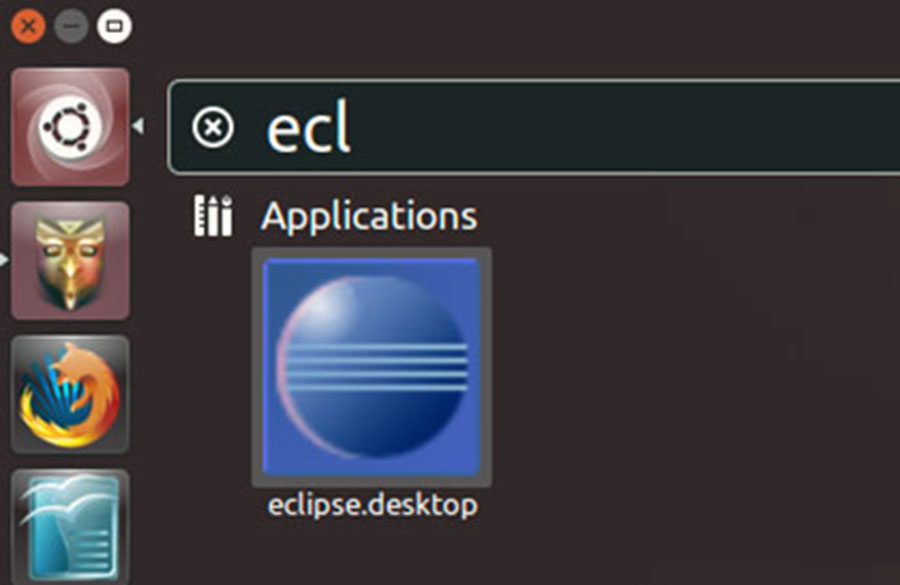
Finally steps, Open Dash or the activities overview and search for Eclipse… then launch.
Congratulation’s! You have successfully installed Eclipse. Thanks for using this tutorial for installing Eclipse Oxygen in Ubuntu 18.04 Bionic Beaver system. For additional help or useful information, we recommend you to check the official Eclipse web site.