
By default, RHEL/CentOS 7 server installed as minimal without any Graphical Desktop support. Installing GNOME Desktop on CentOS is faily straightforward. Most CentOS servers are run on CLI (Command-Line Interface) mode. But in some cases, one may need to have a desktop to install some applications with GUI (Grapich User Interface) mode. In this case, we will use GNOME, the most popular user-friendly desktop for any UNIX based system. This article assumes you have at least basic knowledge of linux, know how to use the shell, and most importantly, you host your site on your own VPS. Follow guide how to install Gnome GUI on CentOS 7.
In this tutorial we will show you how to install and configuration of Gnome on your CentOS 7 server.
Install Gnome GUI on CentOS 7
Step 1. Install Gnome GUI by issuing the following command.
CentOS 7:
yum groupinstall "GNOME Desktop" "Graphical Administration Tools"
RHEL 7:
yum groupinstall "Server with GUI"
Step 2. When the installation finishes, run the following command to tell the system to boot Gnome Desktop automatically at system startup.
ln -sf /lib/systemd/system/runlevel5.target /etc/systemd/system/default.target
Step 3. Reboot the system.
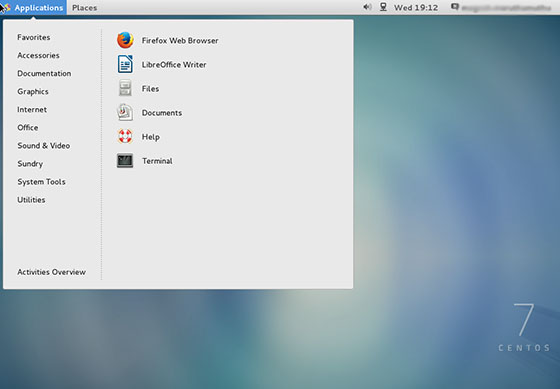
After you reboot the system , the system will enter into the Gnome GUI interface automatically.
Step 4. Installing additional applications.
After logging in to the GNOME Desktop, you can now go to System > Administration > Add/Remove Software to manage application in CentOS. By using this wizard, you can install various applications similar to yum but through a GUI. Applications installed using this method will appear in the Application menu list.
Congratulation’s! You have successfully installed Gnome. Thanks for using this tutorial for installing Gnome GUI on CentOS 7 system. For additional help or useful information, we recommend you to check the official Gnome web site.
You Might Also Like: How To Install GNOME on Ubuntu 14.04