
KDE is a well-known desktop environment for the Unix-Like systems designed for users who wants to have a nice desktop environment for their machines, It is one of the most used desktop interfaces out there.
This article assumes you have at least basic knowledge of Linux, know how to use the shell, and most importantly, you host your site on your own VPS. The installation is quite simple and assumes you are running in the root account, if not you may need to add ‘sudo’ to the commands to get root privileges. I will show you through the step by step installation KDE Plasma desktop environment on an Ubuntu 18.04 bionic beaver.
Install KDE Plasma on Ubuntu 18.04 LTS Bionic Beaver
Step 1. First, make sure that all your system packages are up-to-date by running these following apt-get commands in the terminal.
sudo apt update
sudo apt upgrade
Step 2. Installing Tasksel.
The tasksel CLI tool for Ubuntu helps you in installing multiple related packages as a collective task. Ubuntu 18.04 does not have this utility installed by default. Please use the following command as sudo in order to install it on your system as we will later be using it to install Kubuntu Desktop:
sudo apt install tasksel
Step 3. Installing Kubuntu Desktop.
Now uses Tasksel to install all of KDE Plasma’s dependencies on Ubuntu:
tasksel install kubuntu-desktop
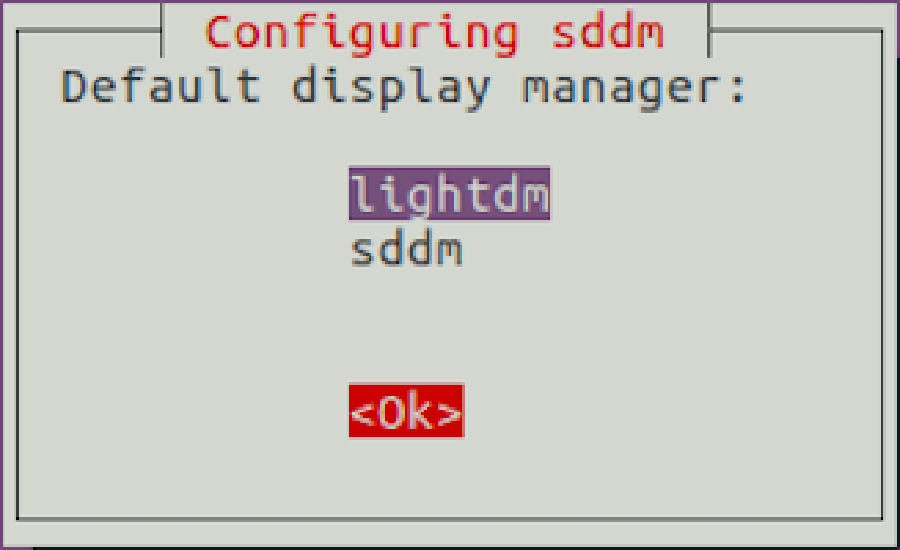
During installation, it will ask you to select your default display manager to sddm.
Once the KDE installation is done, reboot the system to take effect. On the login screen, select KDE Plasma as a desktop environment and login to the system. Now your Ubuntu system has the KDE desktop environment.
Congratulation’s! You have successfully installed KDE Plasma. Thanks for using this tutorial for installing KDE Plasma desktop environment in Ubuntu 18.04 bionic beaver system. For additional help or useful information, we recommend you to check the official KDE website.