
PostgreSQL is a free, open-source object-relational database management system (object-RDBMS), similar to MySQL, and is standards-compliant and extensible. It is commonly used as a back-end for web and mobile applications. PostgreSQL, or ‘Postgres’ as it is nicknamed, adopts the ANSI/ISO SQL standards together, with the revisions.
This article assumes you have at least basic knowledge of linux, know how to use the shell, and most importantly, you host your site on your own VPS. The installation is quite simple and assumes you are running in the root account, if not you may need to add ‘sudo’ to the commands to get root privileges. I will show you through the step by step installation PostgreSQL on a Ubuntu 18.04 (Bionic Beaver) server.
Install PostgreSQL on Ubuntu 18.04 LTS
Step 1. First make sure that all your system packages are up-to-date
sudo apt-get update
sudo apt-get upgrade
Step 2. Installing PostgreSQL server on Ubuntu 18.04 LTS.
PostgreSQL is available in the default repositories. So enter the following command from the Terminal to install it:
apt install postgresql postgresql-contrib phppgadmin
Step 3. Access PostgreSQL command prompt.
After installing PostgreSQL database server, by default it creates a user ‘postgres’ with role ‘postgres’. It also creates a system account with same name ‘postgres’. So to connect to postgres server, login to your system as user postgres and connect database:
su - postgres
psql
Now you are logged in to PostgreSQL database server. To check login info use following command from database command prompt:
postgres-# \conninfo
To disconnect from PostgreSQL database command prompt just type below command and press enter. It will return you back to Ubuntu command prompt:
postgres-# \q
Create new user and database:
### For example, let us create a new user called “mona” with password “ramona”, and database called “monadb”. ###
sudo -u postgres createuser -D -A -P mona
sudo -u postgres createdb -O mona monadb
Step 4. Configure Apache2 for phpPgAdmin.
phpPgAdmin is a web-based administration tool for PostgreSQL. It is perfect for PostgreSQL DBAs, newbies, and hosting services. You need to configure apache for phpPgAdmin. Edit the file /etc/apache2/conf-available/phppgadmin.conf:
nano /etc/apache2/conf-available/phppgadmin.conf
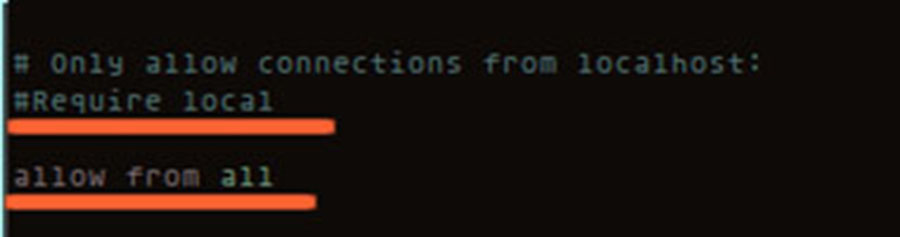
Comment out the line #Require local by adding a # in front of the line and add below the line allow from all so that you can access from your browser:
Step 5. Configure phpPgAdmin.
Next, edit the file /etc/phppgadmin/config.inc.php:
nano /etc/phppgadmin/config.inc.php
Now change the following option:
$conf[‘extra_login_security'] = true;
to
$conf[‘extra_login_security'] = false;
Now, we can restart Apache and phpPgAdmin so that the changes take place:
systemctl restart postgresql
systemctl restart apache2
systemctl enable postgresql
systemctl enable apache2
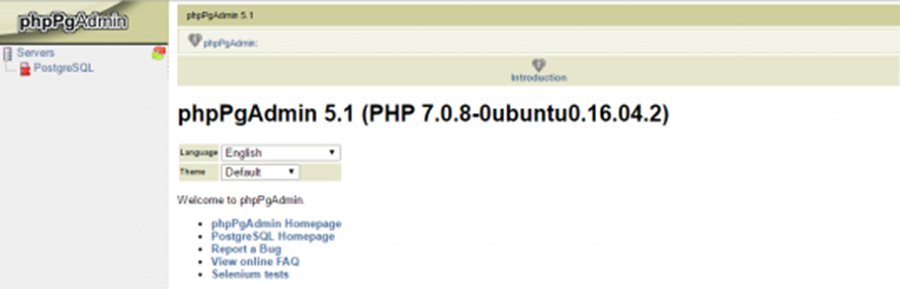
Step 6. Accessing phpPgAdmin.
phpPgAdmin will be available on HTTP port 80 by default. Open your favorite browser and navigate to http://yourdomain.com/phppgadmin or http://server-ip/phppgadmin. If you are using a firewall, please open port 80 to enable access to the control panel.
Congratulation’s! You have successfully installed PostgreSQL Server. Thanks for using this tutorial for installing PostgreSQL in Ubuntu 18.04 (Bionic Beaver) systems. For additional help or useful information, we recommend you to check the official PostgreSQL web site.