
Apache Solr is an open source enterprise search platform used to easily create search engines which searches websites, files and databases. Its major features include powerful full-text search, faceted search, distributed search, hit highlighting and index replication. But before you proceed, make sure you have already installed Tomcat which is necessary to access Solr from the browser.
This article assumes you have at least basic knowledge of linux, know how to use the shell, and most importantly, you host your site on your own VPS. The installation is quite simple. I will show you through the step by step installation Apache Solr on Ubuntu 14.04.
Step 1. First, Install Java.
Because tomcat and solr are Java based softwares we need the Java environment (As it is advised in the Solr wiki : prefere a full JDK to a simple JRE.)
Add the webupd8team Java PPA repository in your system:
sudo add-apt-repository -y ppa:webupd8team/java
sudo apt-get update
sudo aptitude -y install oracle-java8-installer
Verify installed Java version:
#java -version
java version "1.8.0_40"
Java(TM) SE Runtime Environment (build 1.8.0_40-b25)
Java HotSpot(TM) 64-Bit Server VM (build 25.40-b25, mixed mode)
Step 2. Install Apache Solr.
Ubuntu provides 3 Solr packages by default: nsolr-commo, the package that contains the actual Solr code; solr-tomcat, Solr integrated with Tomcat; and solr-jetty, which is just like solr-tomcat but with the Jetty web server. In this article, we will install solr-tomcat, so execute the following command:
sudo apt-get -y install solr-tomcat
Then let’s start the server:
sudo service tomcat6 start
Important: the config & index will be stored at : /usr/share/solr/
Step 3. Install tomcat management utilities.
sudo apt-get install tomcat6-admin
Once installed, you’ll have to grant some user:
sudo nano /etc/tomcat6/tomcat-users.xml
Paste these lines (change username and password as you whish):
<role rolename="manager"/>
<role rolename="admin"/>
<user username="tomcat" password="tomcat" roles="manager,admin"/>
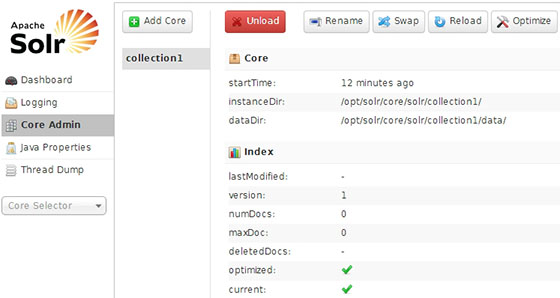
Step 4. Accessing Apache Solr.
Apache Solr will be available on HTTP port 8080 by default. Open your favorite browser and navigate to http://yourdomain.com:8080/solr or http://server-ip:8080/solr. If you are using a firewall, please open port 8080 to enable access to the control panel.
Congratulation’s! You have successfully installed Apache Solr. Thanks for using this tutorial for installing Apache Solr on Ubuntu 14.04 system.
You might also like: How To Install Apache Solr on CentOS 6